User Roles
What Are User Roles in Enlivy?
User Roles help you categorize and manage how people and companies interact with your organization inside Enlivy.
From internal employees to clients and suppliers, each user role controls what a user can do and what they represent, whether they can invoice, be invoiced, access the back office, or be included in payroll.
Use roles like Client, Assistant Manager, Accountant, or Supplier to tailor user access, permissions, and workflows in a scalable way.
Why Use User Roles?
- Assign clear responsibilities and permissions
- Control access to features like invoicing or back office
- Streamline user creation with pre-defined logic
- Support both individuals and business entities
- Organize users by function, department, or relation
Adding an User Role in Enlivy
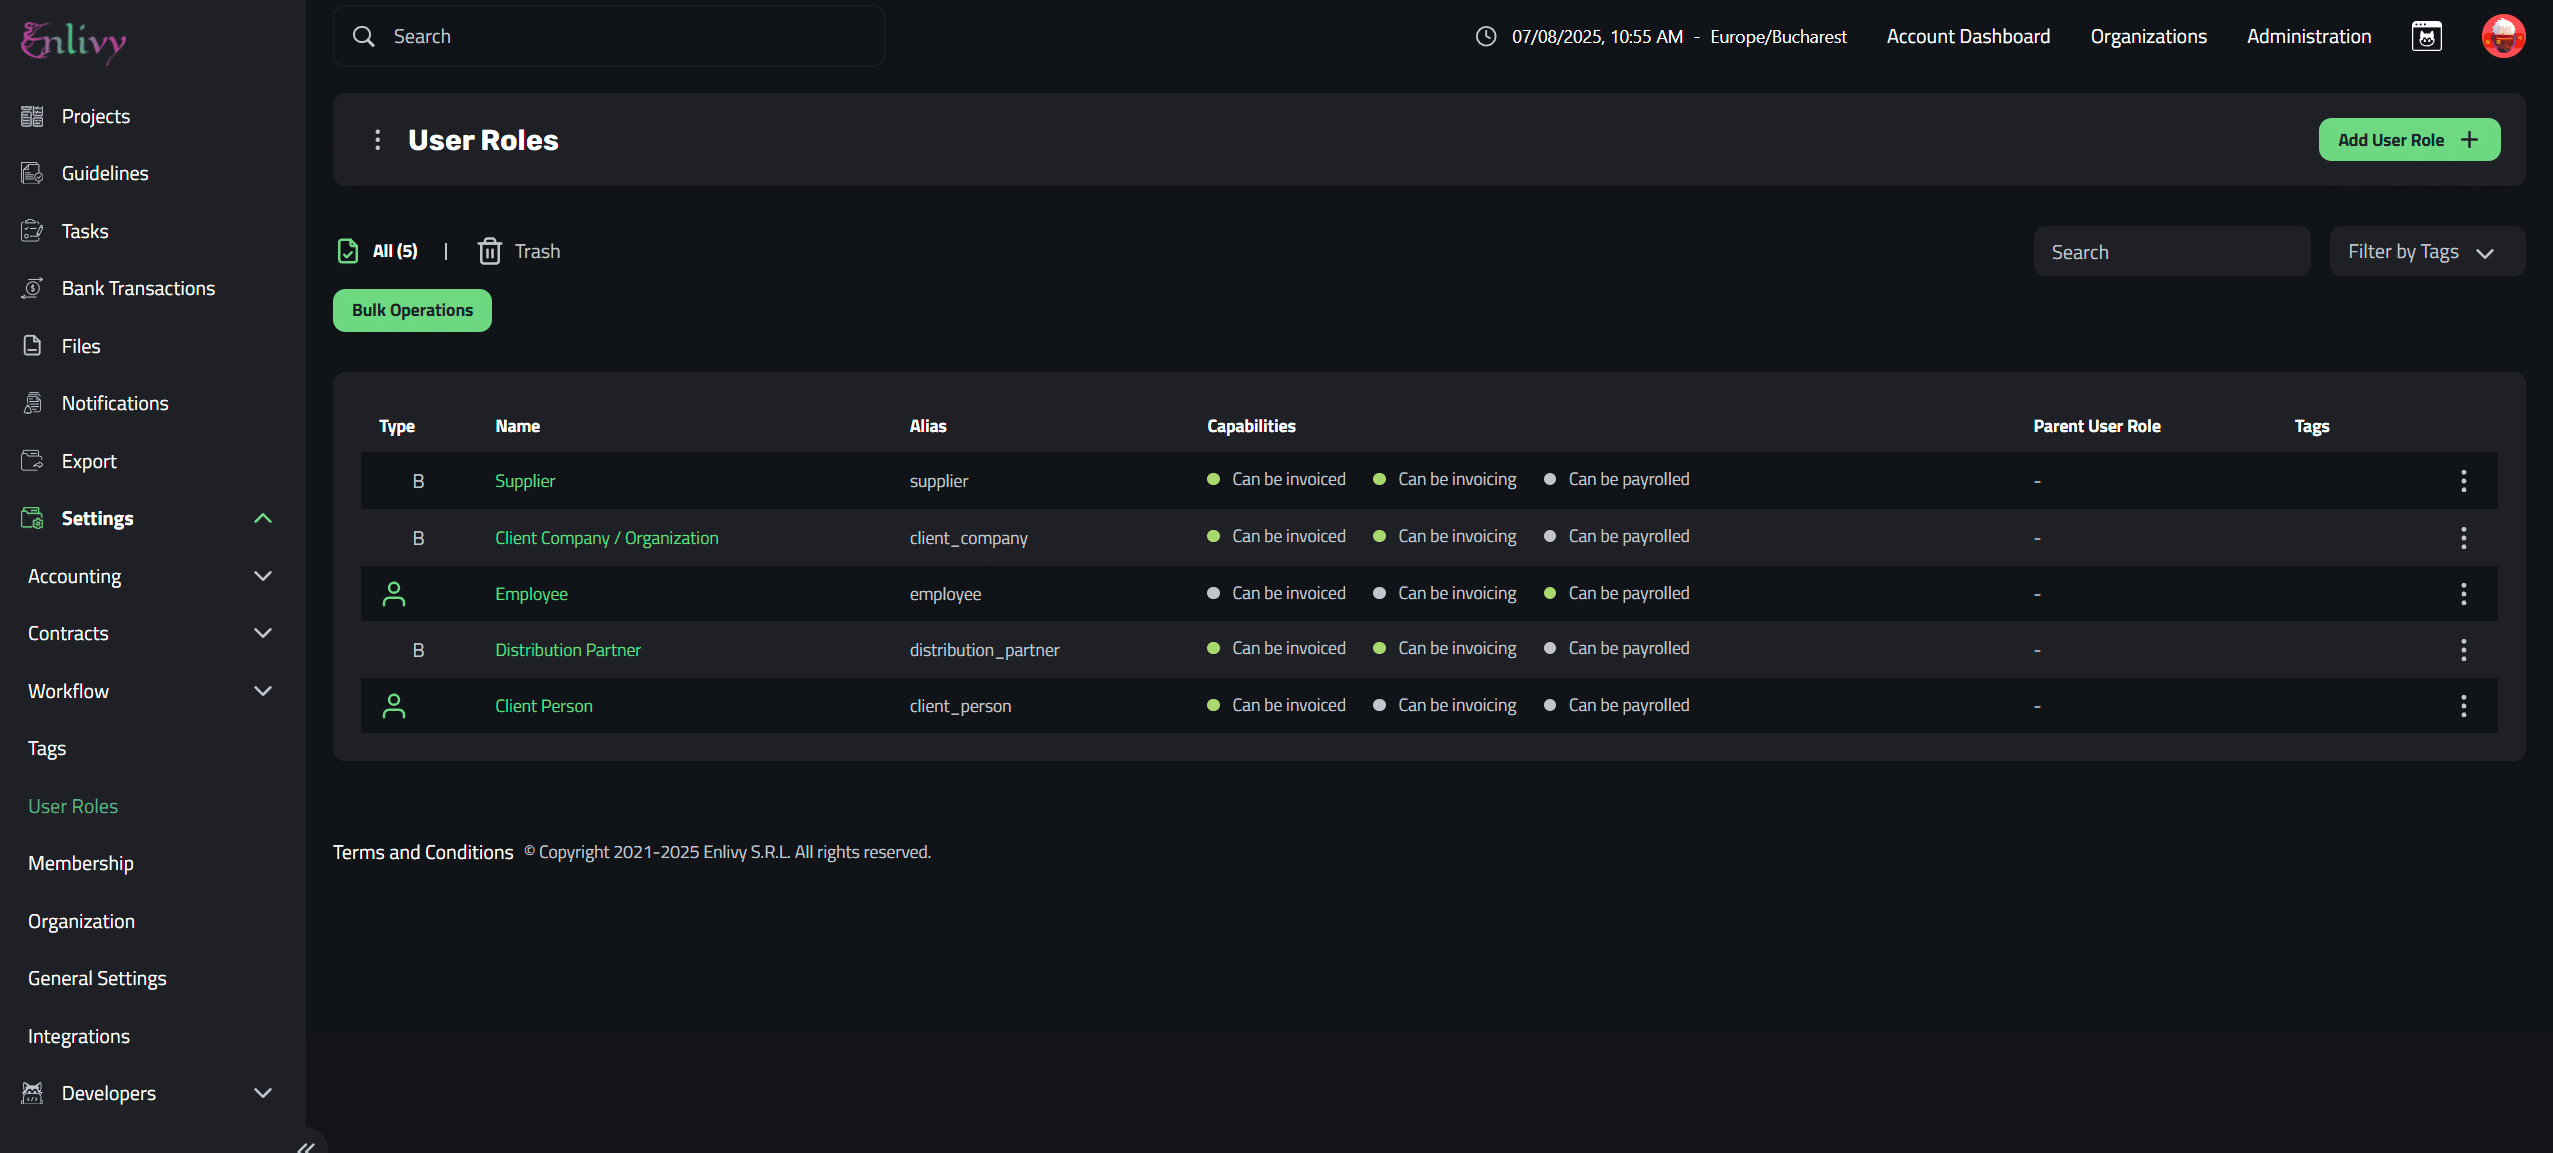
Navigate to User Roles Settings
From the left-side Settings menu, click on User Roles. You’ll see a list of existing roles and an option to add new ones. From here, click the 'Add User Role +' button in the right of the screen.
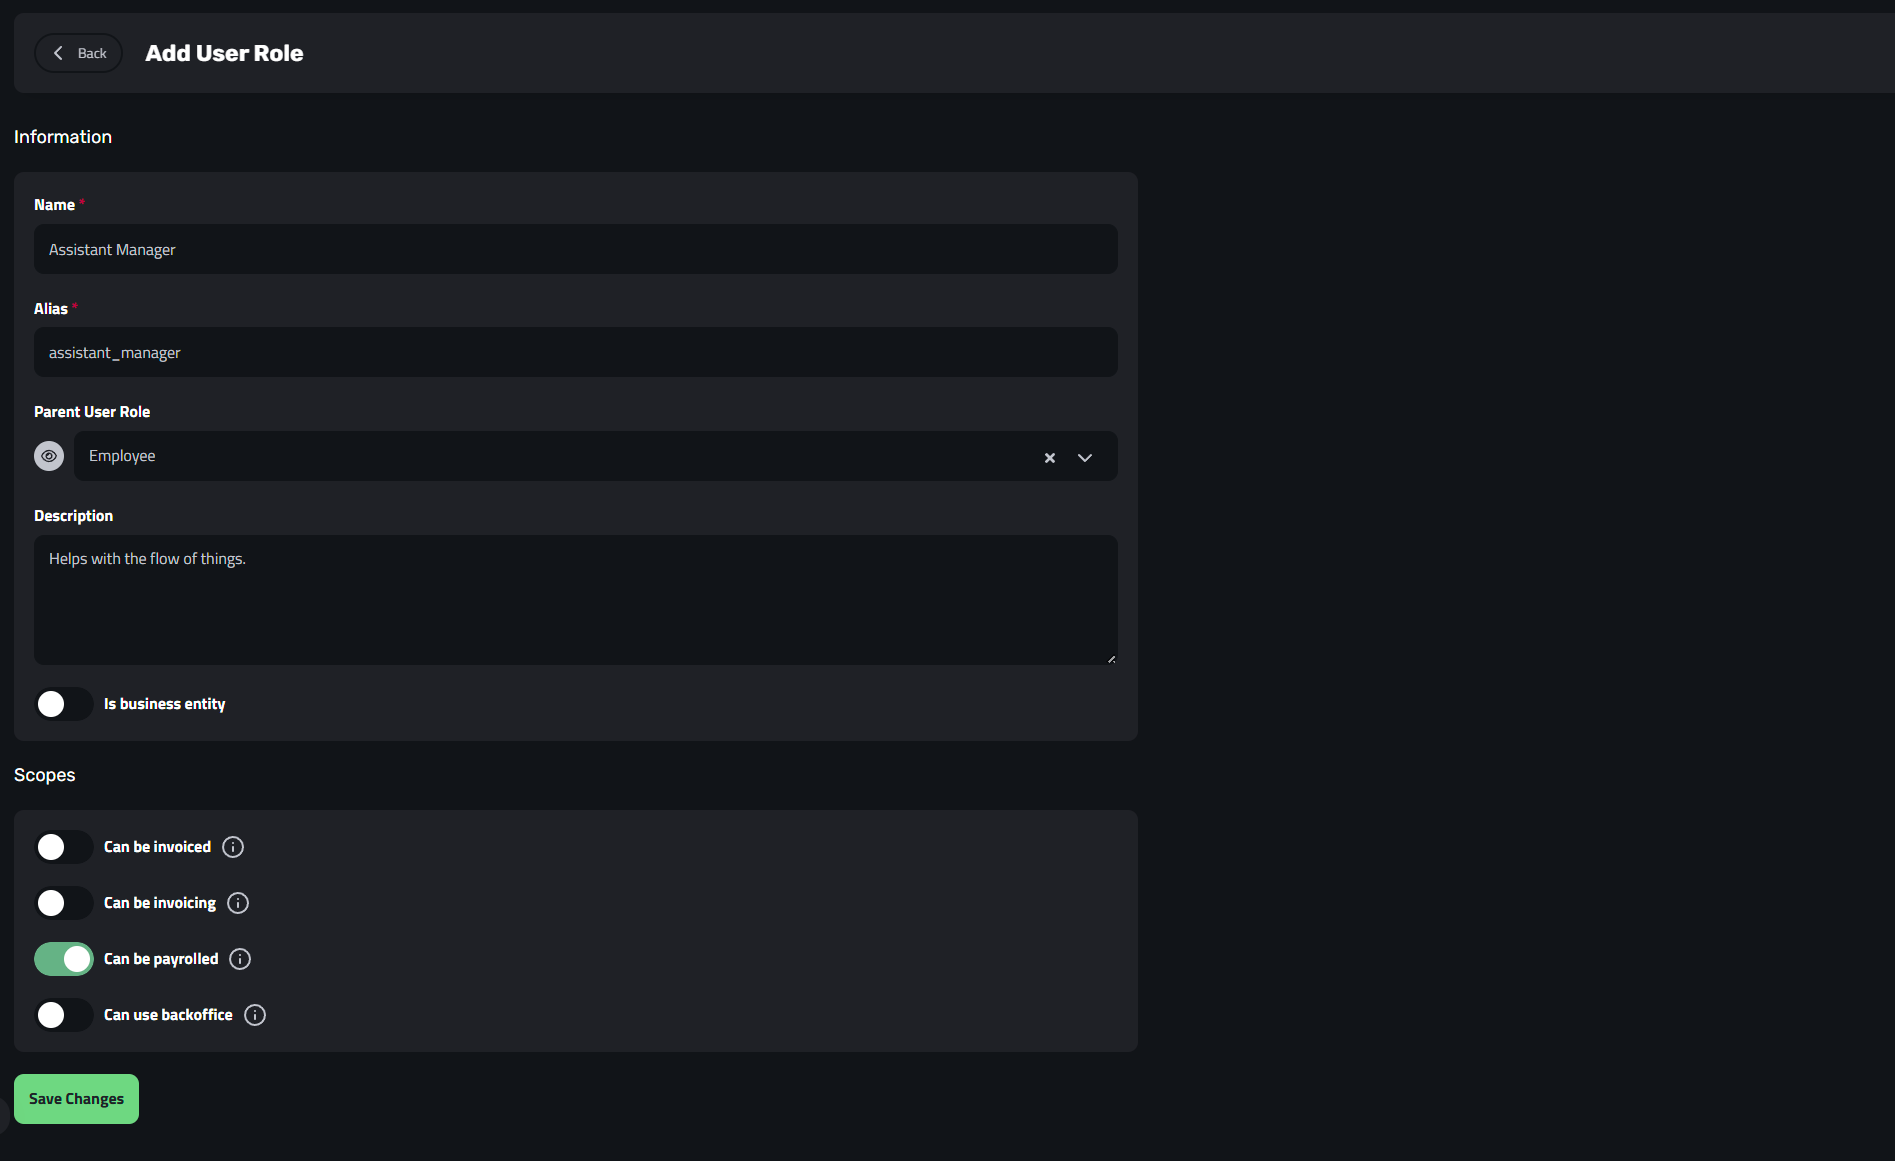
Add Role Details & Configure Settings
Fill the following fields:
- Name
The role name shown in dashboards and forms.
Example: “Assistant Manager” - Alias
A code-style internal label for this role.
Example: “assistant_manager” - Description
A short explanation of this role’s purpose.
Example: “Responsible for daily company operations.” - Is Business Entity
Check this if the role represents a company, not a person.
Used for roles like “Supplier” or “Client Organization”. - Can Be Invoiced
If enabled, users with this role can receive invoices. - Can Be Invoicing
If enabled, users with this role can issue invoices (e.g. your own business, a contractor). - Can Be Payrolled
Enable this for roles that are eligible for salary or payments (e.g. employee roles). - Can Use Backoffice
Grants access to Enlivy’s internal tools and dashboards (for team members or admins). - Parent Role (optional)
Inherit settings from an existing role by choosing a parent.
Example: Use “Employee” as a base for roles like “Intern” or “HR Officer”.
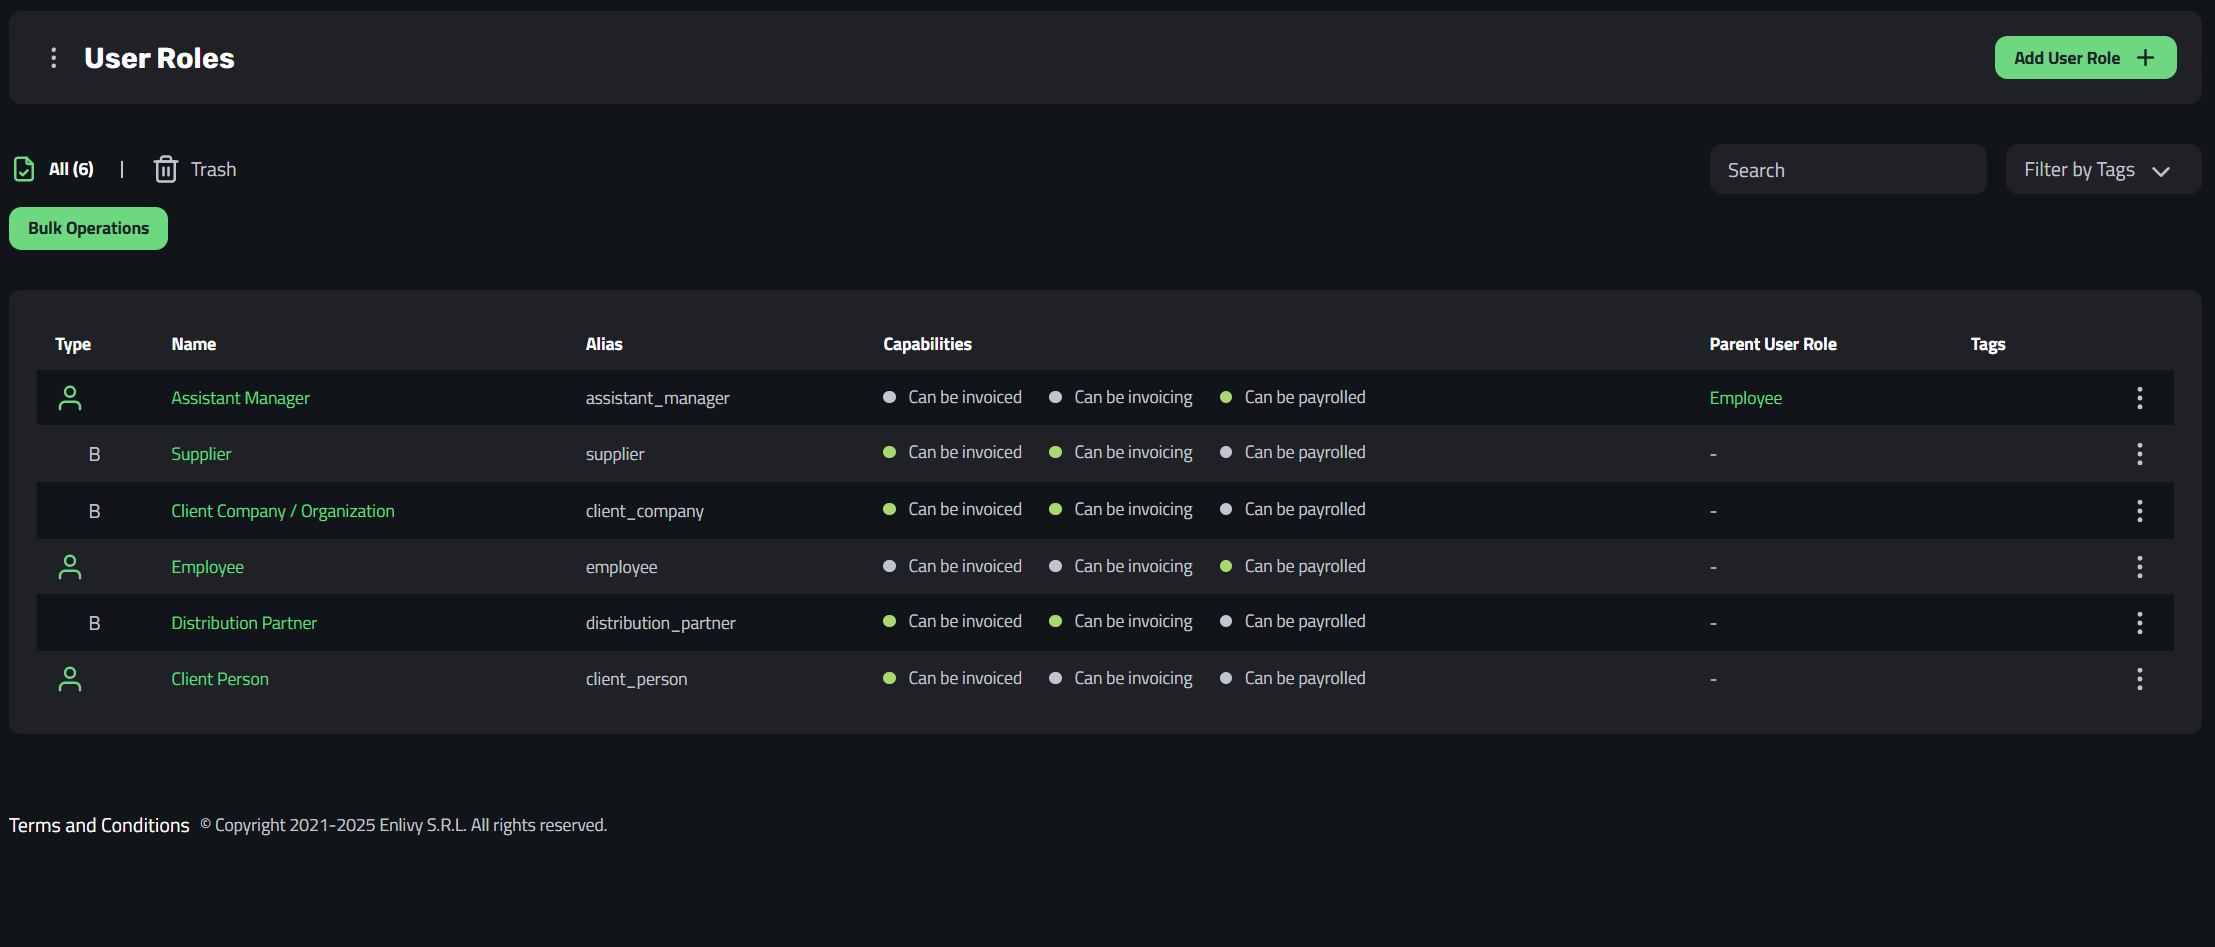
Save the new User Role
After adding all the details, you can save the new user role that you created, you’ll be able to see it in the Settings – User Roles Dashboard.
Your new role is now available when adding or editing users.
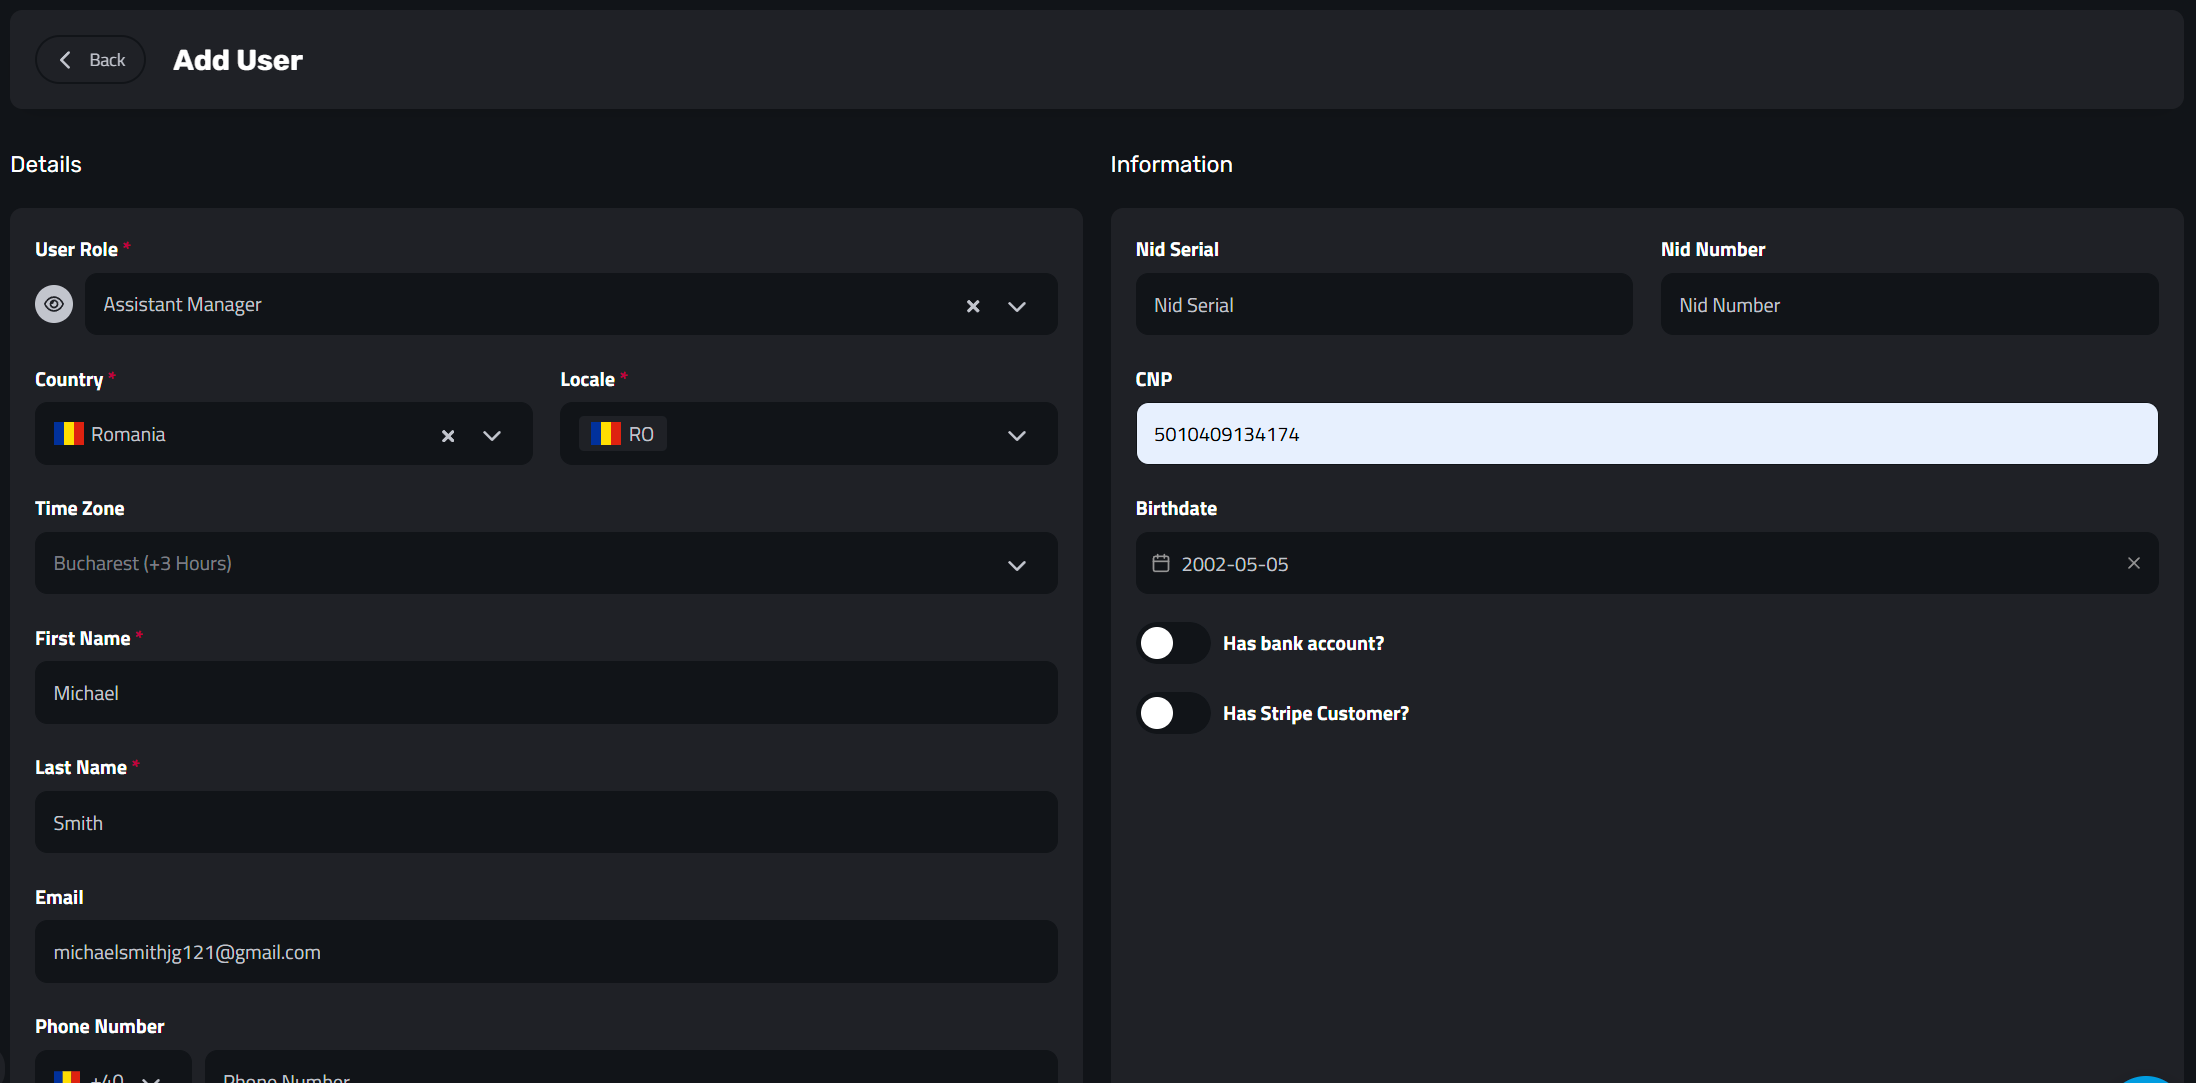
Assign the Role to a User
Now that the role is created, you can assign it to a user:
- Go to Users from the left-side menu.
- Click Add User +.
- In the Role dropdown, your newly created role is available.
- Fill in the rest of the details and click Add User.
Need help adding users?
Check out the full guide here: https://docs.enlivy.com/adding-users/