Adding Users
In this guide, we’ll walk you through how to add users to the Enlivy app.
Users can represent various entities such as your own company, your clients, suppliers, employees, accountants, and more.
Enlivy offers a high level of flexibility when it comes to user management, allowing you to categorize and interact with them based on their role within your organization.
For this guide, we’ll demonstrate three practical examples:
- Adding your company as a user
- Creating a user for a supplier
- Creating a user for a client
This will give you a clear picture of how to structure your user list in a way that fits your business needs.
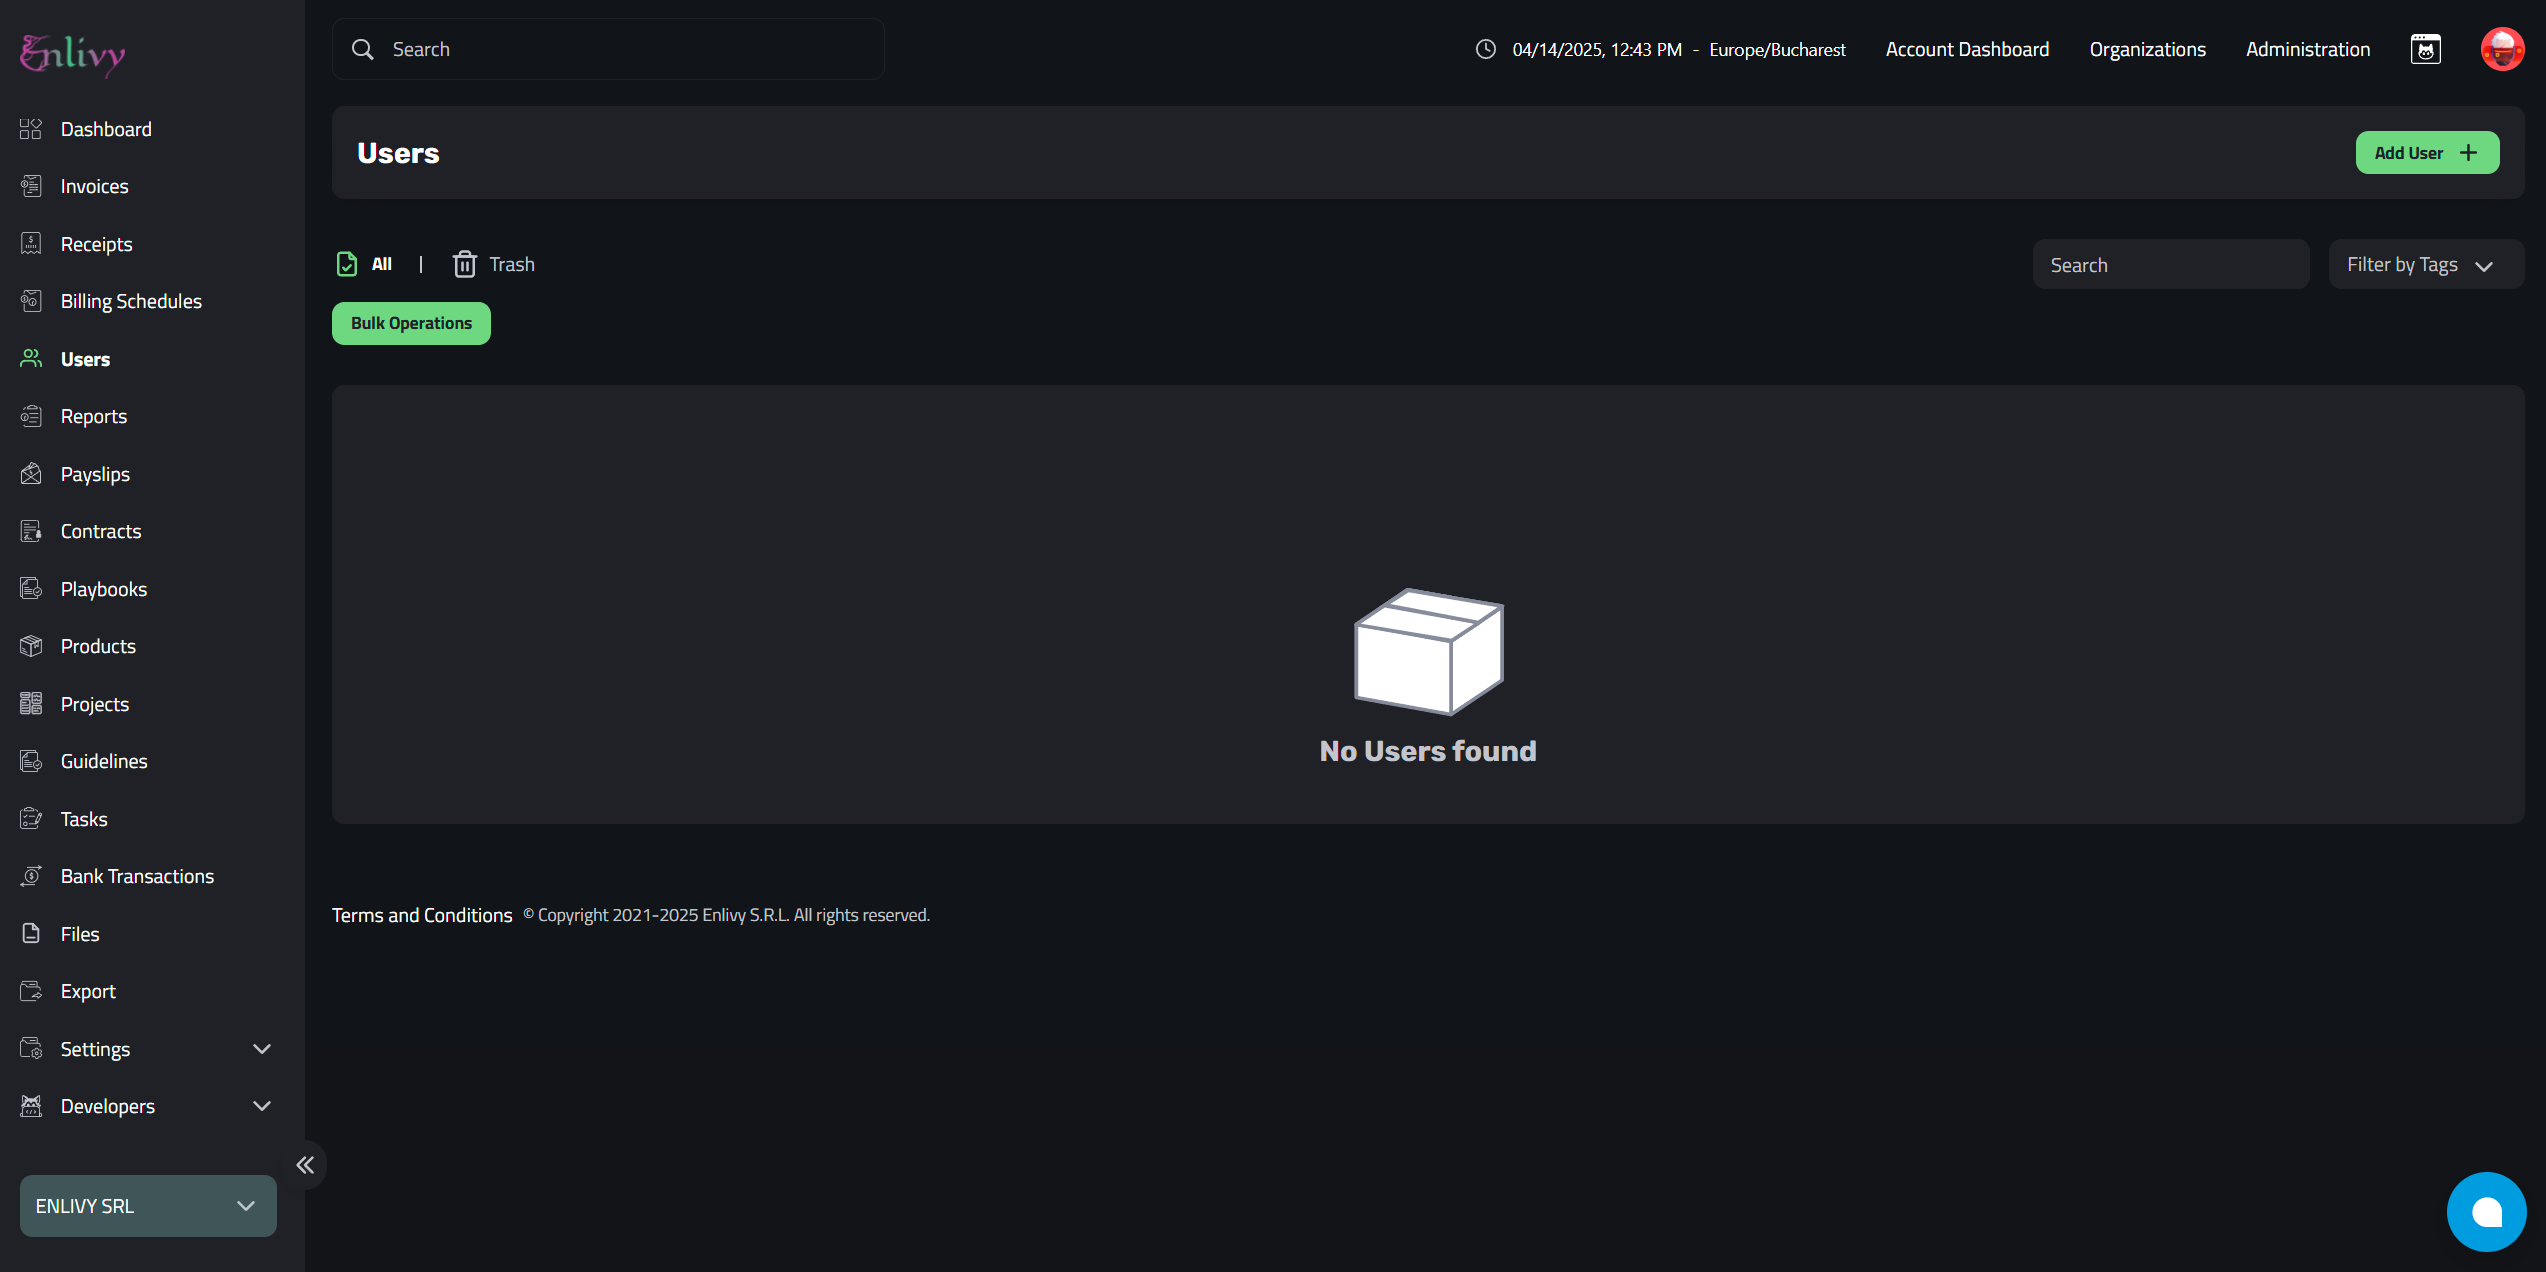
Navigating the Users Dashboard in Enlivy
From the left-side menu in Enlivy, navigate to the Users section. This will take you to the Users Dashboard, where you can view, create, edit, or delete users. The dashboard gives you a clear overview of all users in your organization, whether they are clients, suppliers, team members, or other relevant contacts.
Creating an User
To create a new user, click the Add User + button located in the upper-right corner of the Users dashboard.
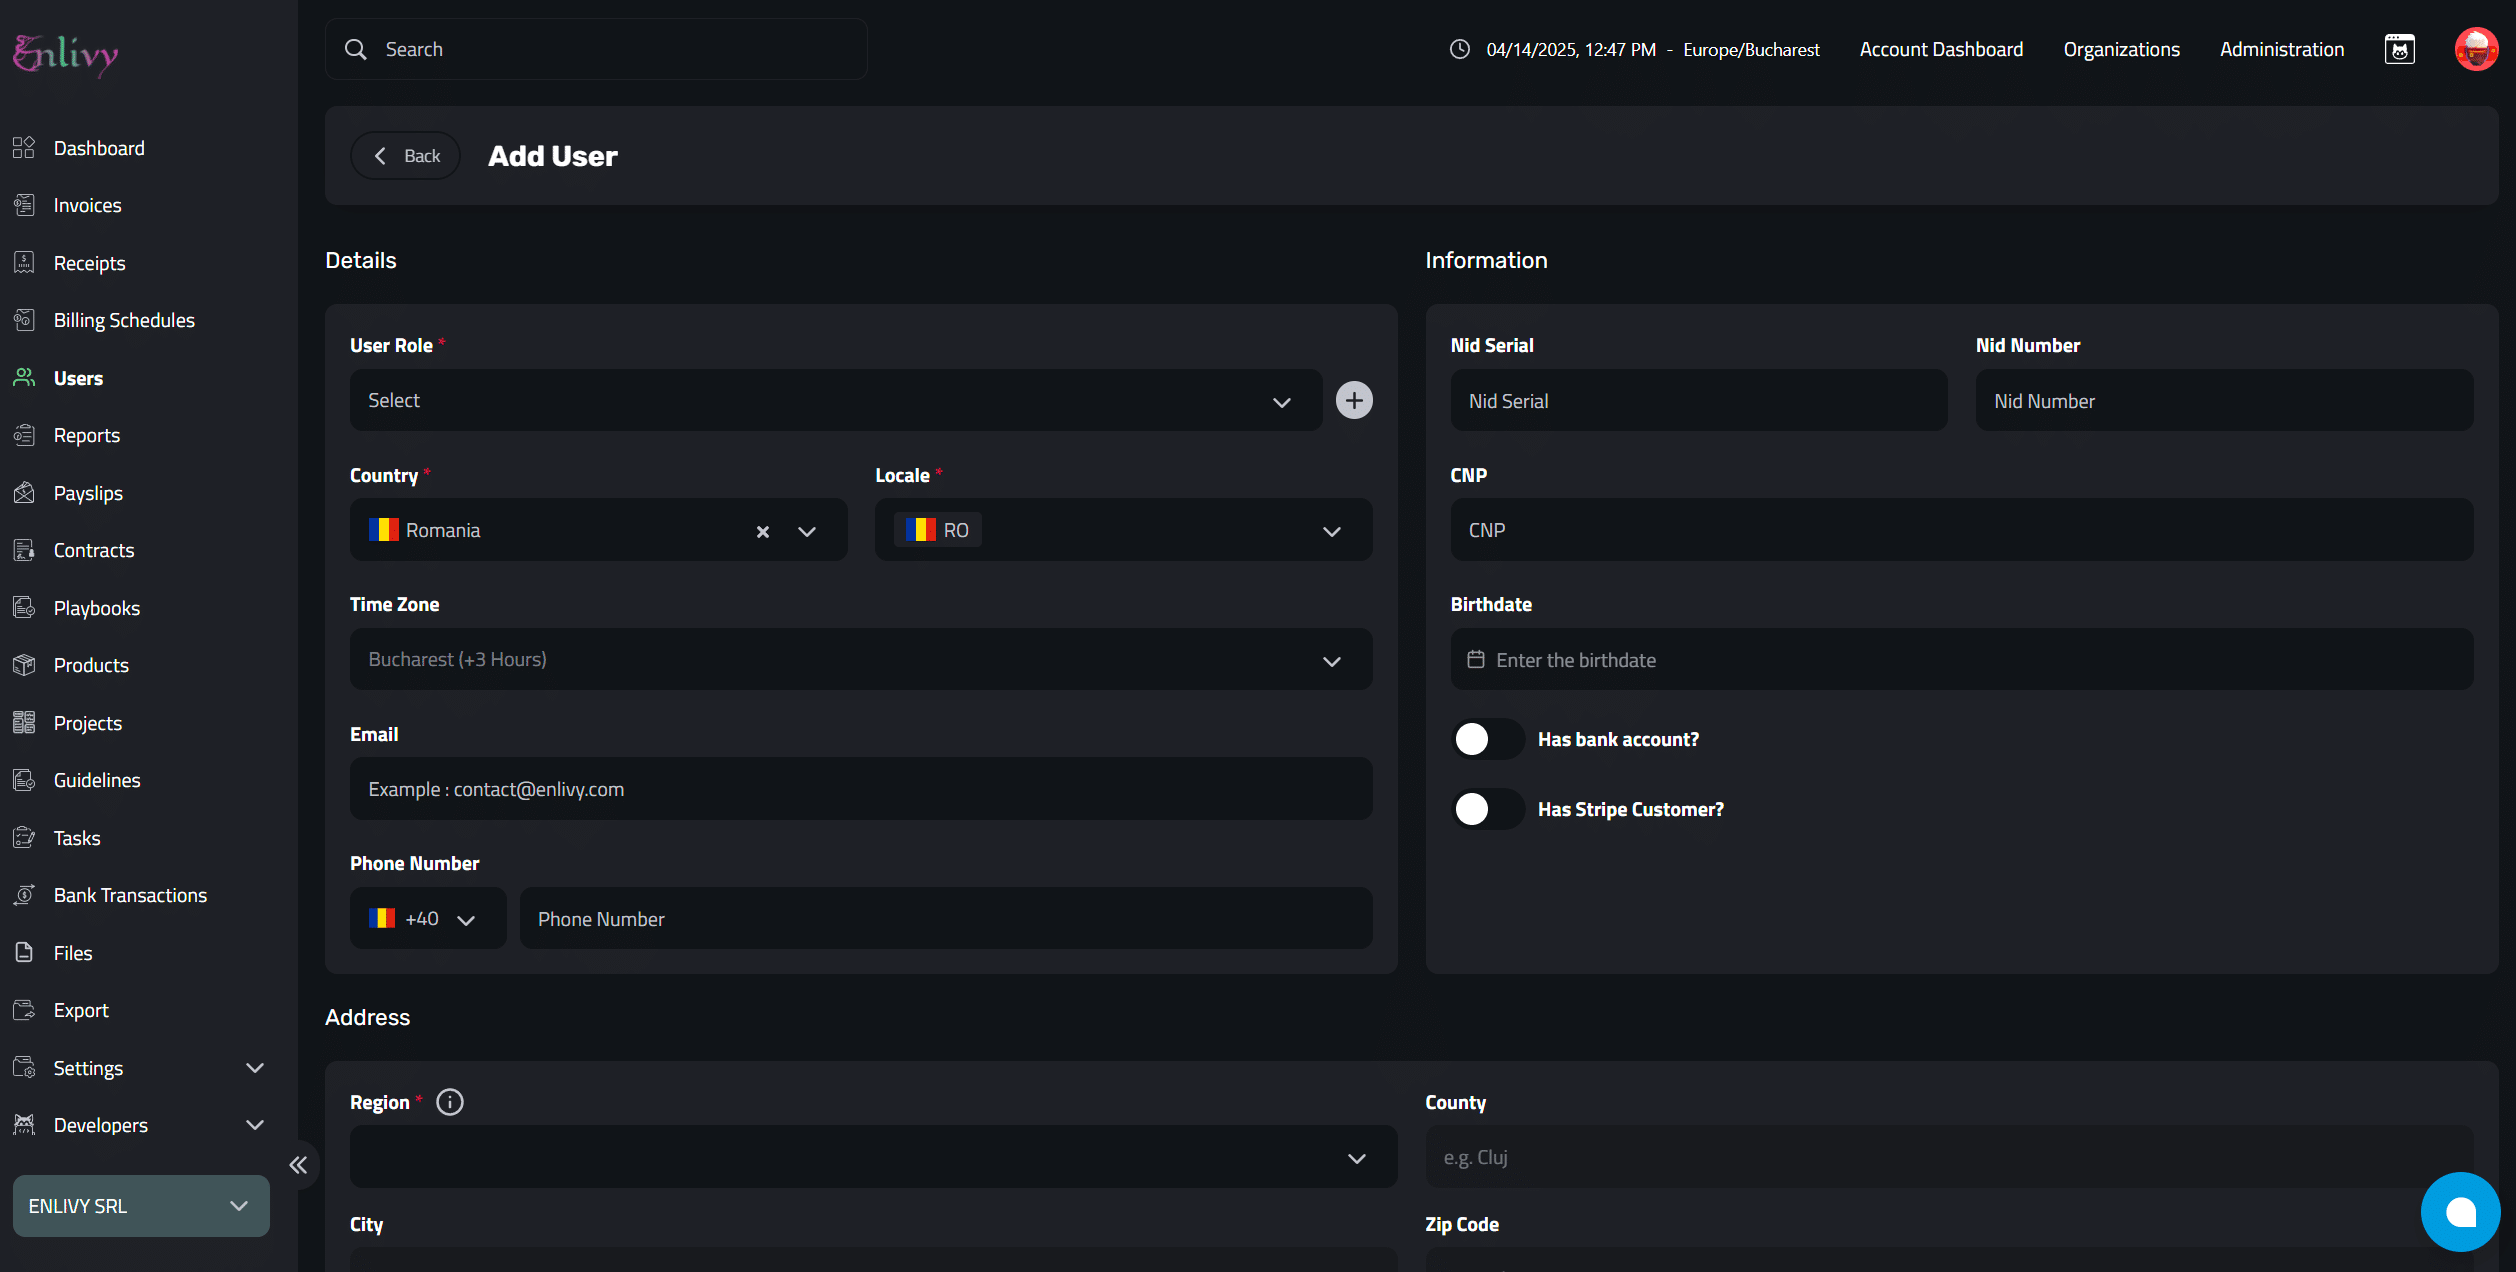
Required Information When Adding a New User
When adding a new user in Enlivy, there are three main categories of information you’ll need to provide:
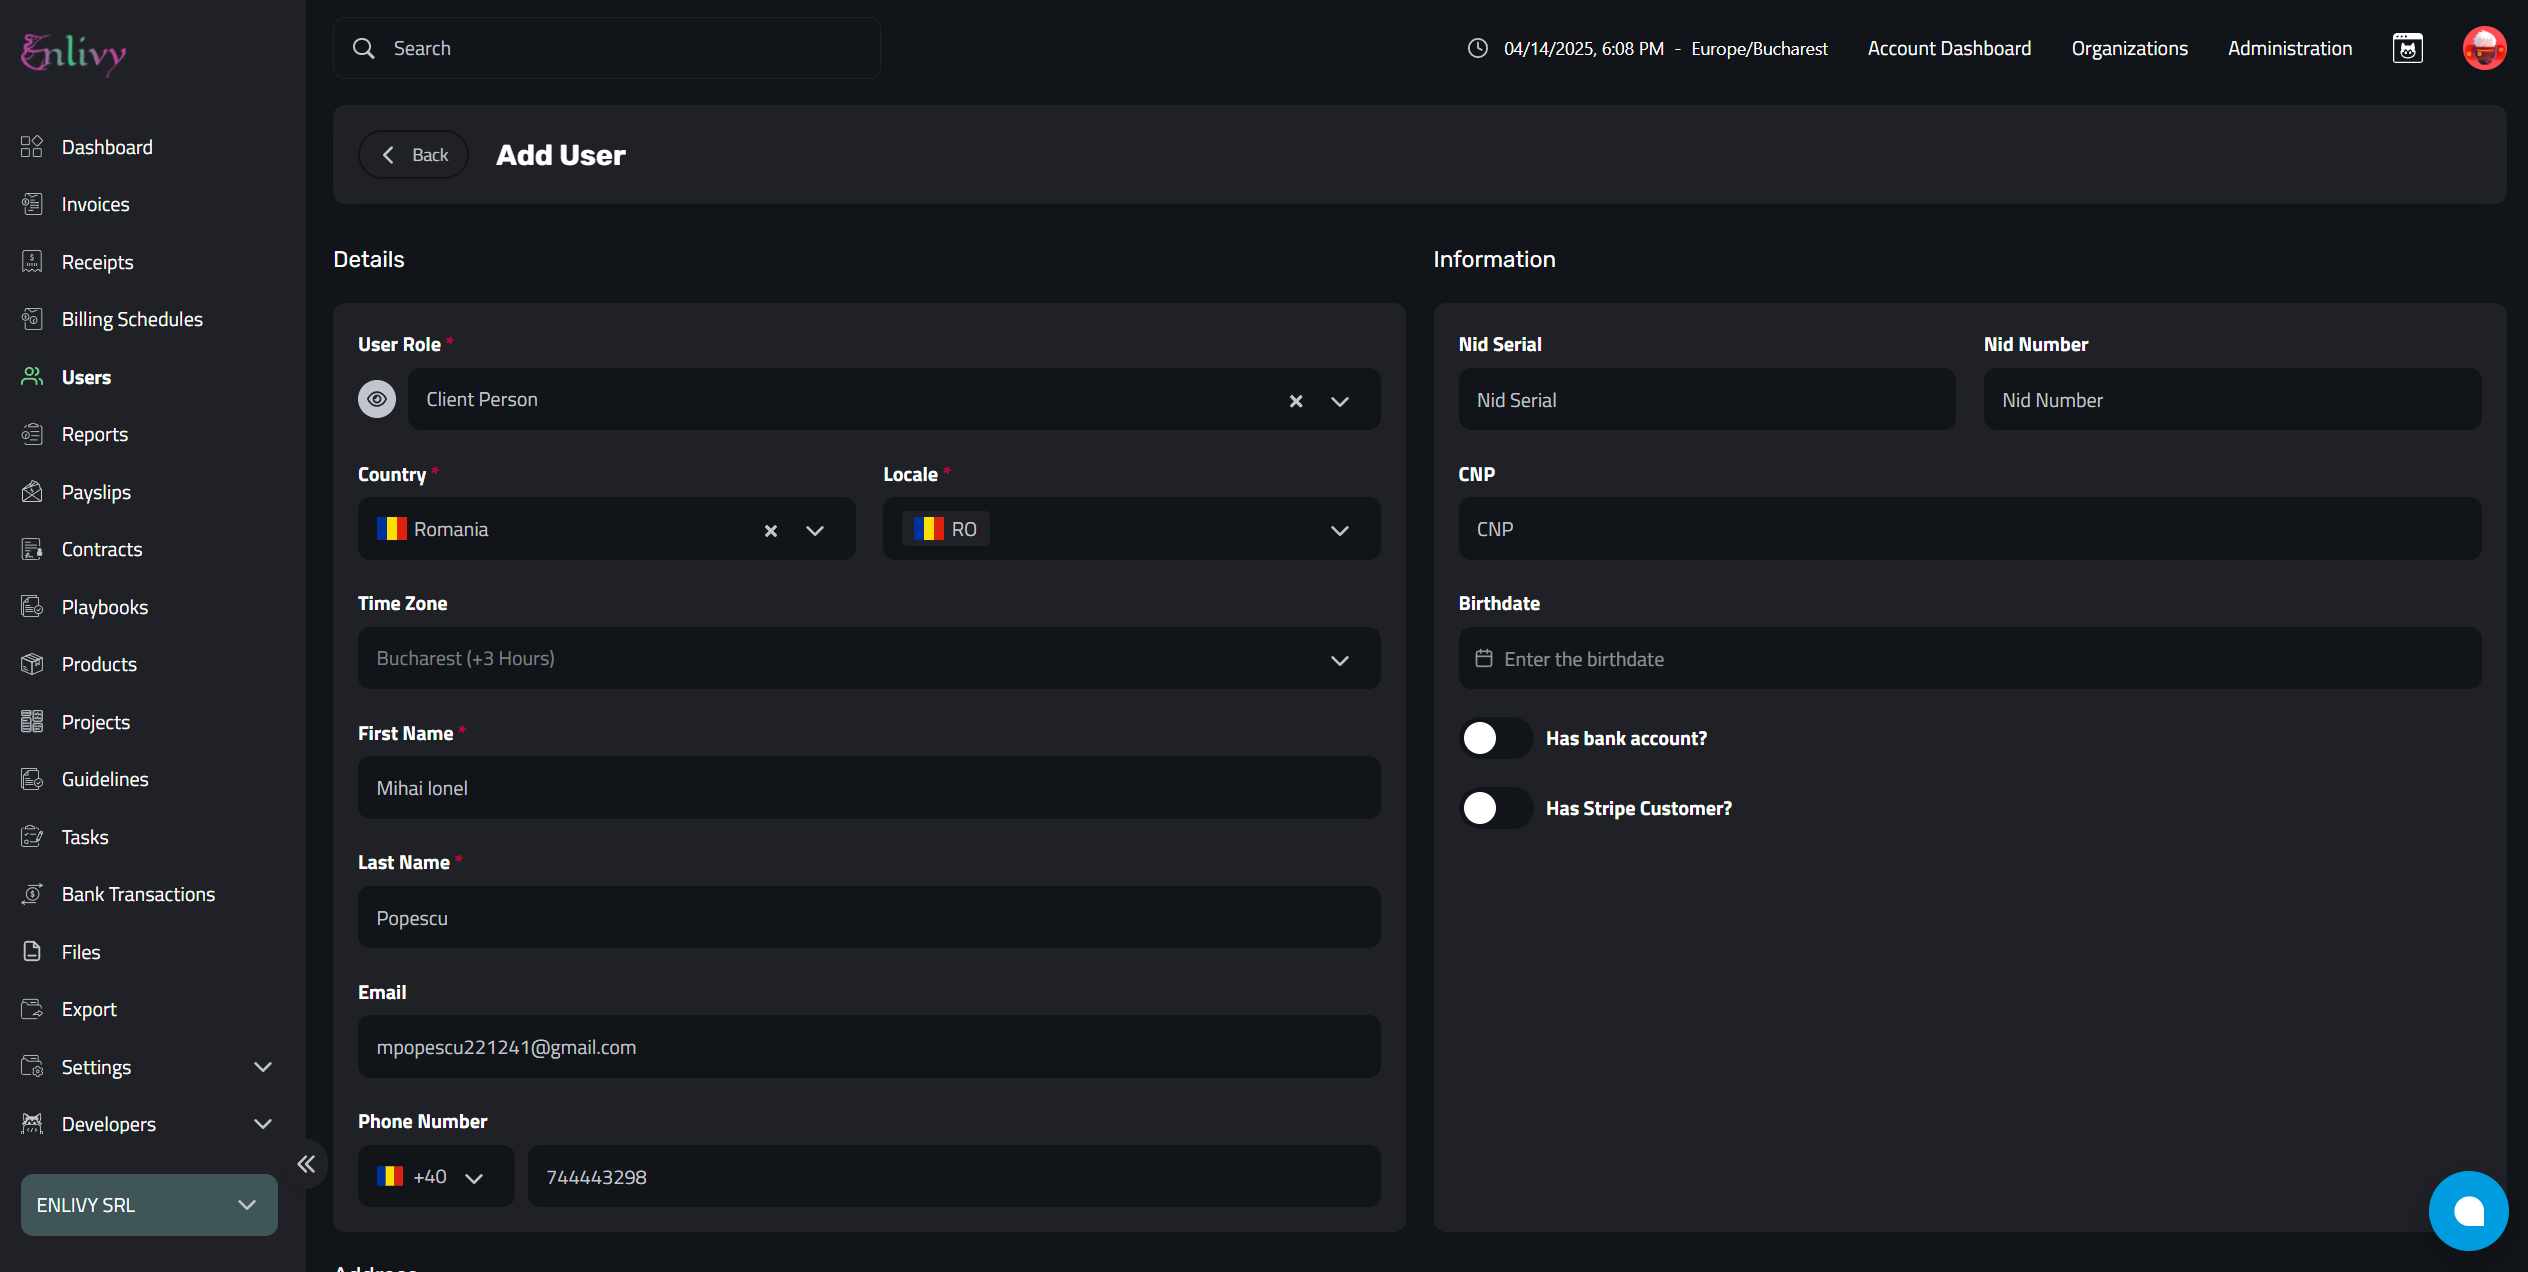
1. User Details
- User Role – Select a role from the default options or choose a custom role you’ve previously created. This defines the user’s permissions and context.
- Country – The country the user or company is based in.
- Locale – The preferred language for this user.
- Time Zone – Select the time zone for accurate timestamping.
- Name – The full name of the user or the legal name of the company.
- Email – User’s email address.
- Phone Number – A valid contact number.
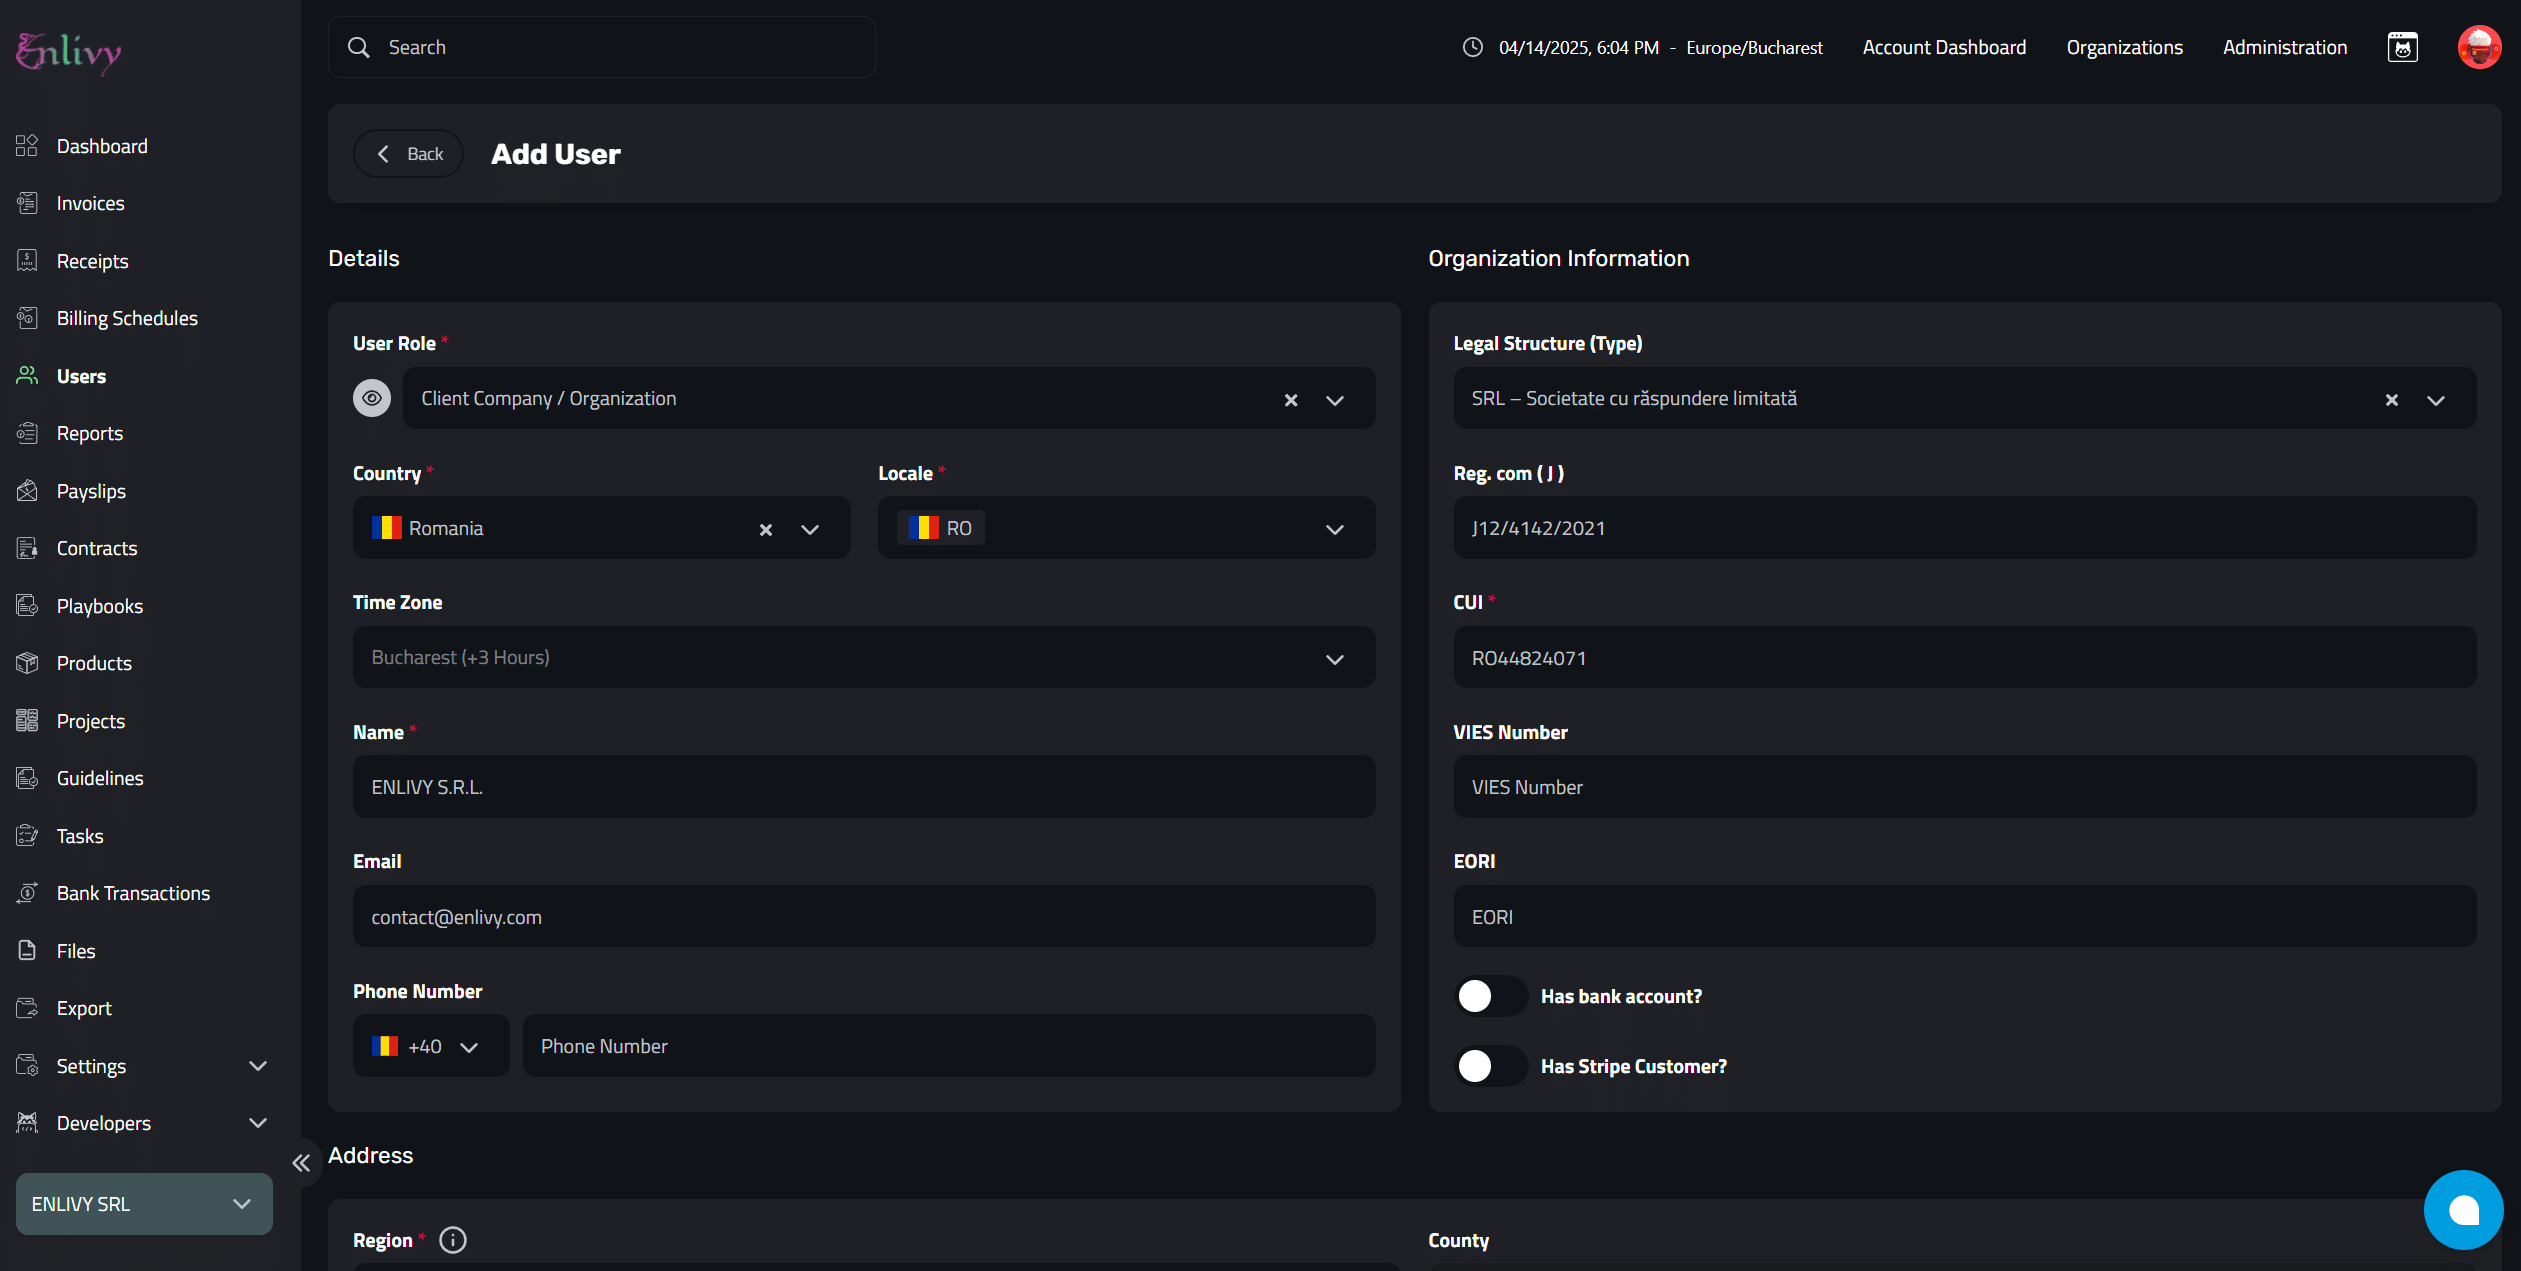
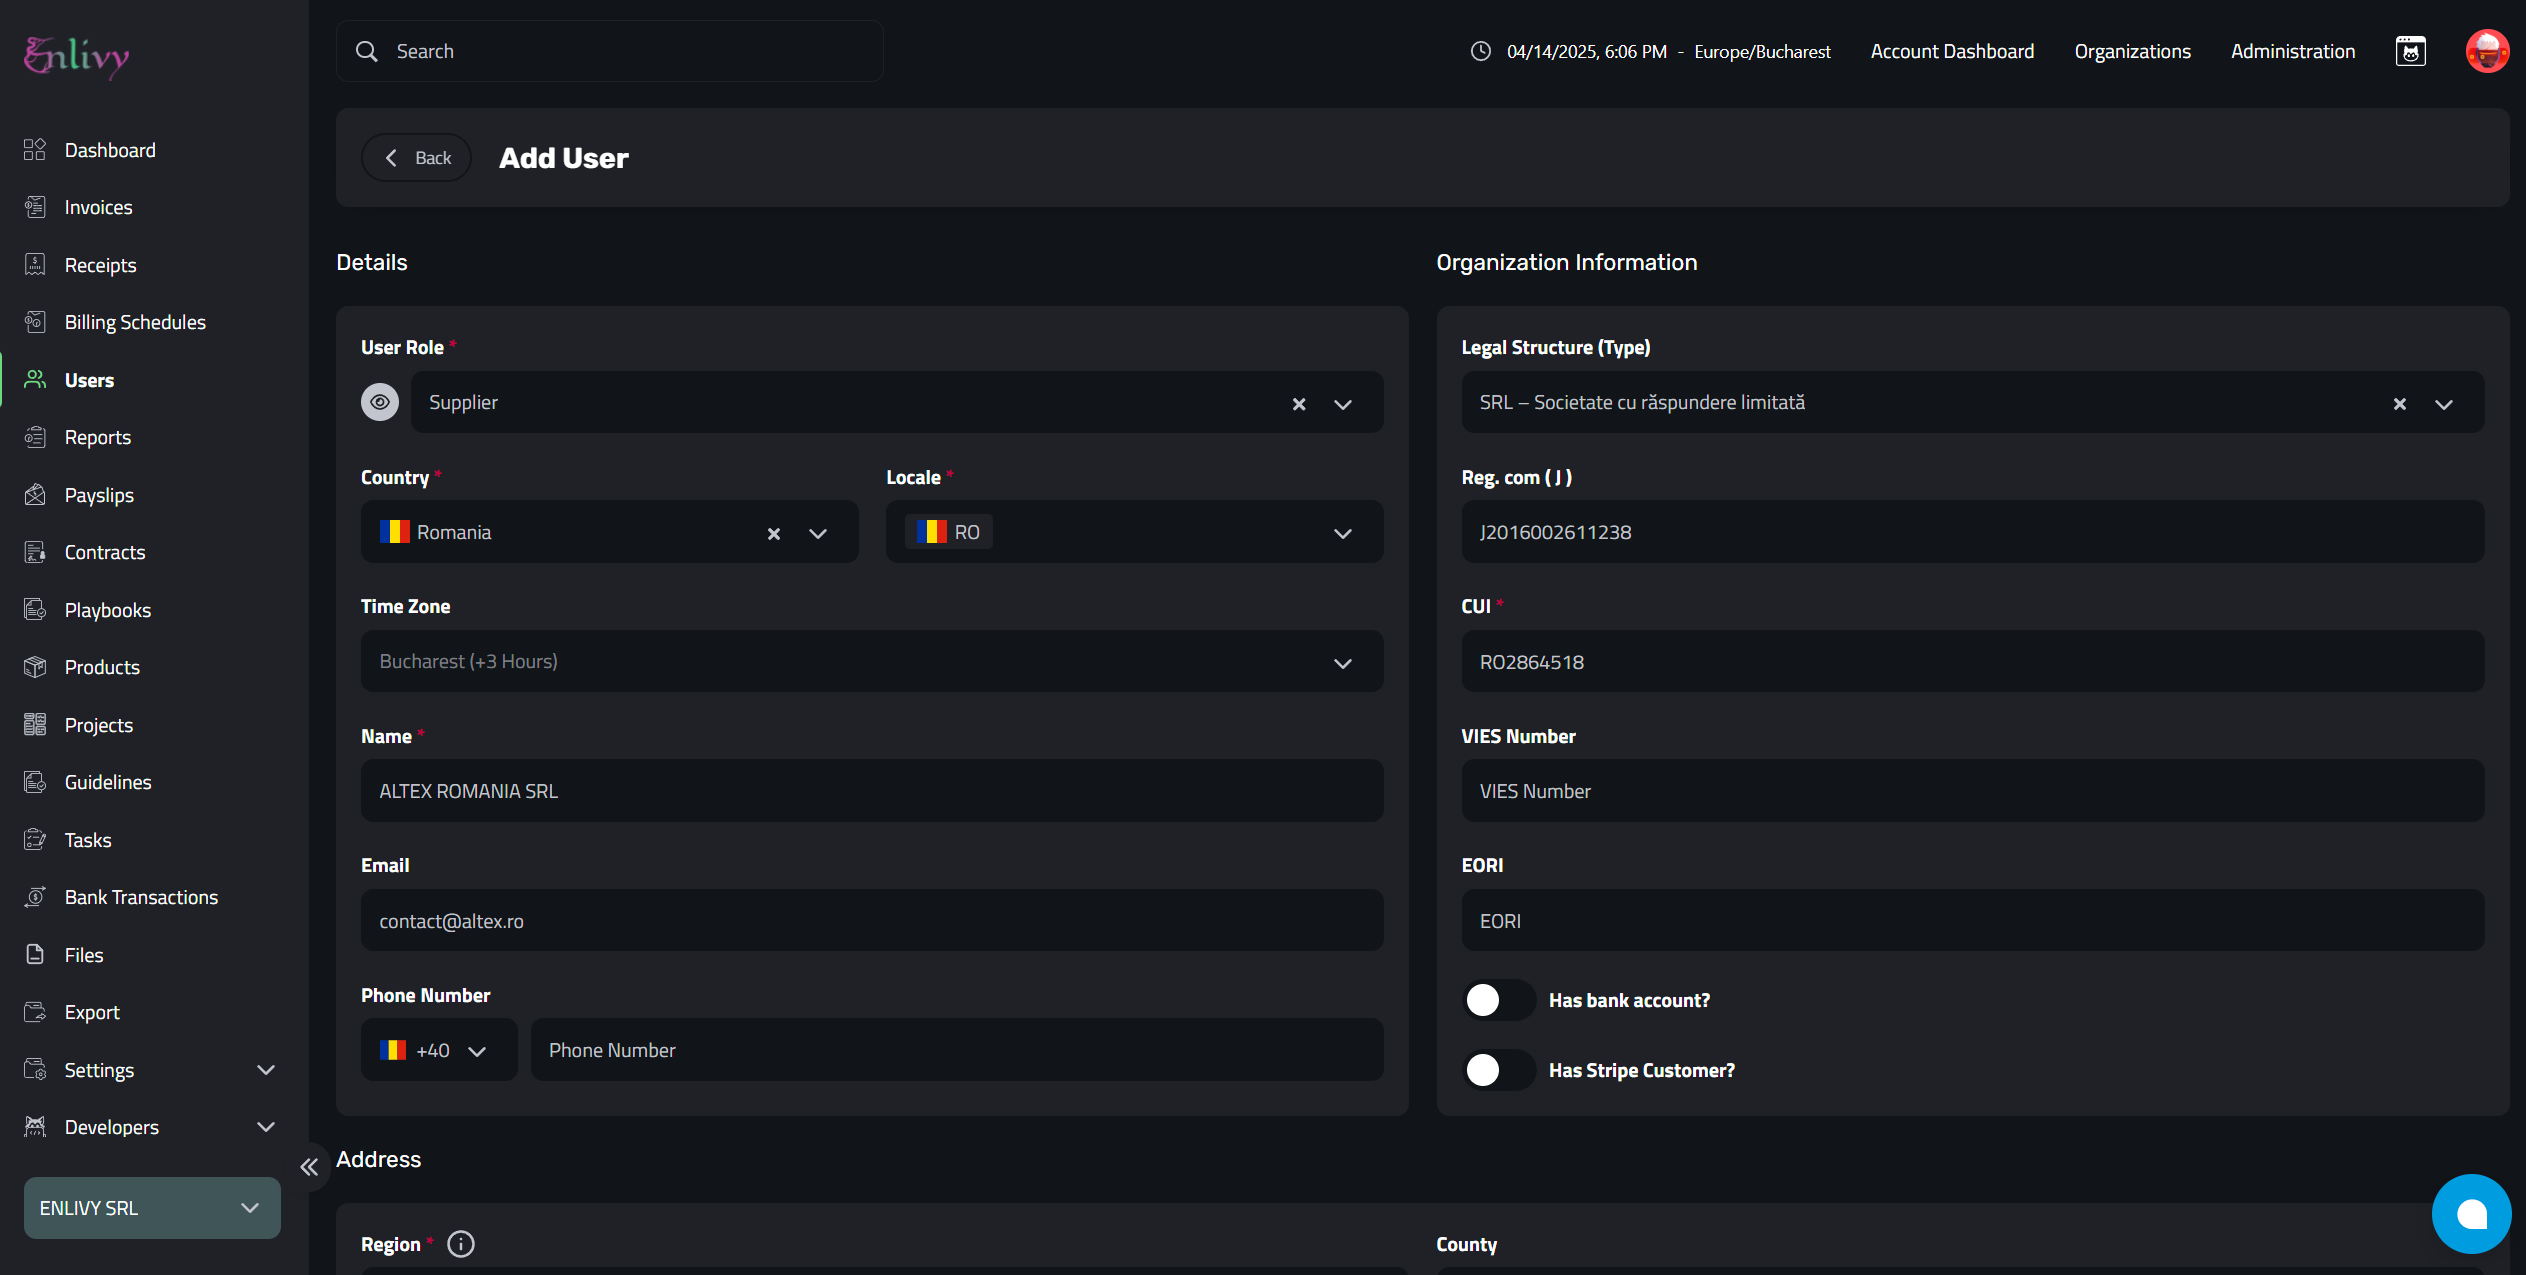
2. Organization Information (if the selected role is for an organization)
- Legal Structure (Type) – Choose the appropriate legal entity type (e.g., SRL, SA, LTD).
- Registration Number – For Romania, this includes:
- Reg. Comertului (J) – Romanian trade registry number.
- CUI (RO) – Romanian unique tax identification number.
- Has Bank Account – Check this if the user is connected to a bank account.
- Has Stripe Customer – Check this if the user is linked to Stripe.
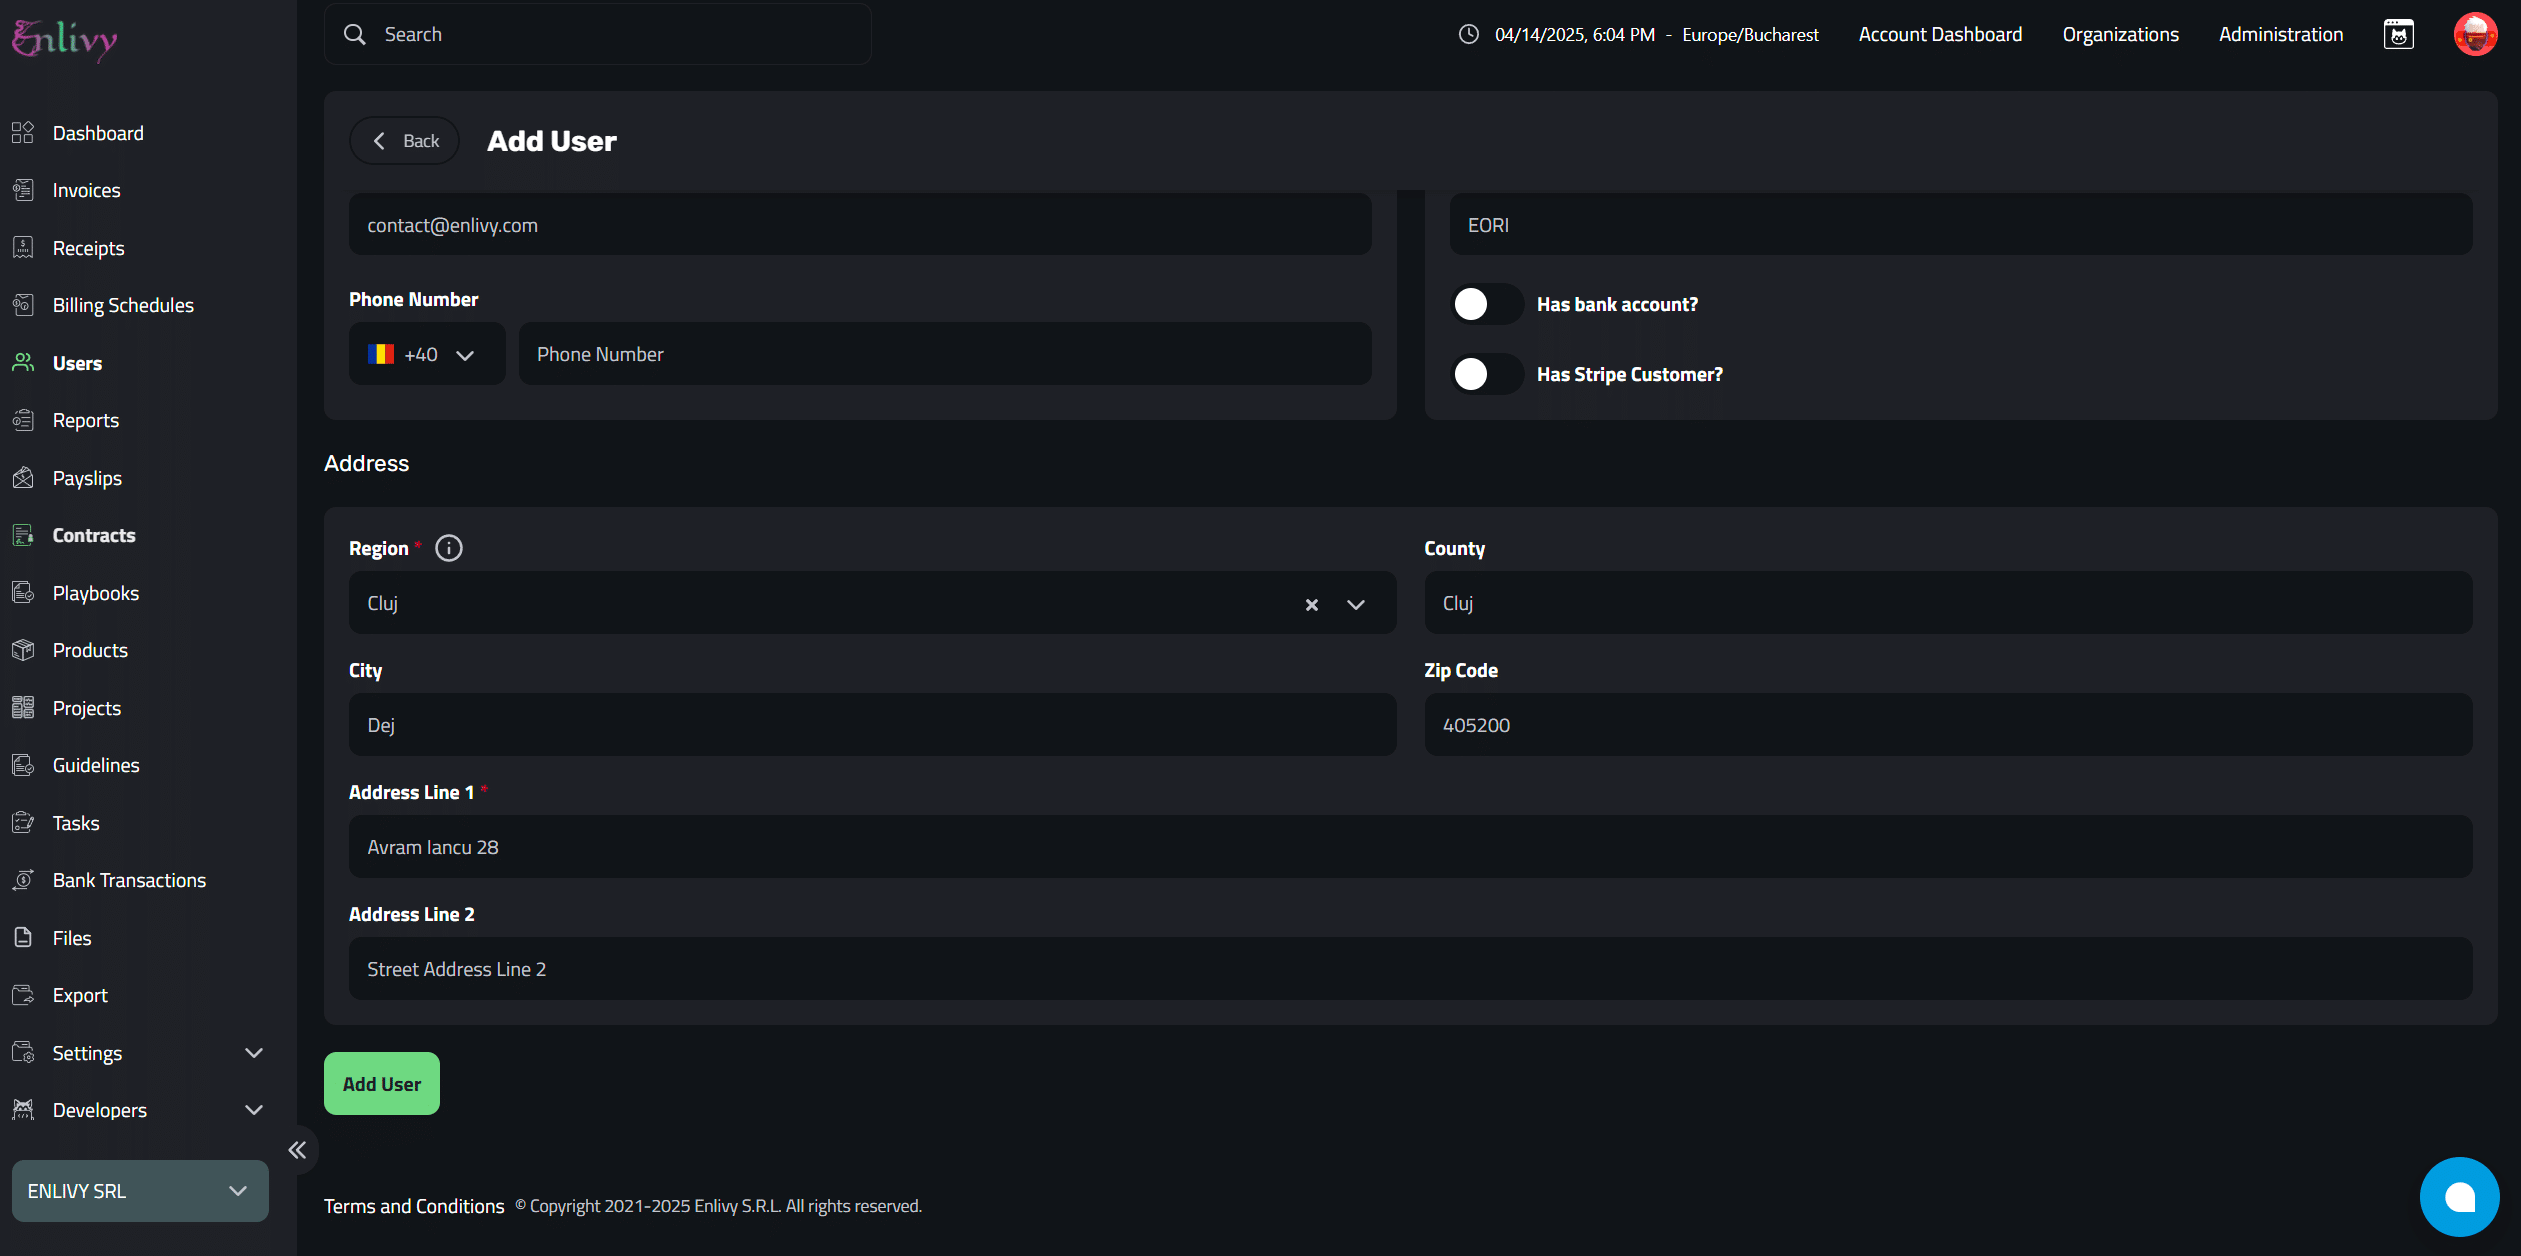
3. Address Information
- Region – The geographical region (state/province).
- County – The local administrative area.
- City – The city or town.
- ZIP Code – Postal code.
- Address Line – Street name, number, building, etc.
Filling the Details and Adding the User
Once you’ve filled in all the necessary details: User Details, Organization Information (if applicable), and Address Information, remember to double-check everything for accuracy.
Don’t forget to click on Add User to successfully create the new user in your Enlivy account.
Examples – Adding Users
In the next example, we’ll walk you through how to add three different types of users in Enlivy:
- Your own organization (as a company user)
- An individual client (person)
- A supplier (another company)
Example 1 – Adding your organization as an user
Example 2 – Adding a Supplier as an User
Example 2 – Adding a Client Person as an User
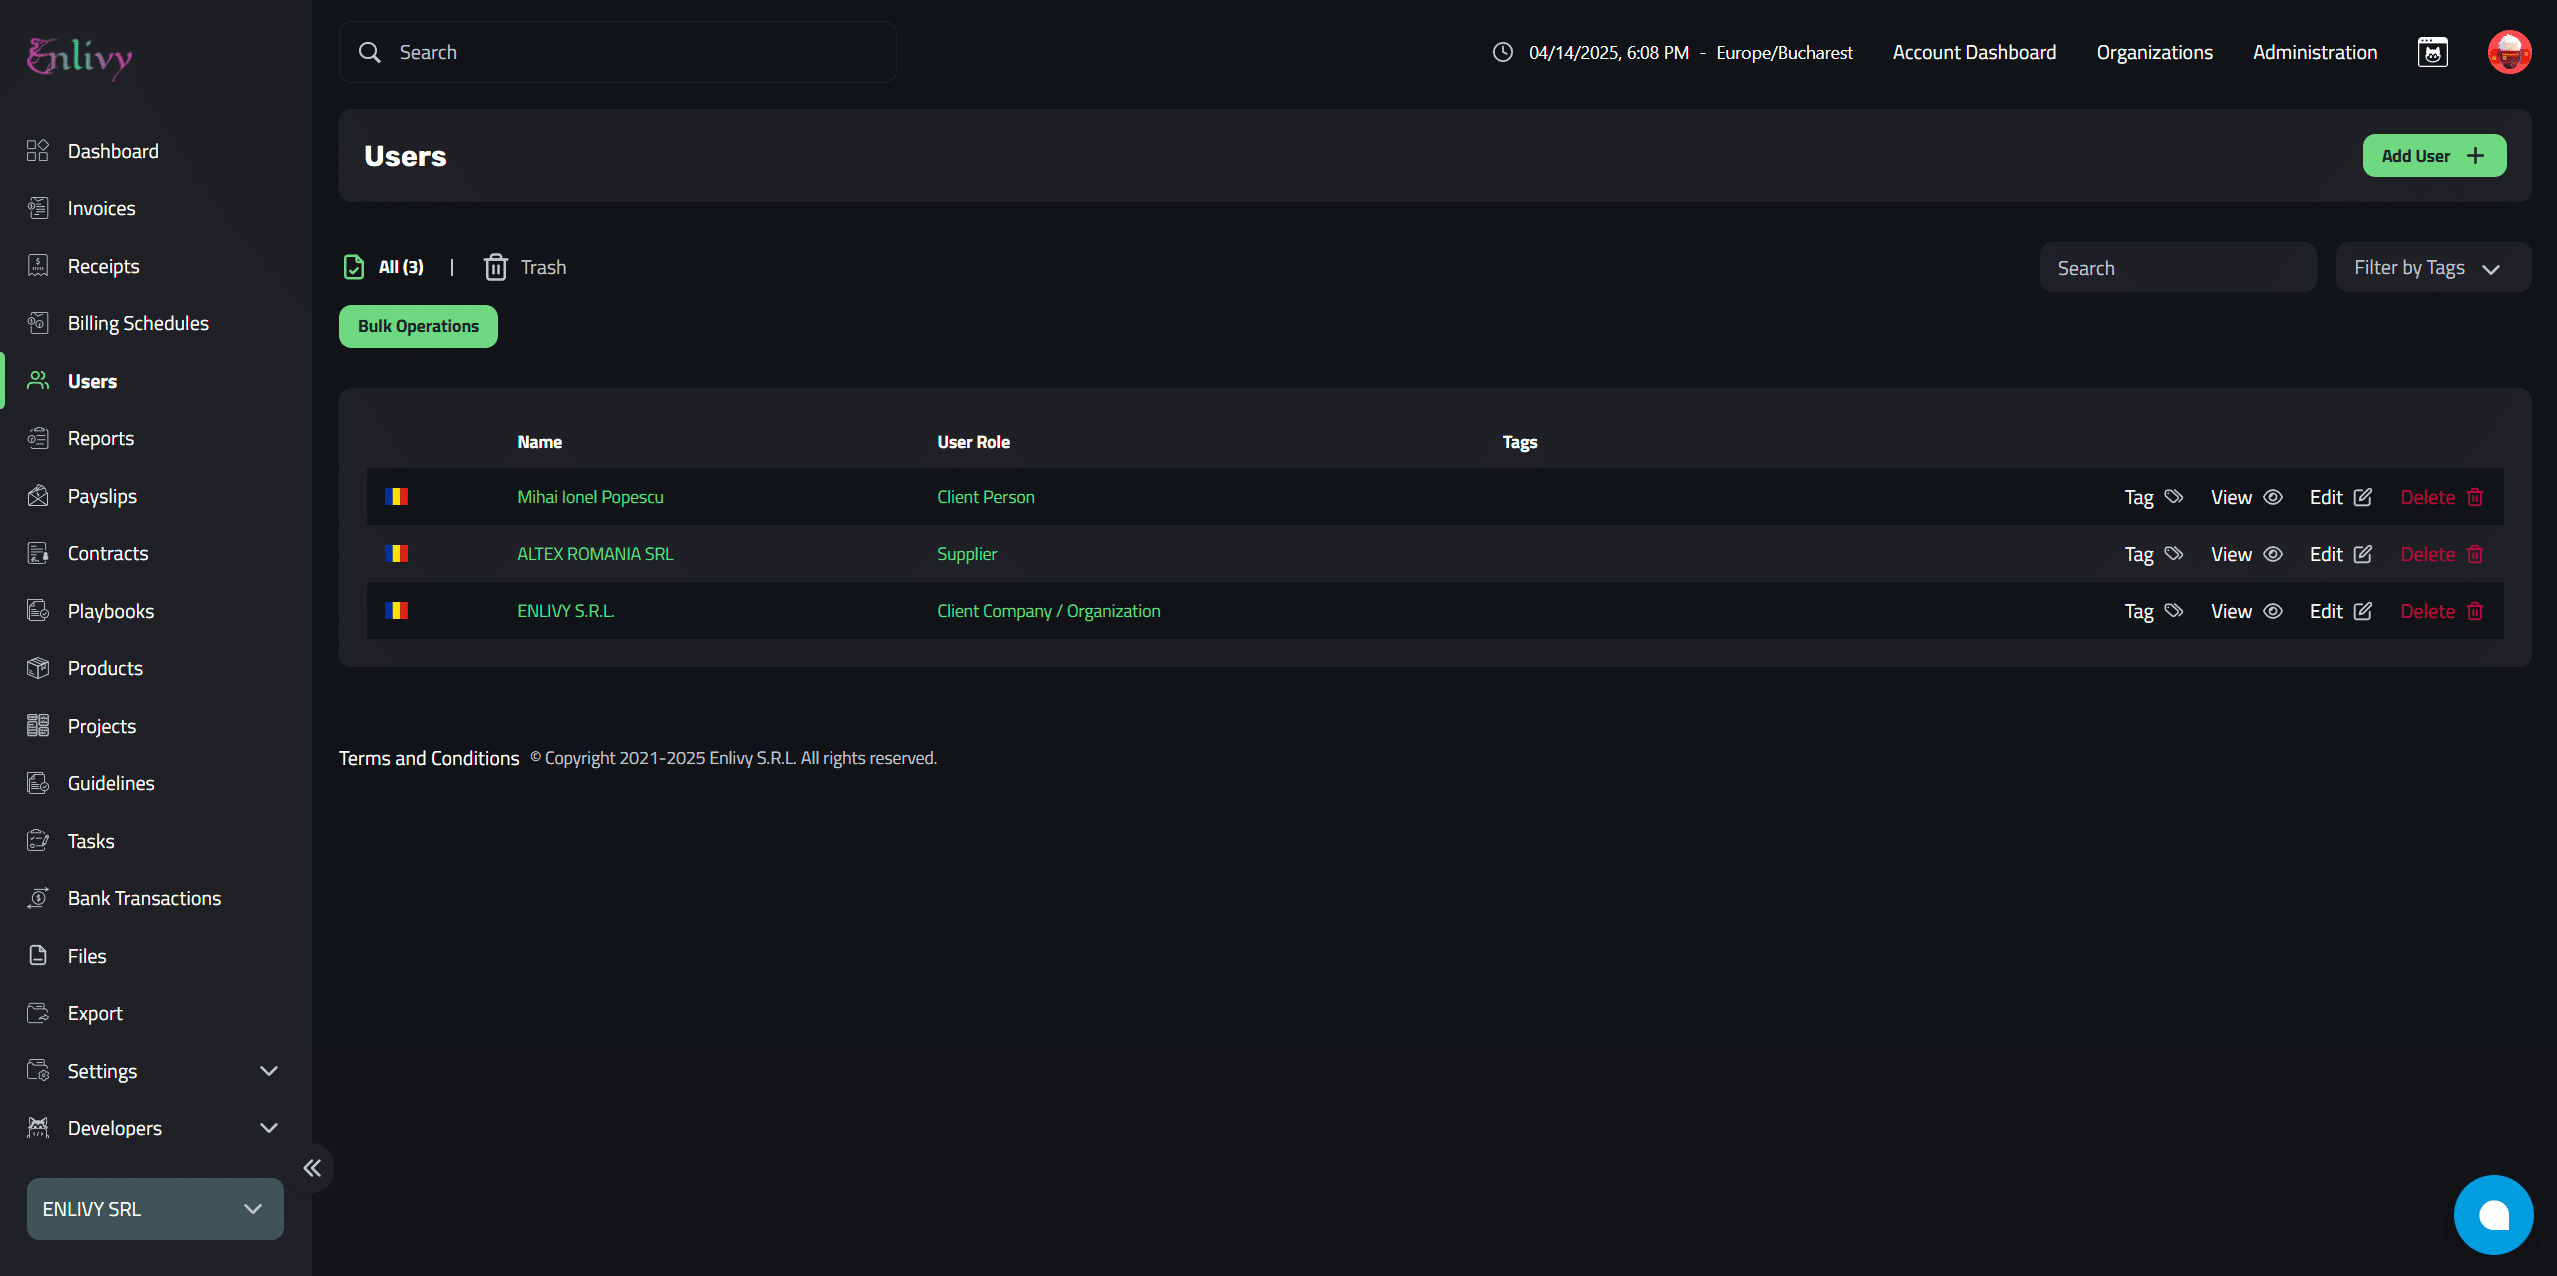
User Dashboard After Adding Three Example Users
In the next screenshot, you’ll see how the User Dashboard appears after adding the three users from our example: your organization, a client, and a supplier.
From this dashboard, you can easily add new users, edit existing ones, delete them, or assign tags for better organization and filtering.