Creating your Account
Welcome to Enlivy – your command center for business operations, automation, and compliance.
Enlivy is built to scale with you, whether you’re launching as a freelancer or managing a global enterprise.
Before you can unlock the full potential of Enlivy’s platform, you’ll need to create your account and set up your organization.
This guide walks you through the entire process – from registration to accessing your business dashboard.
Let’s get started.
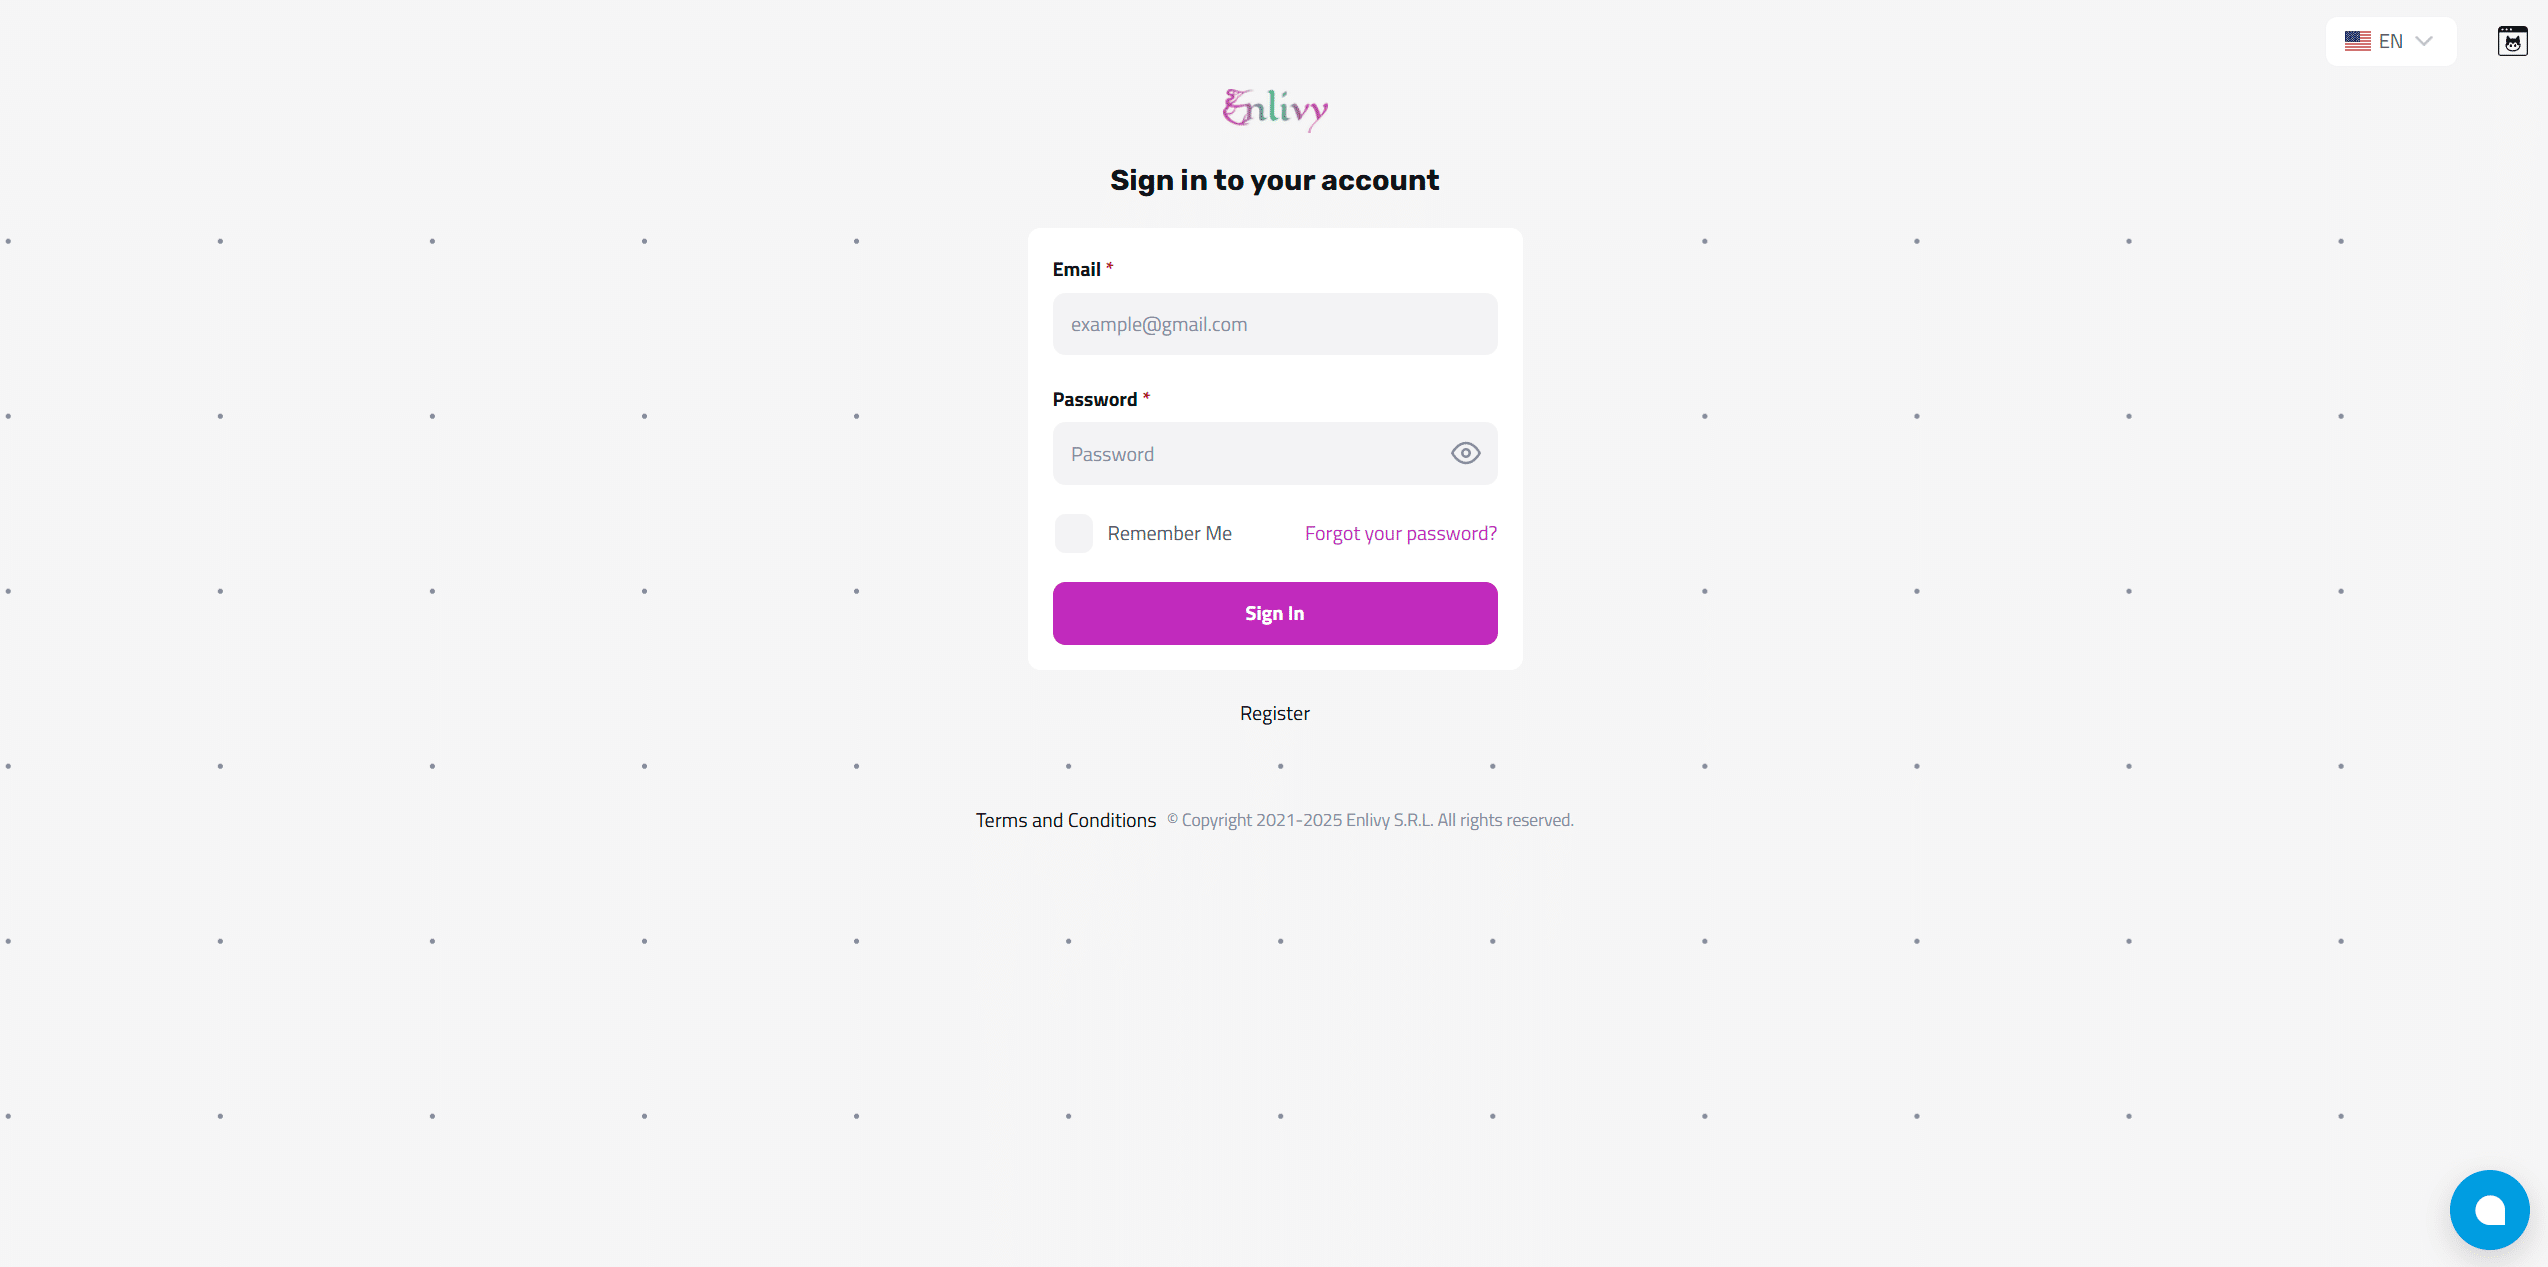
Visit the Enlivy Platform
Visit https://app.enlivy.com. You’ll arrive at the login screen. New users should click Register to begin the sign-up process.
Enter Your Personal Details
Fill in the fields with your:
- First and last name
- Country (this sets your localization defaults)
- Email address
- Password and confirmation
Once completed, click Sign up to proceed.
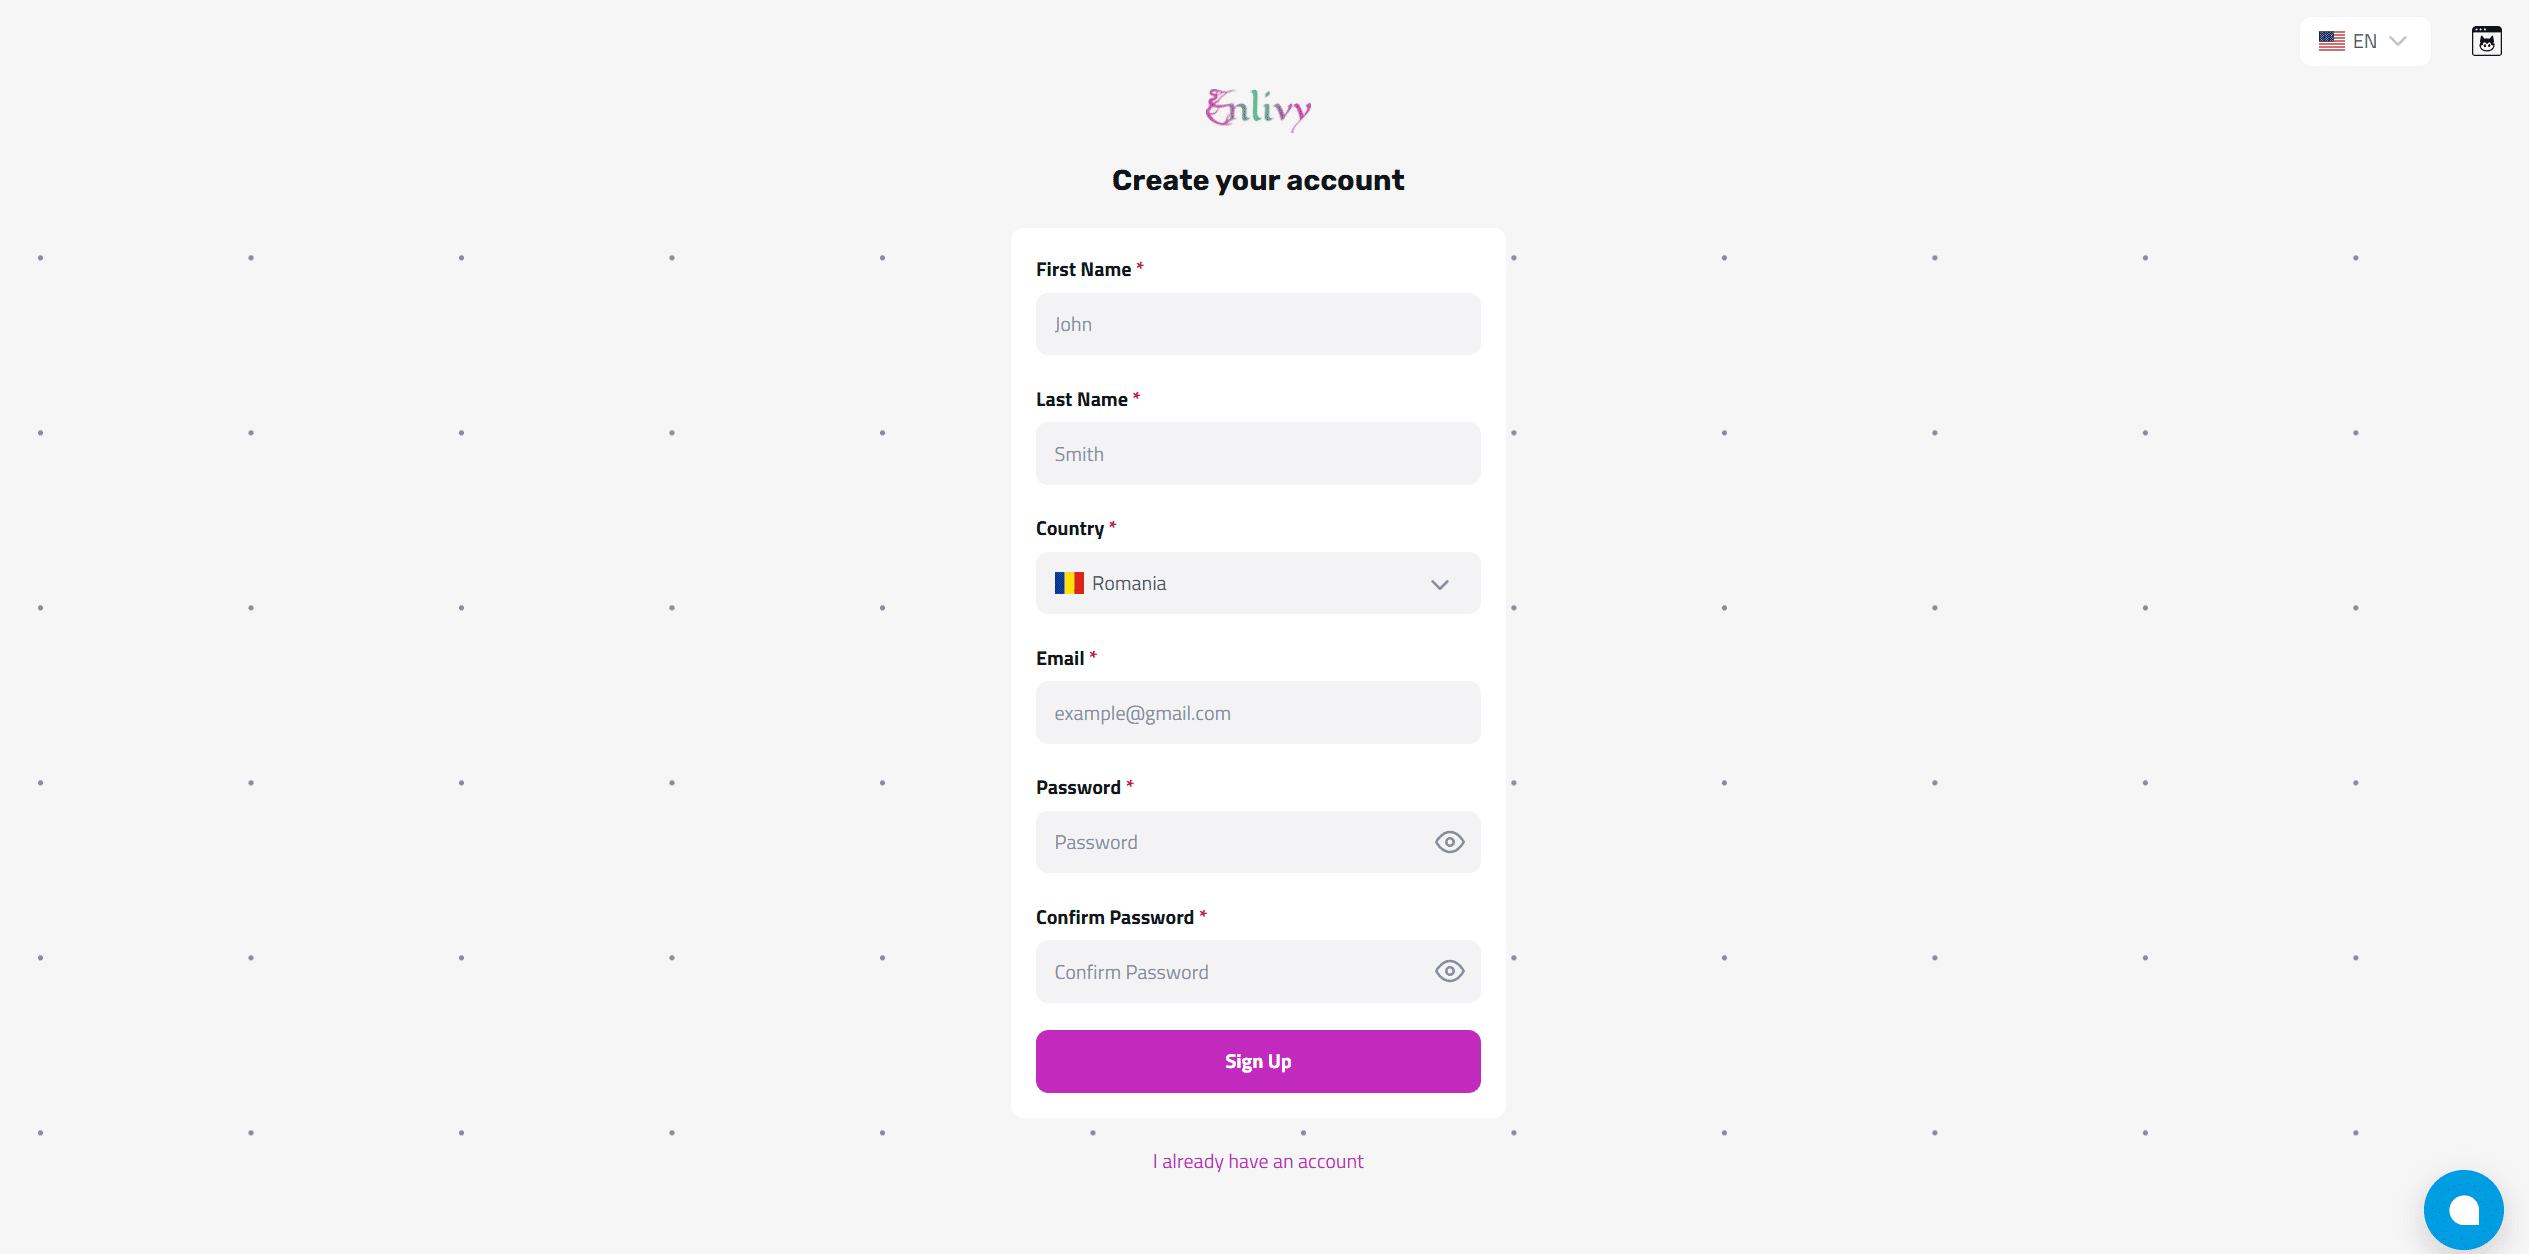
Completed Registration Form
Ensure all fields are filled correctly before clicking Sign up.

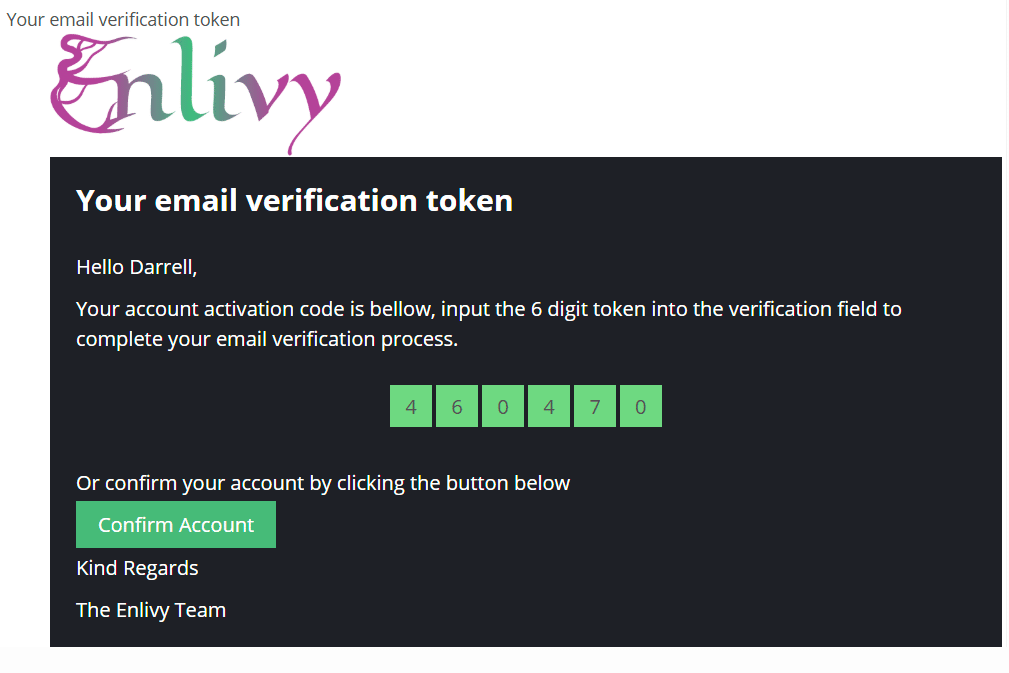
Email Verification Prompt
You’ll receive a verification email containing a 6-digit code. Enter this code on the platform to confirm your identity and activate your account.
Can’t find the email? Check your spam or promotions folder.
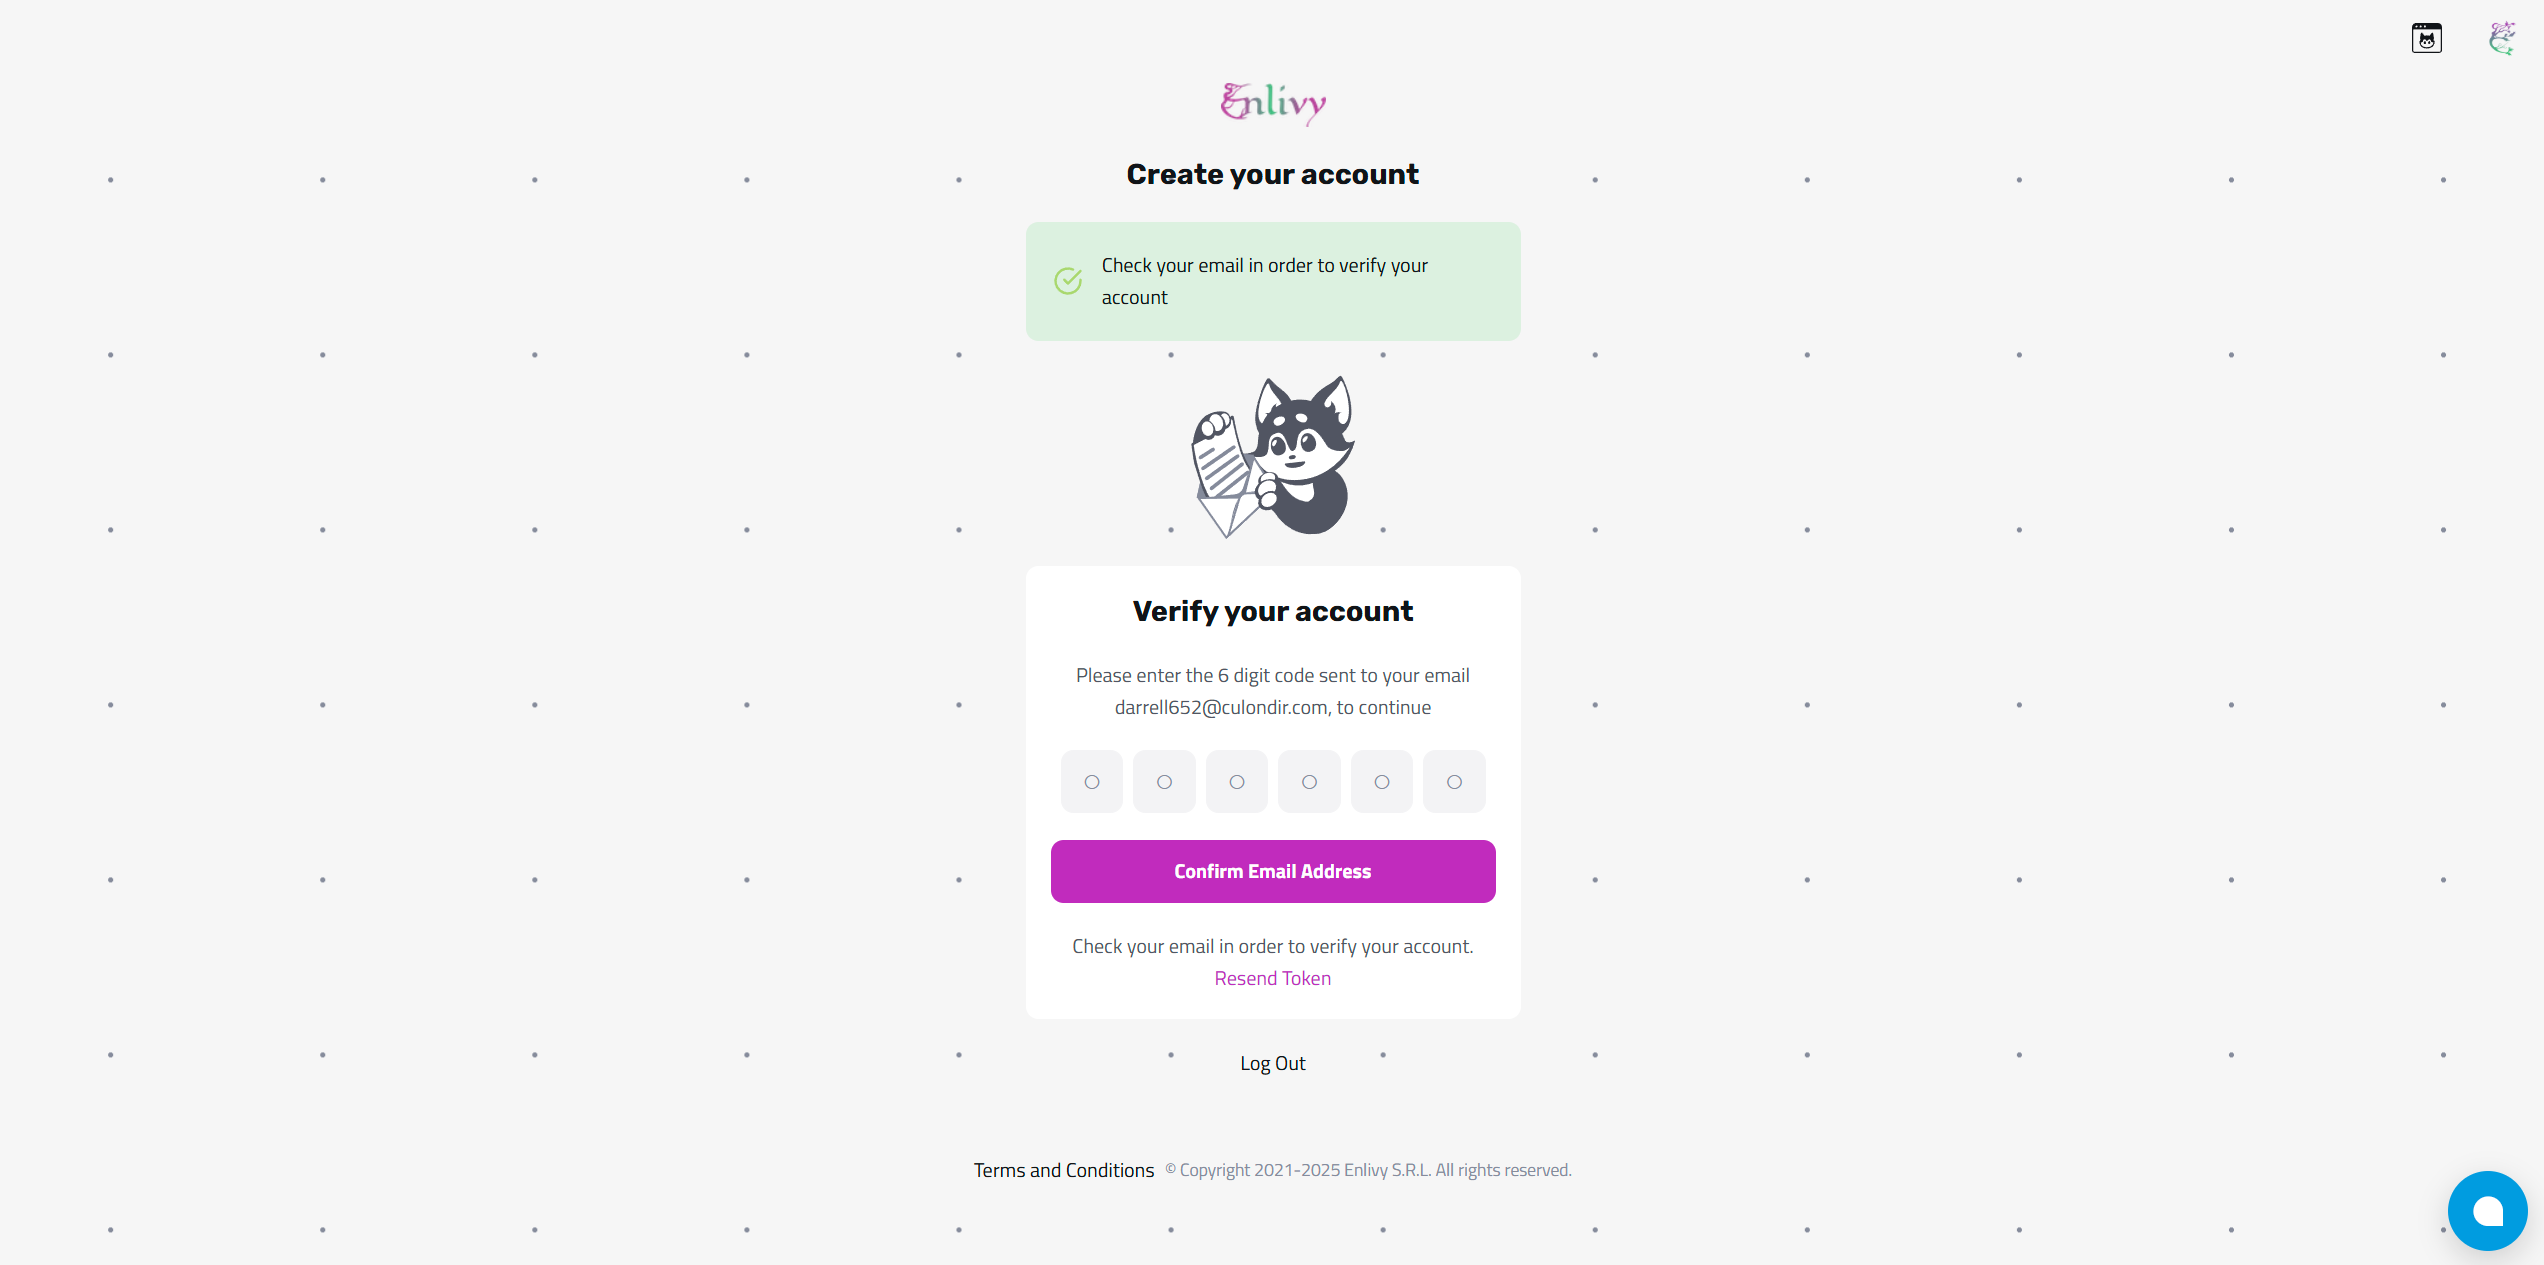
Find the Verification Code
Open your email and locate the message from Enlivy containing the 6-digit code. Copy this code.
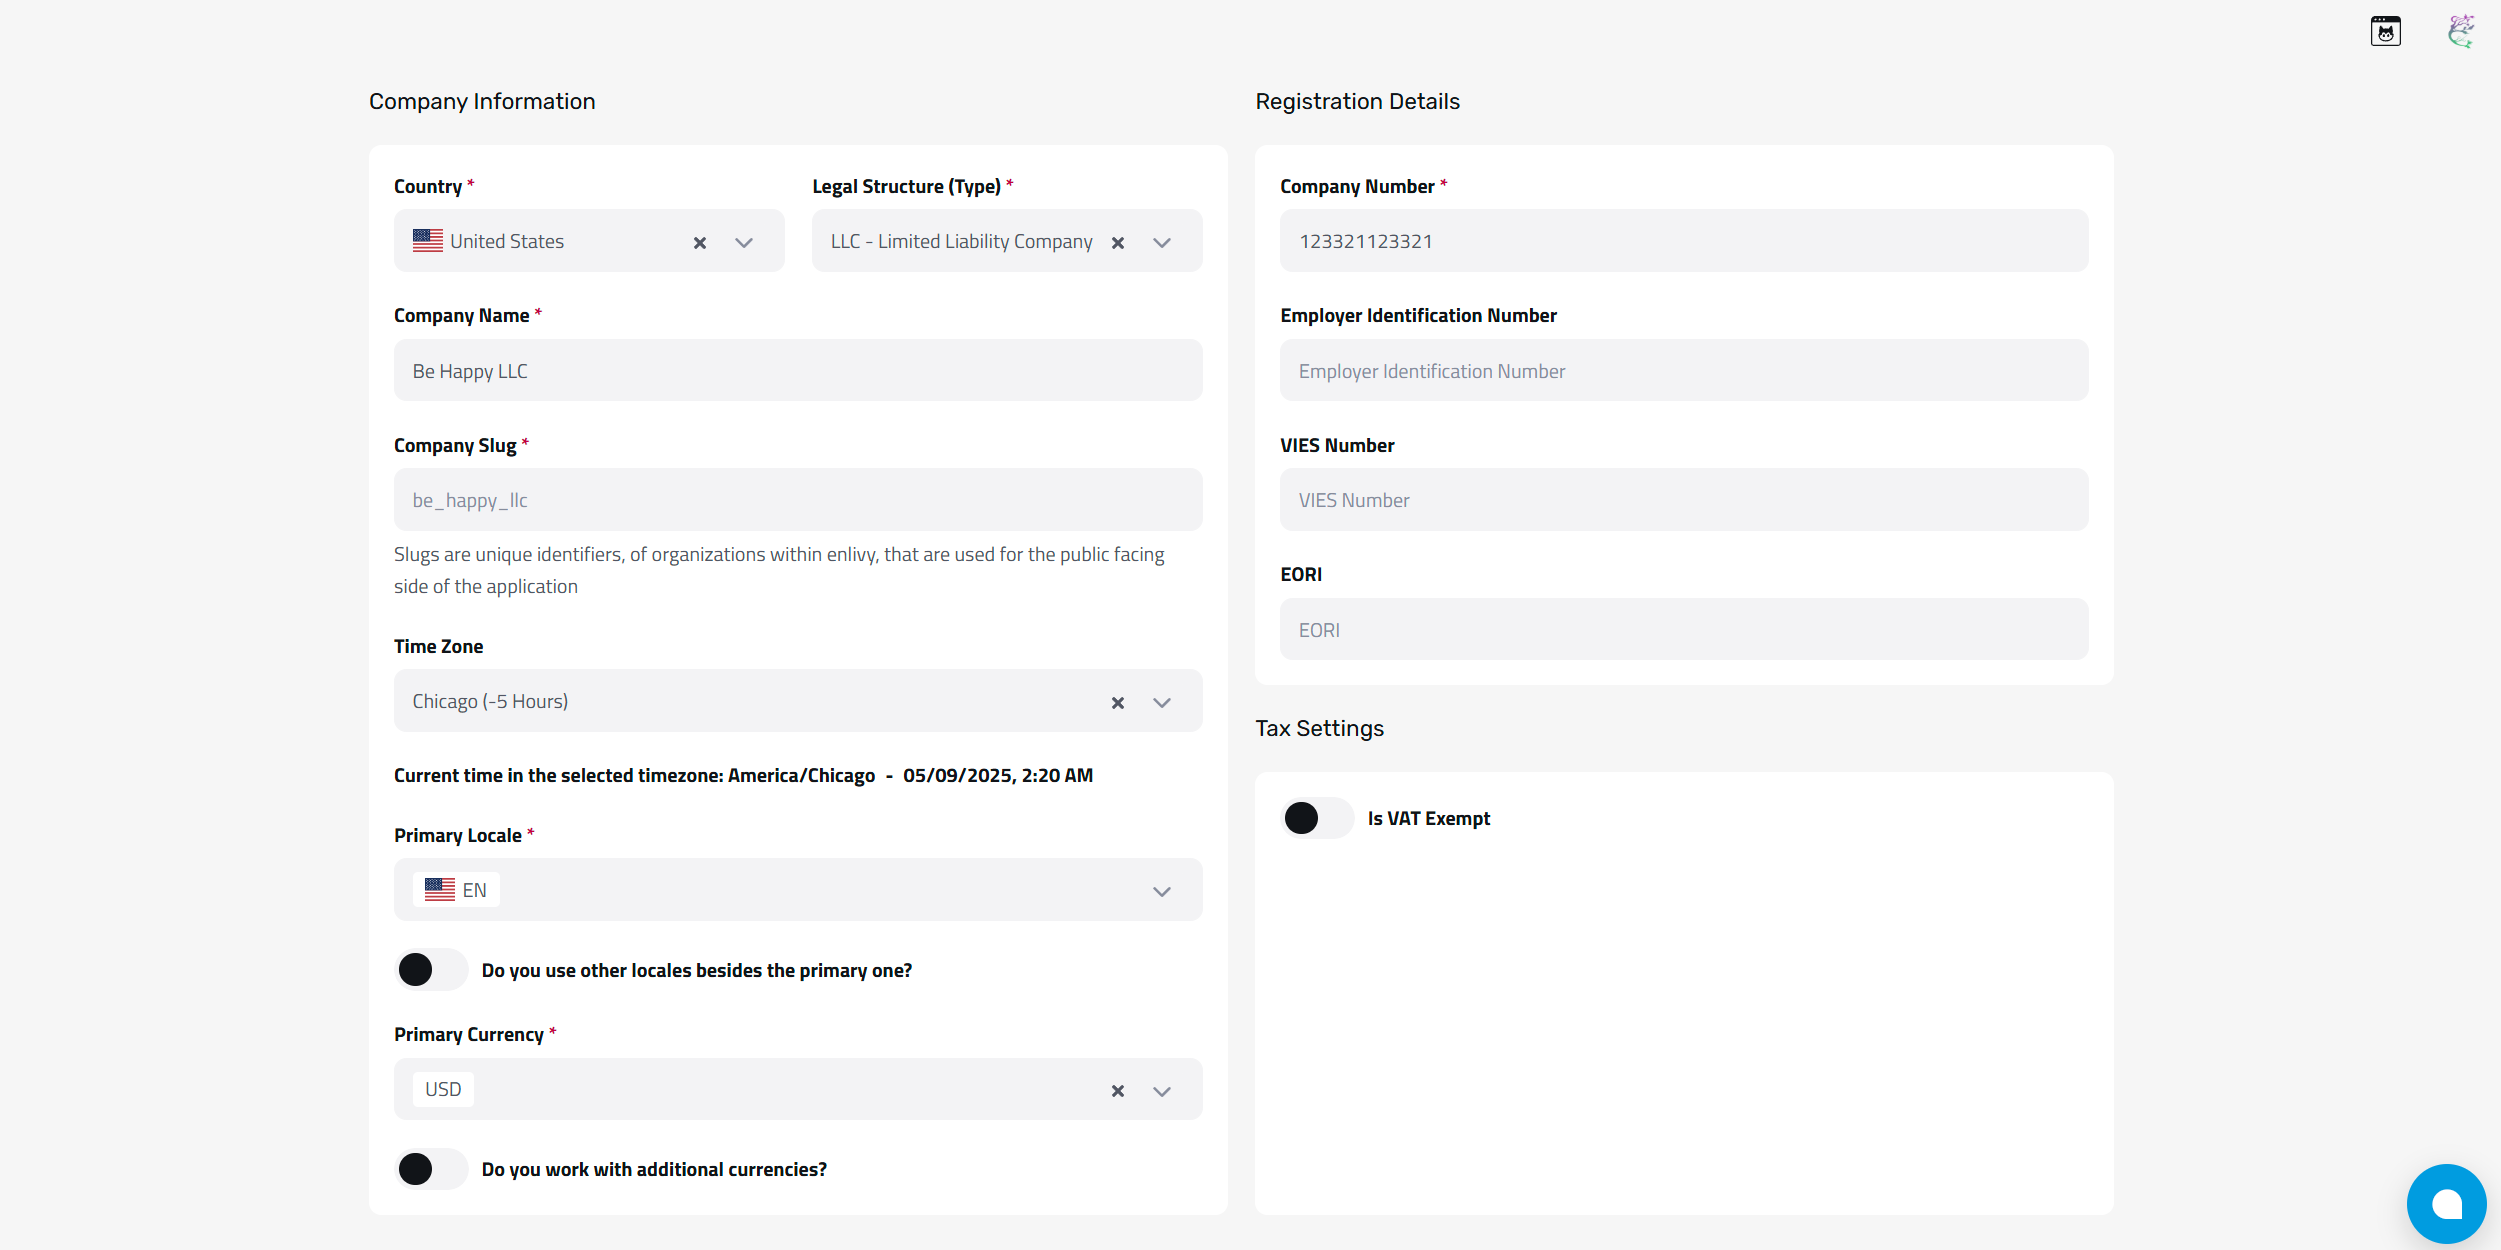
Company Information
After verification, you’ll be guided through creating your organization. This includes:
- Country
- Company Name
- Slug (used in the URL)
- Timezone (used for invoicing and records)
- Locale (language and date format)
- Primary Currency
These settings ensure your documents, records, and reports align with your business’s operational standards. You can modify them later in Settings → Organization.

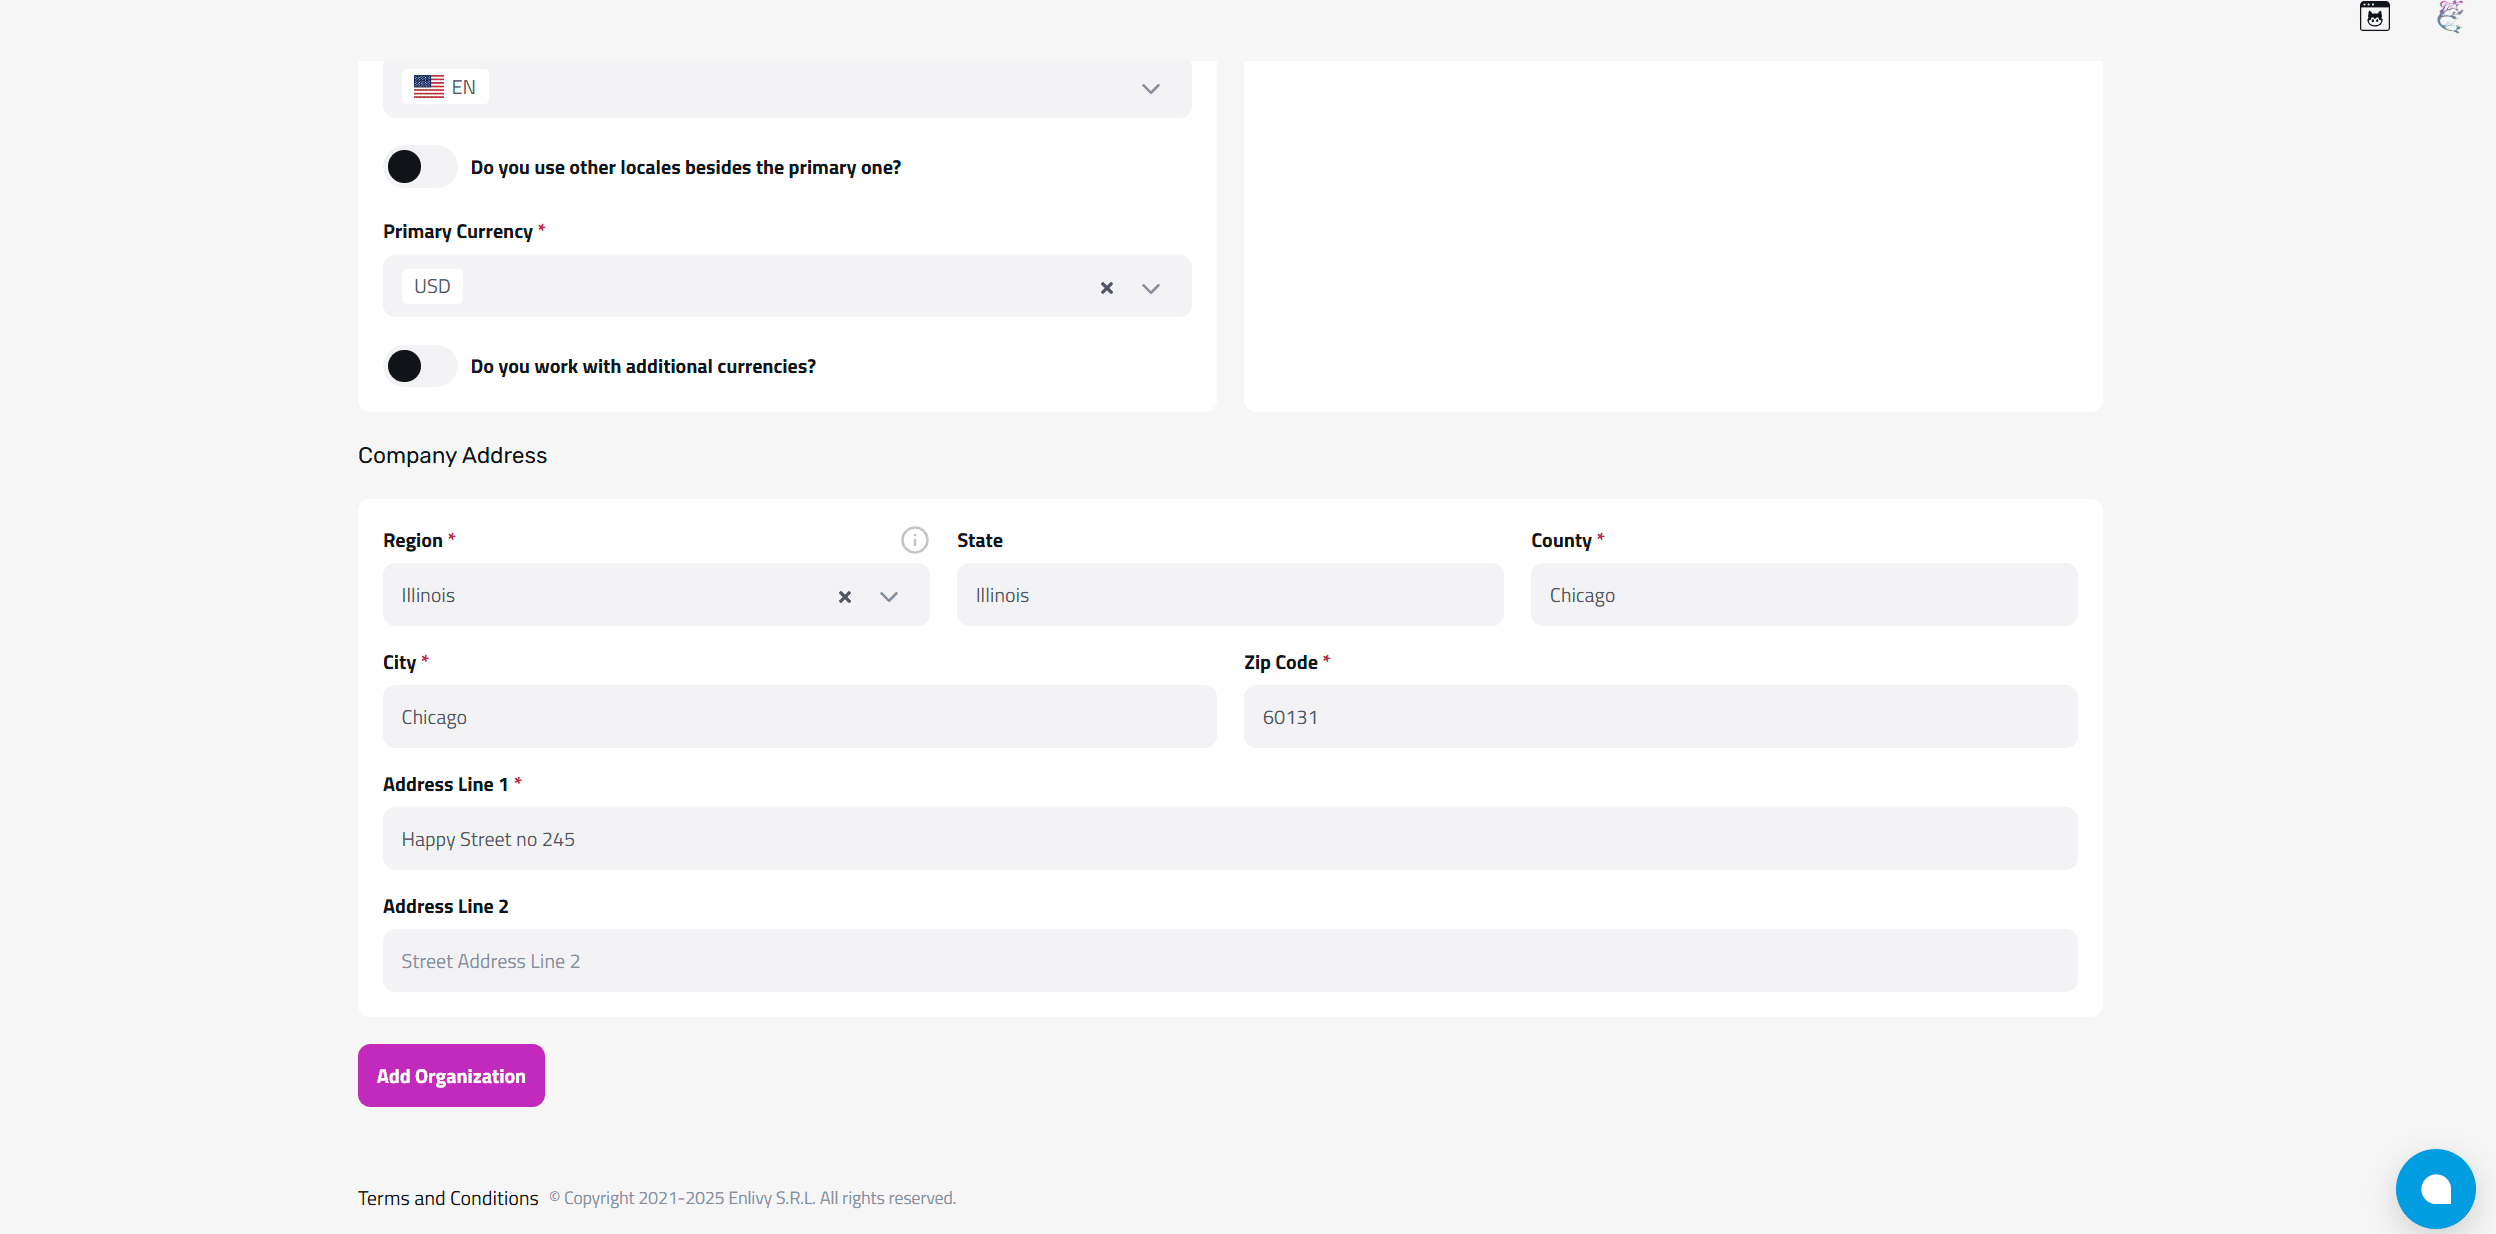
Company Address
Next, enter your company address:
- Region
- County
- City
- ZIP Code
- Address Line 1 & 2
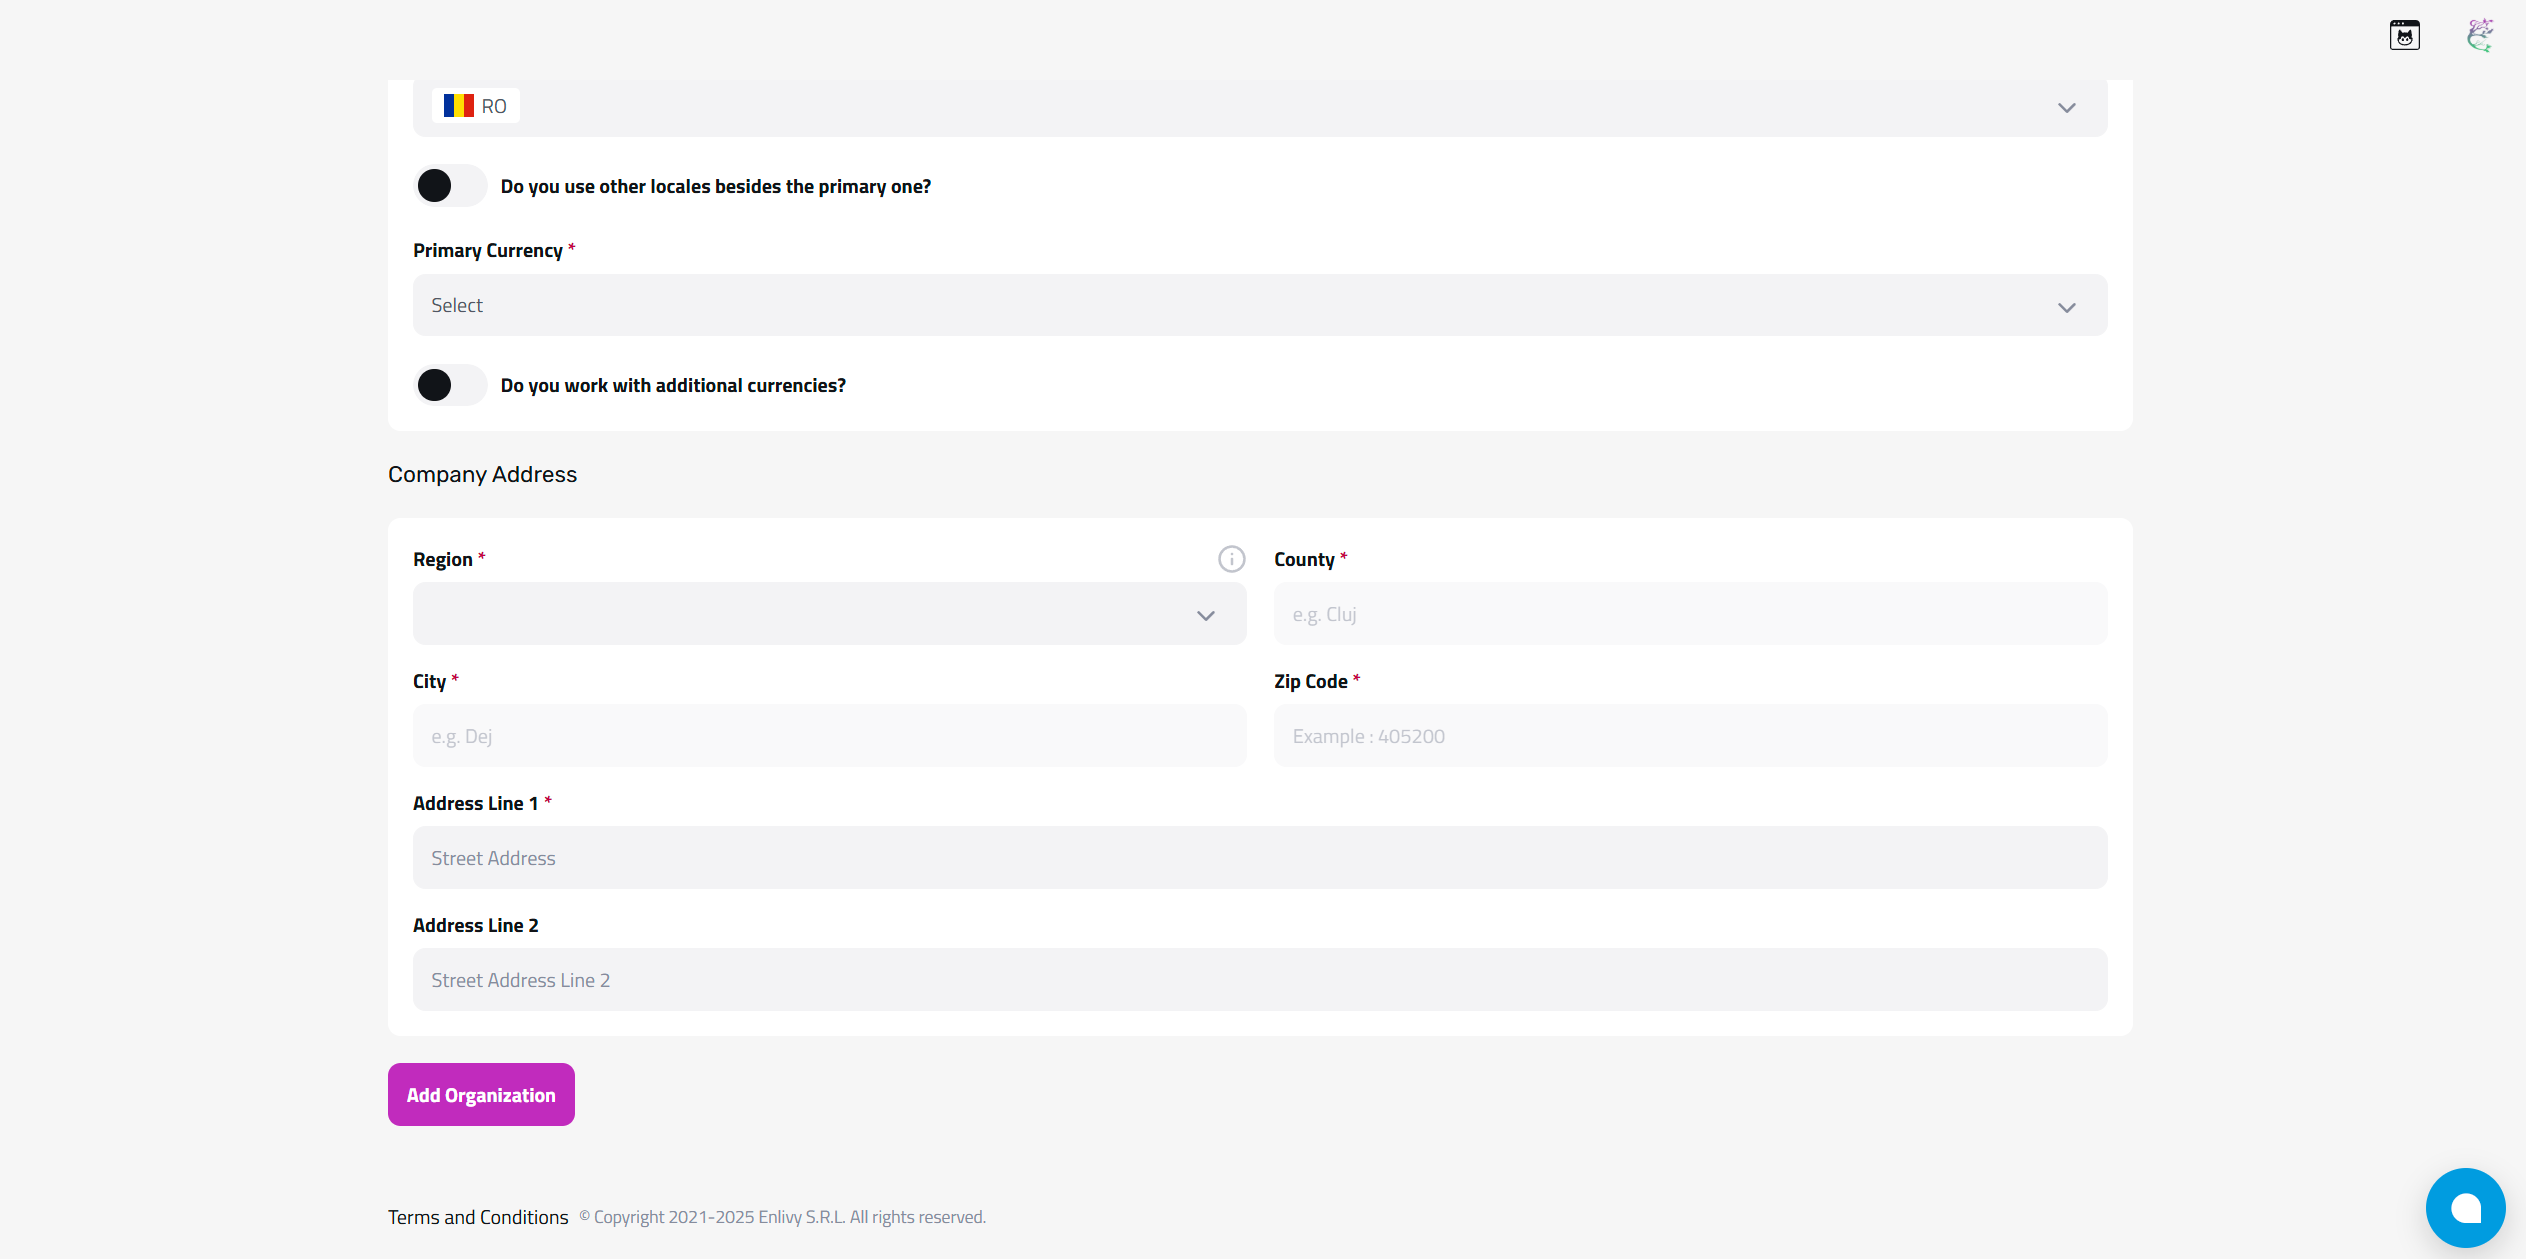
After reviewing your information, click Add Organization to complete setup.
Example of Completed Company Info
Here’s how a correctly filled setup might look for a business based in the United States.
Example of Completed Address Info
Review your company address and click Add Organization to continue.
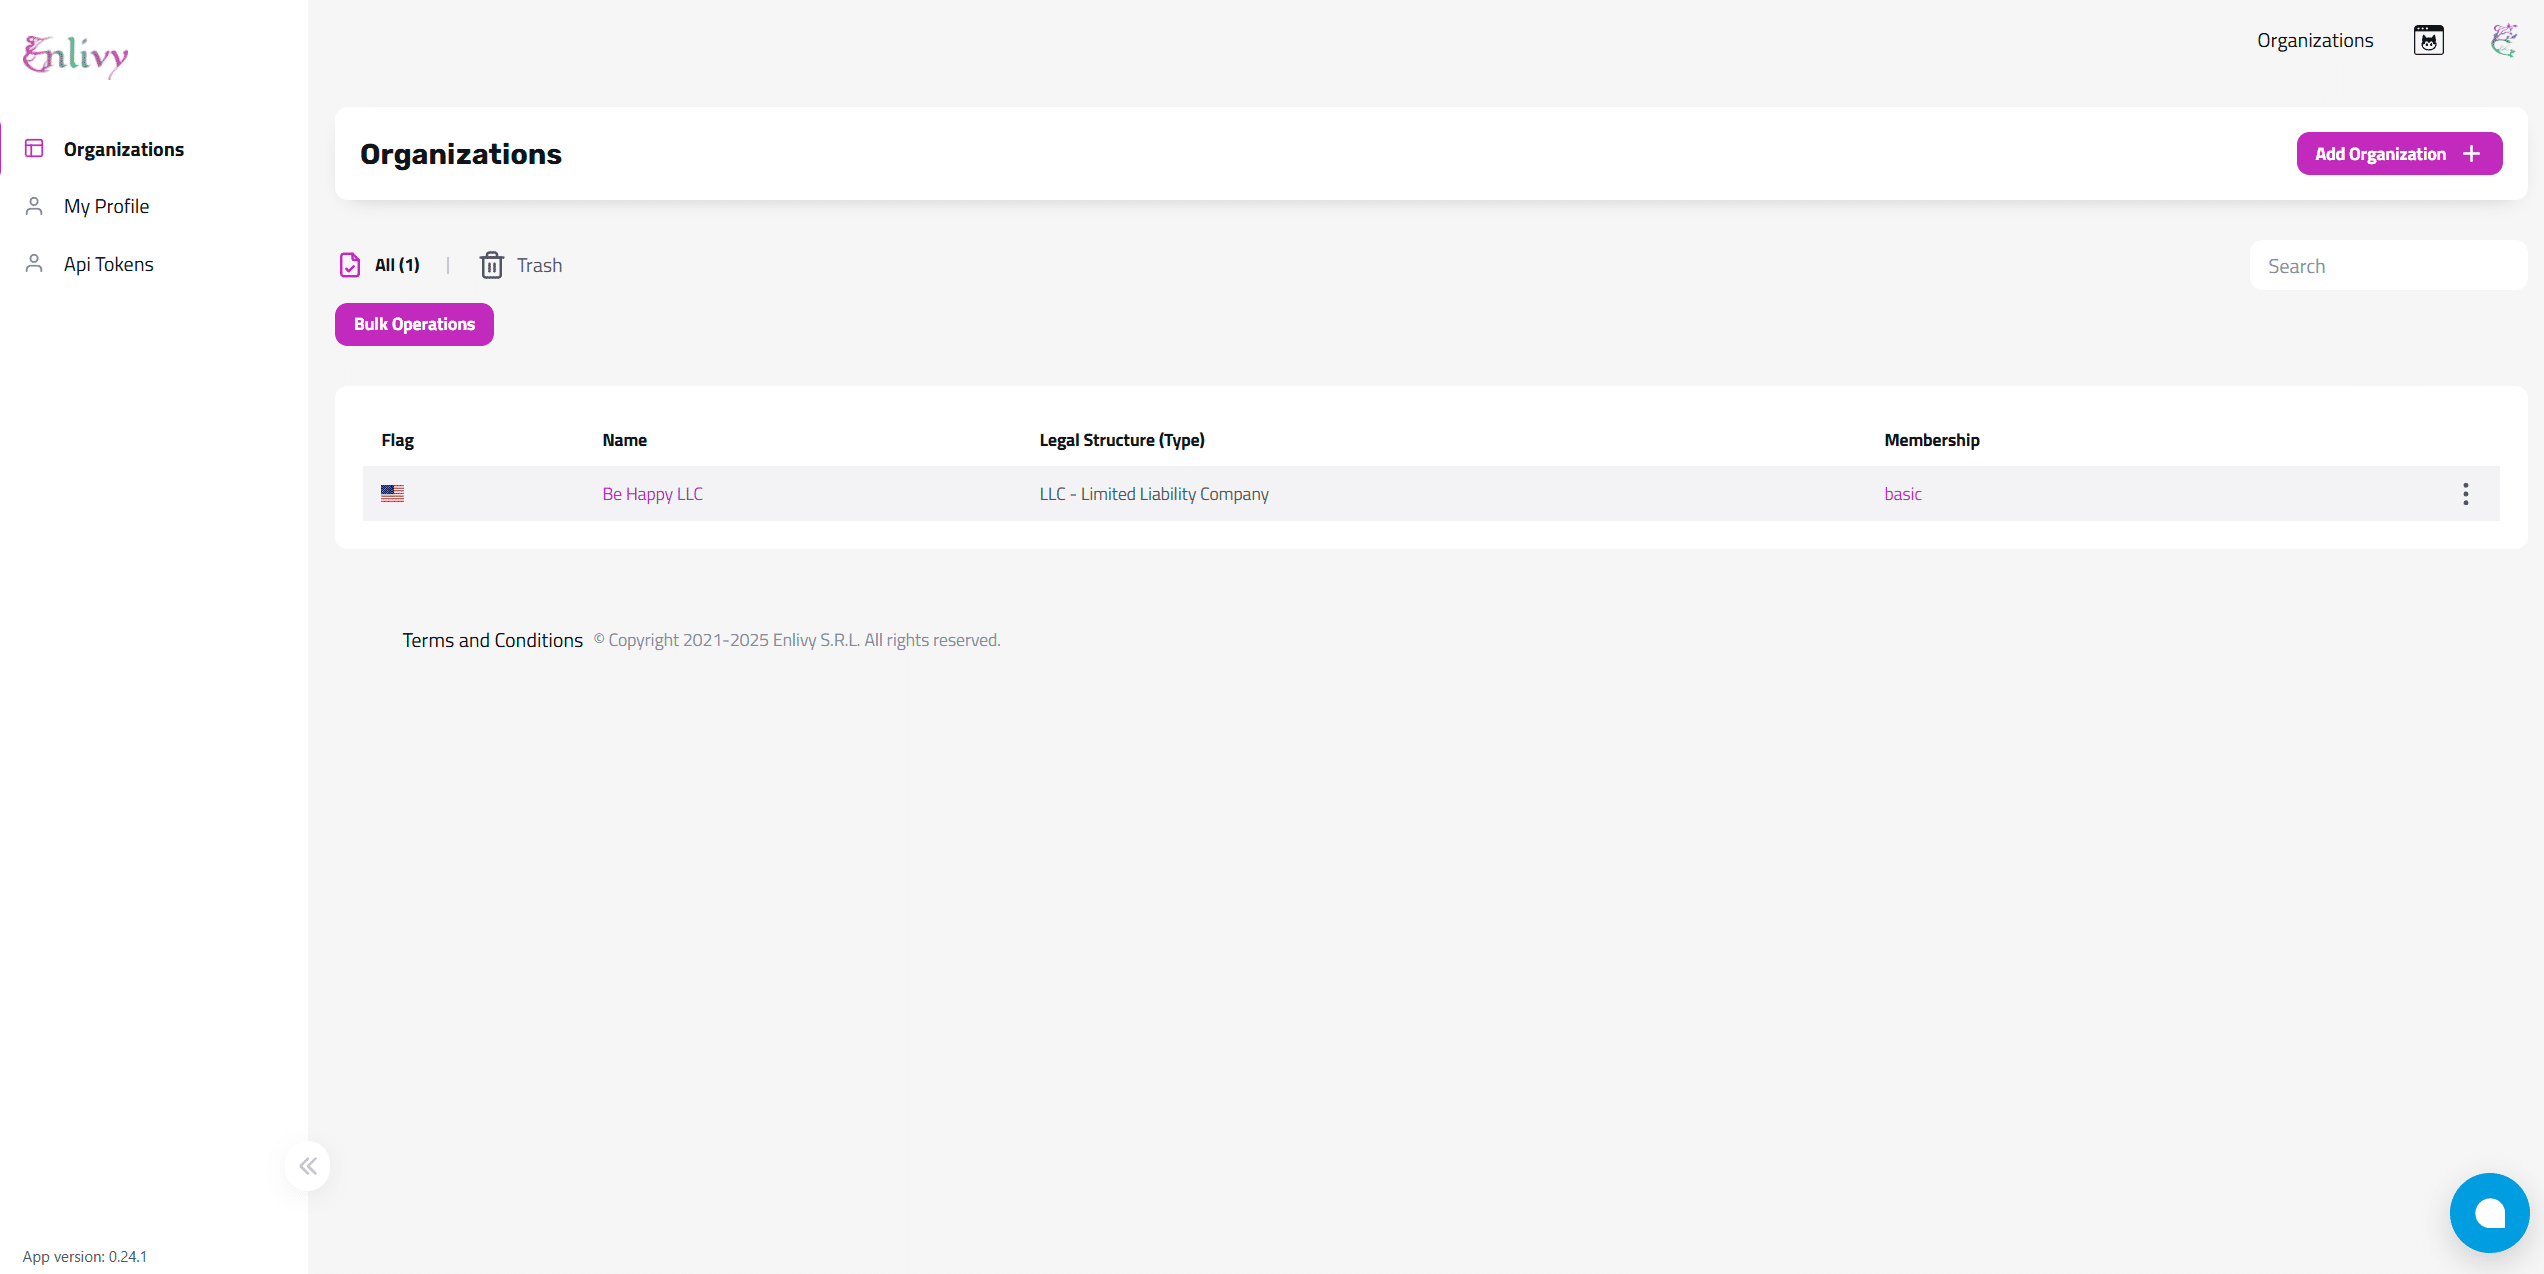
Open the New Organization
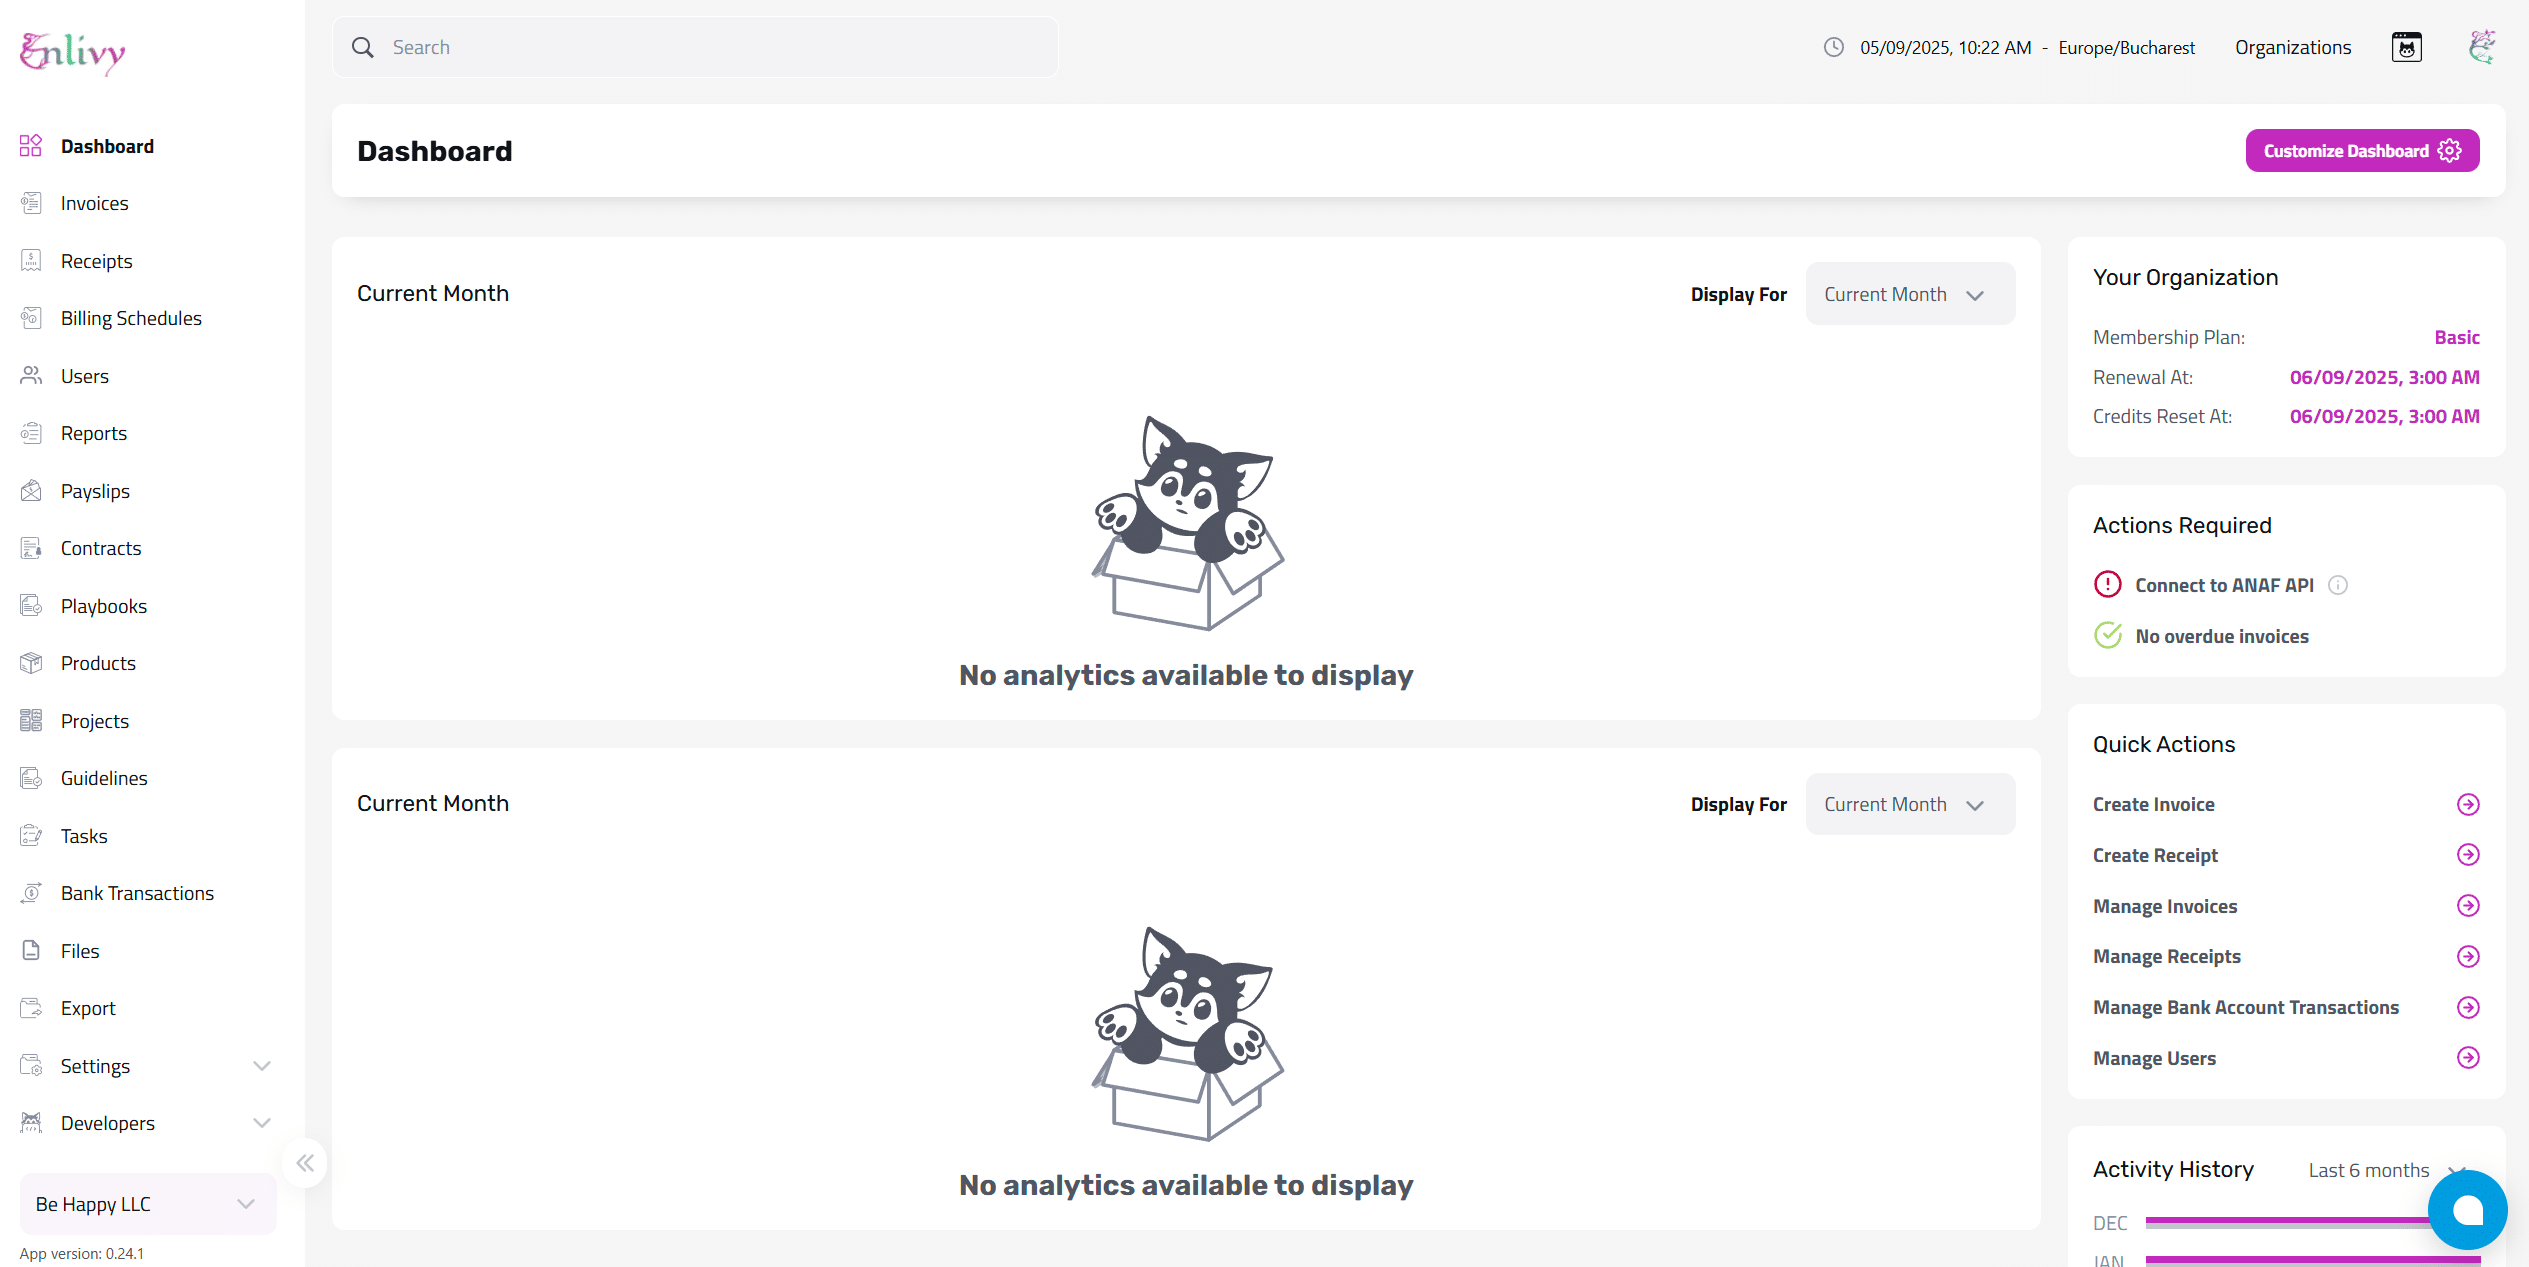
Once your organization is created, it will appear in your organization list. Select it to enter your Enlivy dashboard, your central hub for financial management and operational control.
Explore Enlivy
After selecting your organization, you’ll be taken to the main Enlivy dashboard, the central hub for managing your business.
From here, you can start configuring your company settings, add users, define products or services, set tax rates, customize invoice prefixes, and more. The dashboard is designed to give you a clear overview and quick access to everything your organization needs to operate efficiently.