Adding Files in Enlivy
Enlivy can serve as a secure, centralized hub for storing and managing all the important files relevant to your business.
Whether it’s legal documents, contracts, internal policies, or templates, you can easily upload and organize them within your account.
Why Use File Uploads in Enlivy?
Uploading files directly into Enlivy helps you:
- Keep important documents readily accessible
- Reuse uploaded files across various modules (e.g., attaching a PDF contract to a customer record)
- Organize files efficiently using tags for fast filtering and retrieval
In this guide we will highlight how you can easily add files in Enlivy.
Go to the Files Menu
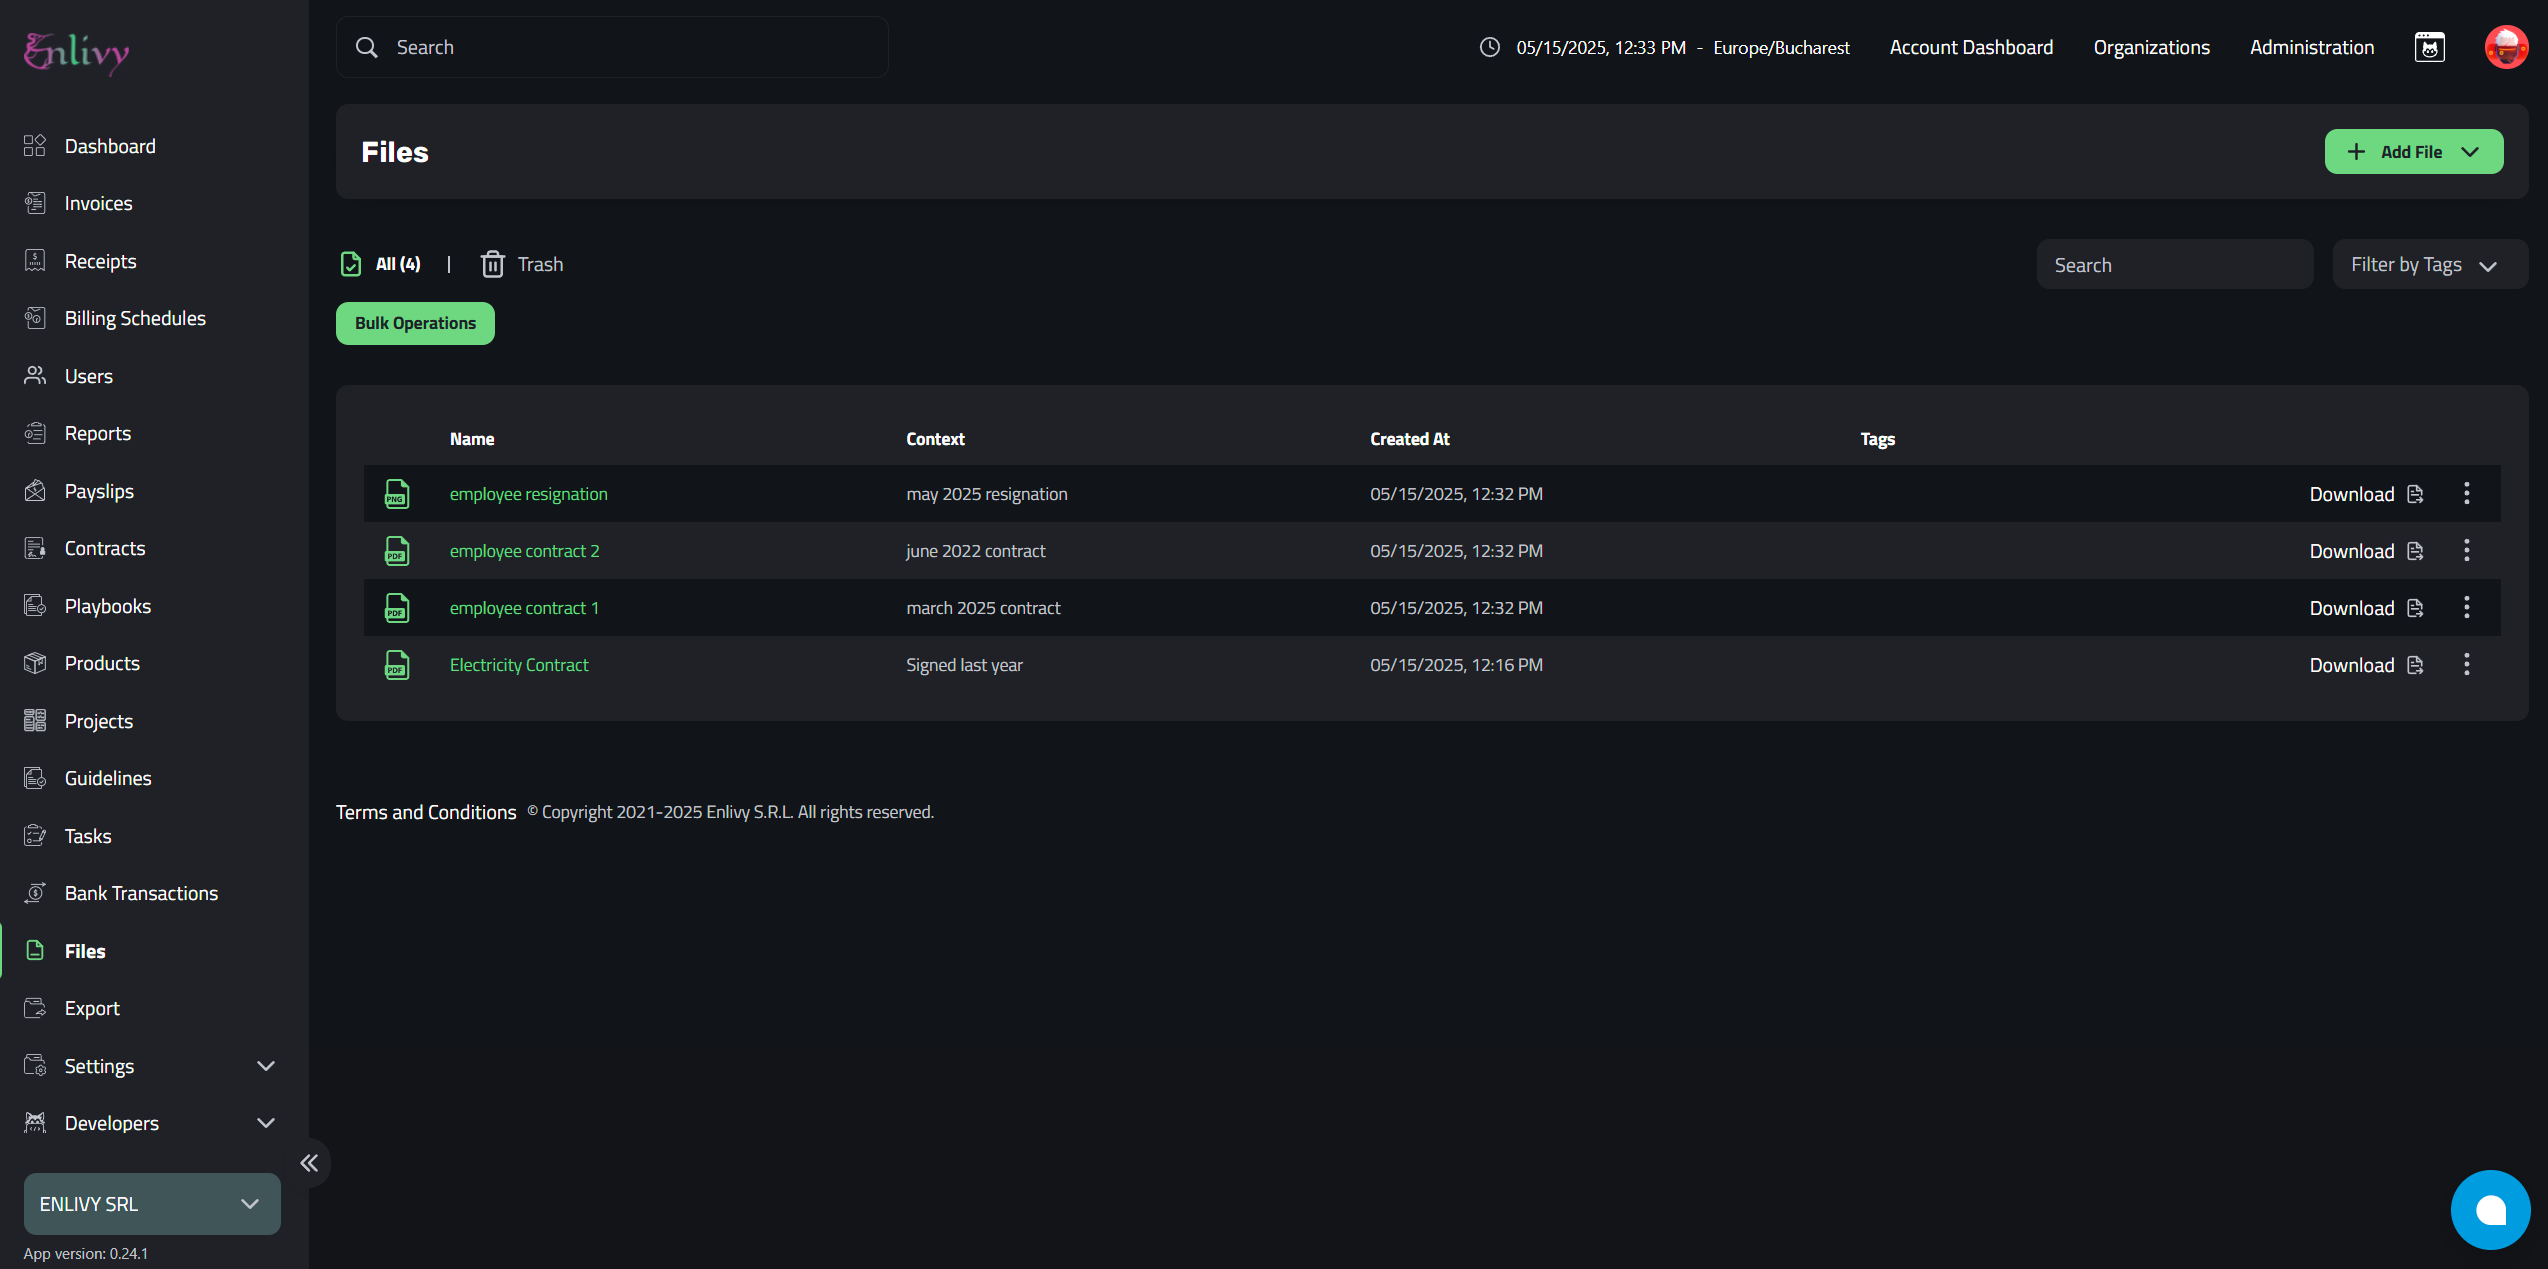
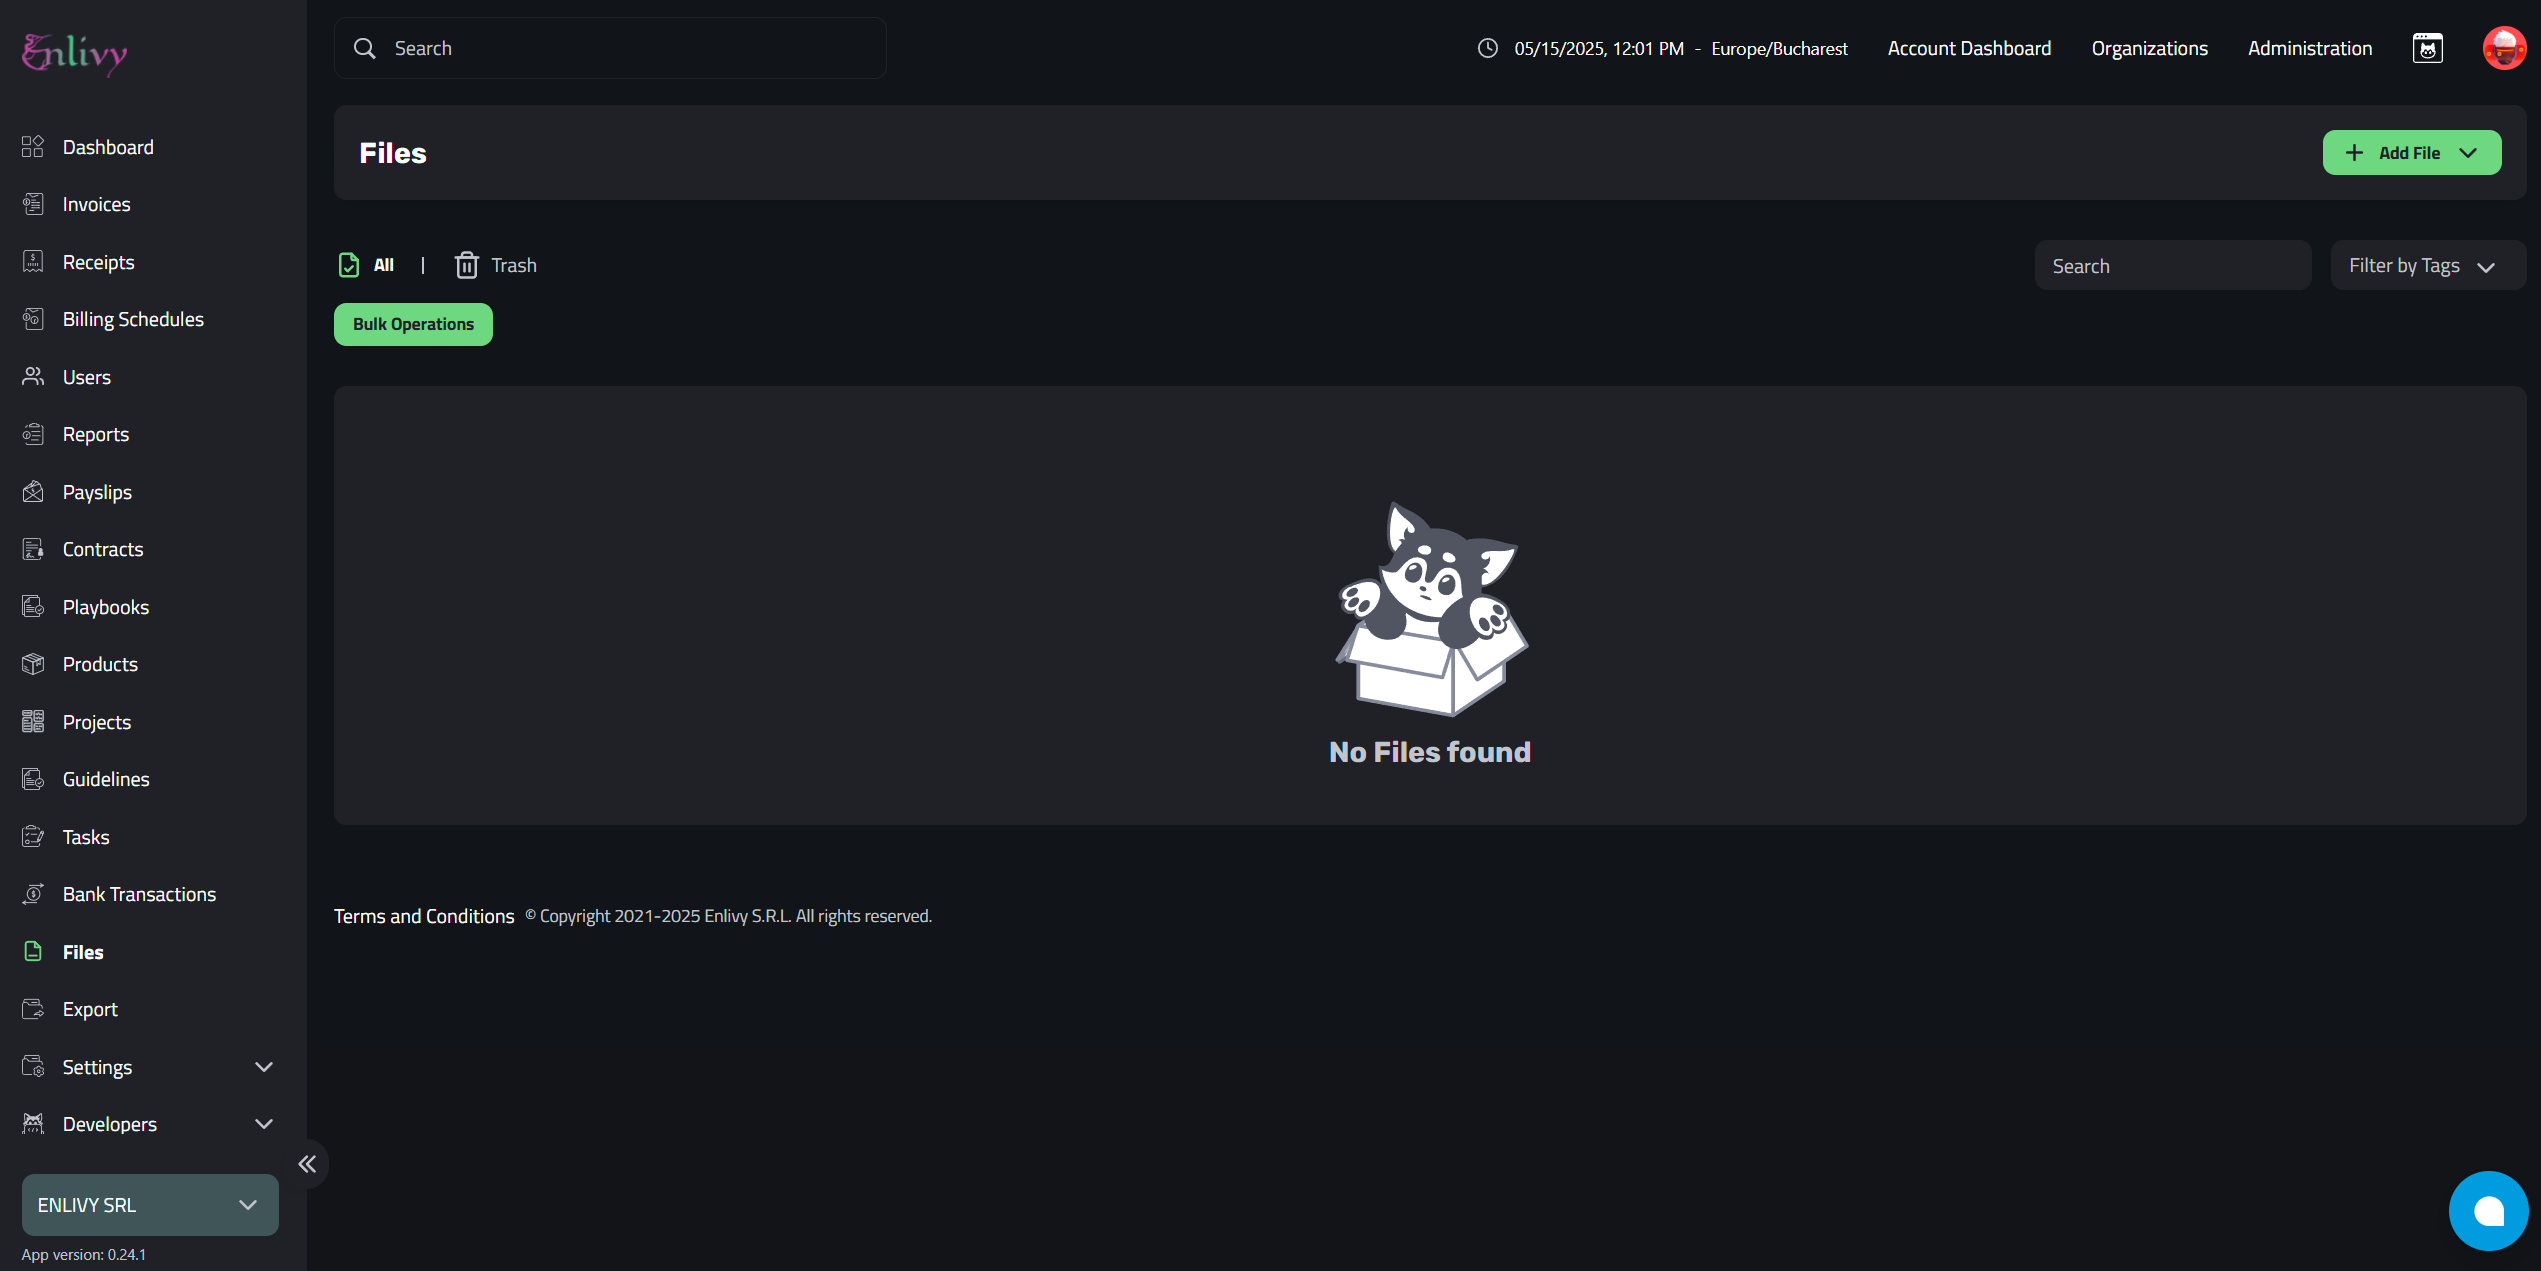
Navigate to the Files section using the left-hand menu. This brings you to the Files Dashboard, where you can view, edit, delete, upload, and tag your files — if any are available.
Adding Files
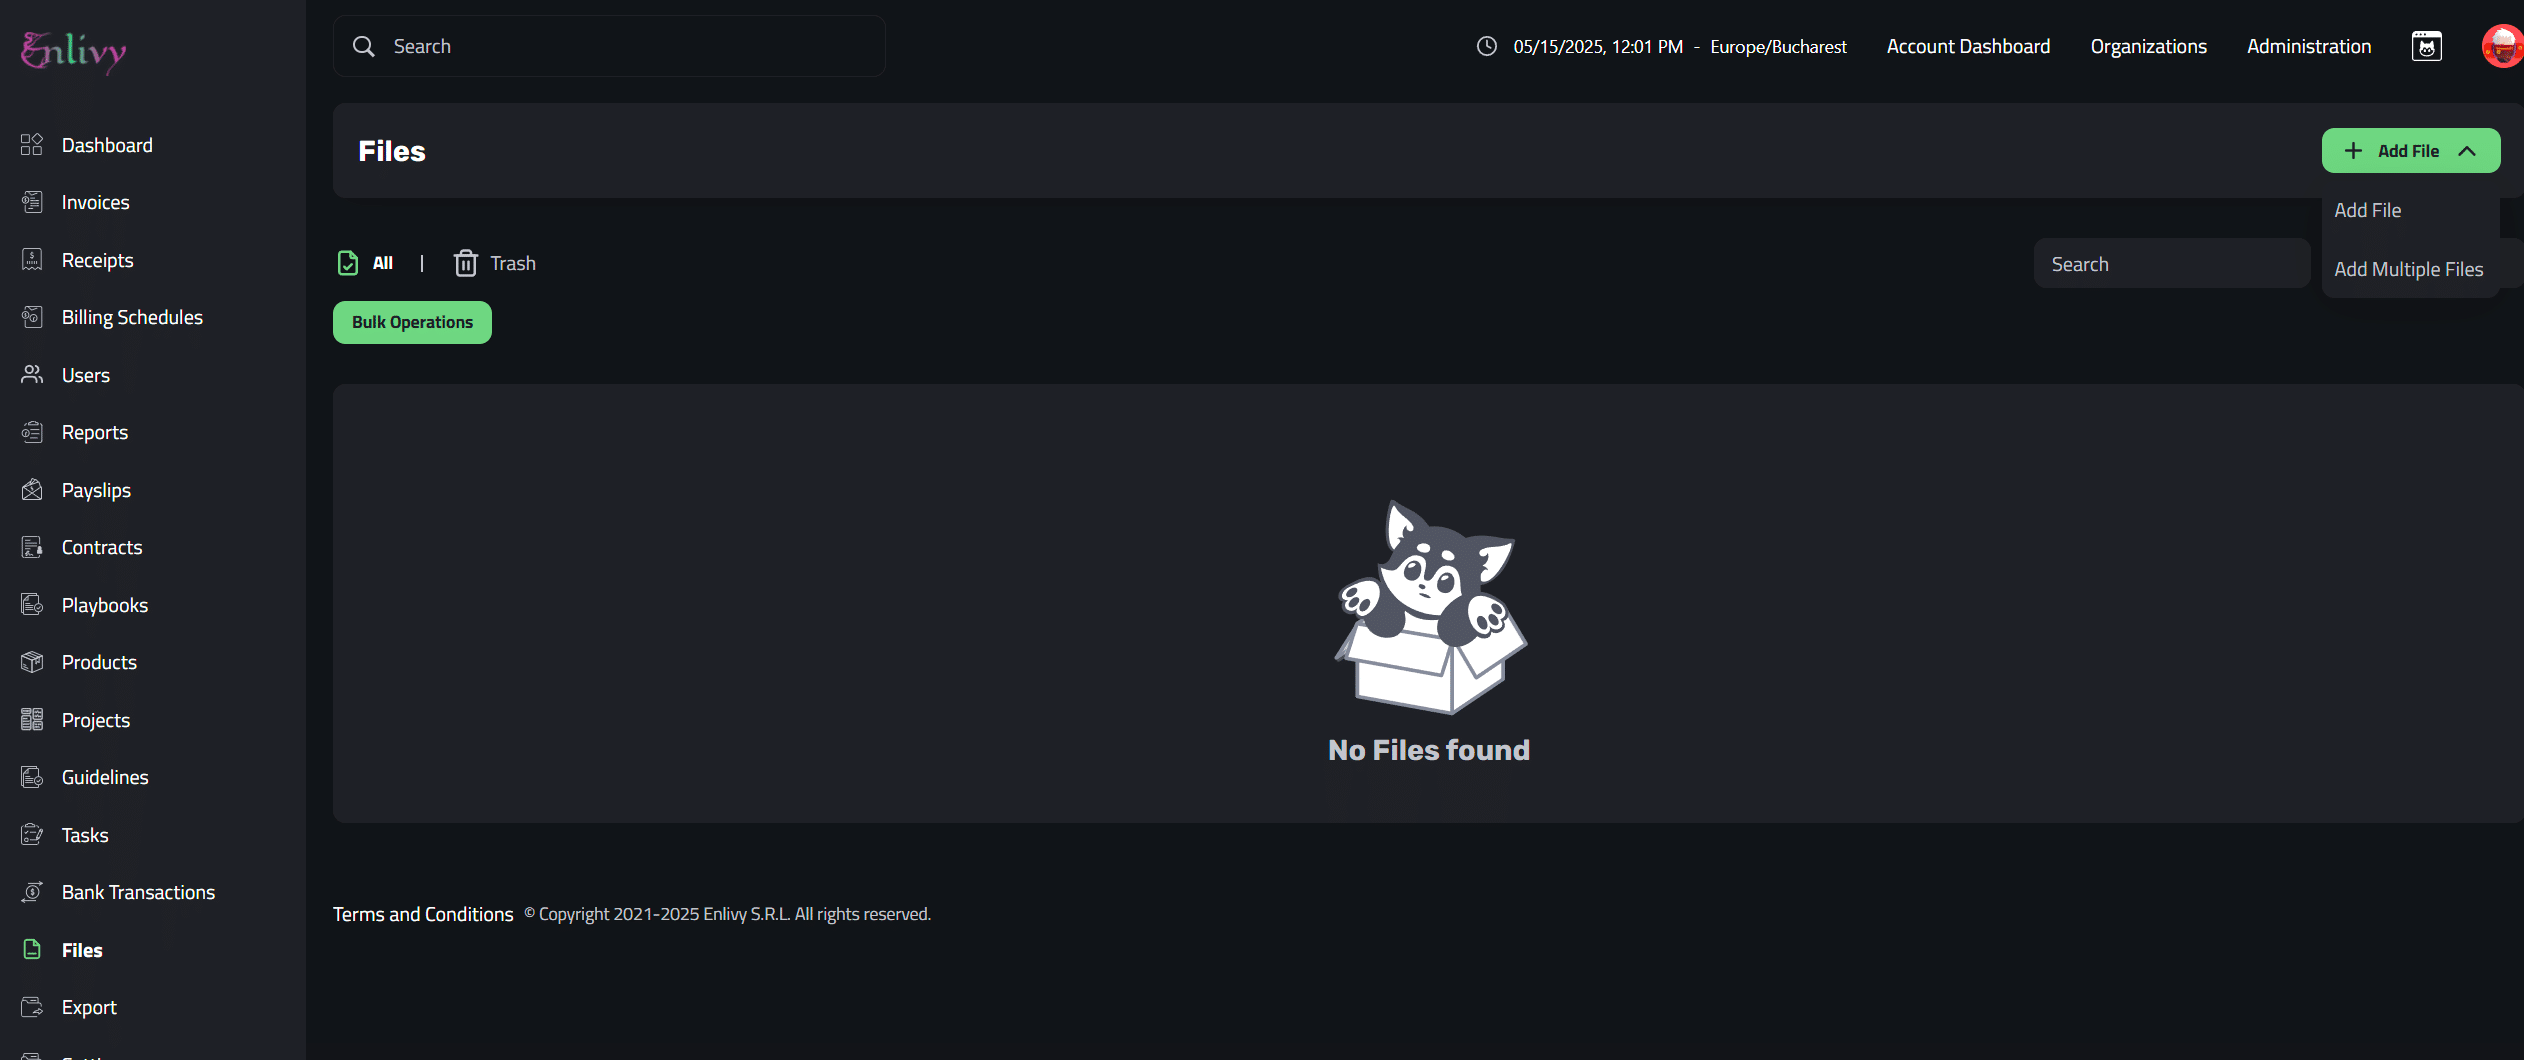
To add a new file, click the + Add File button. From the dropdown, choose whether to upload a single file or multiple files at once.
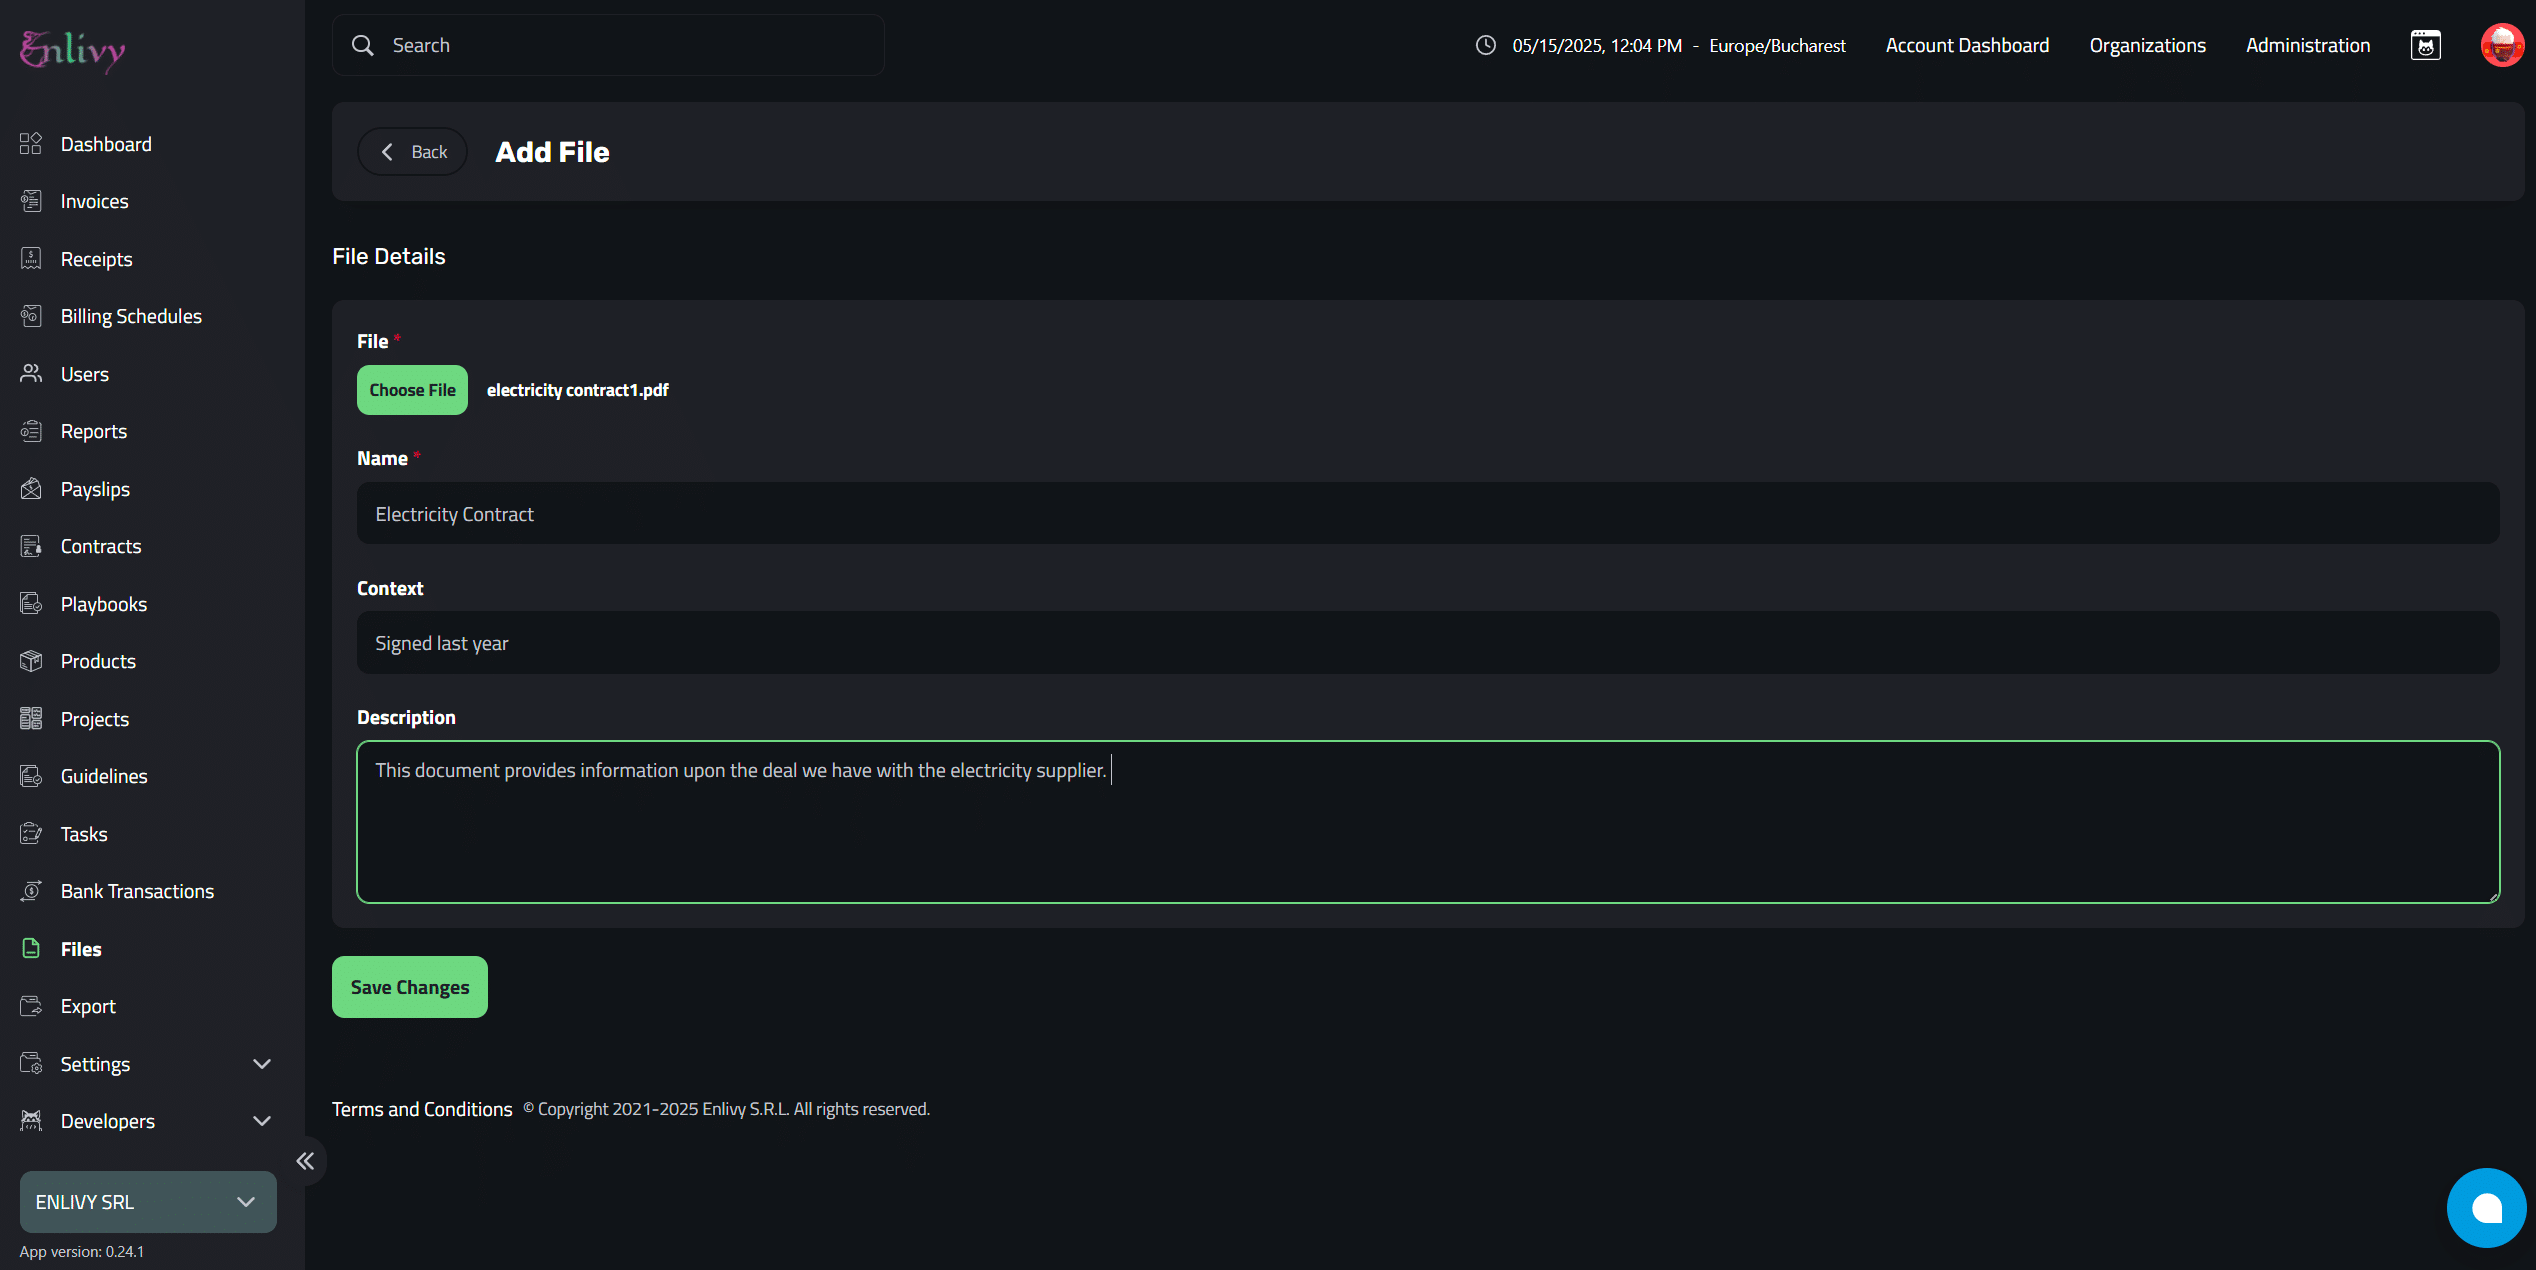
Adding a Single File
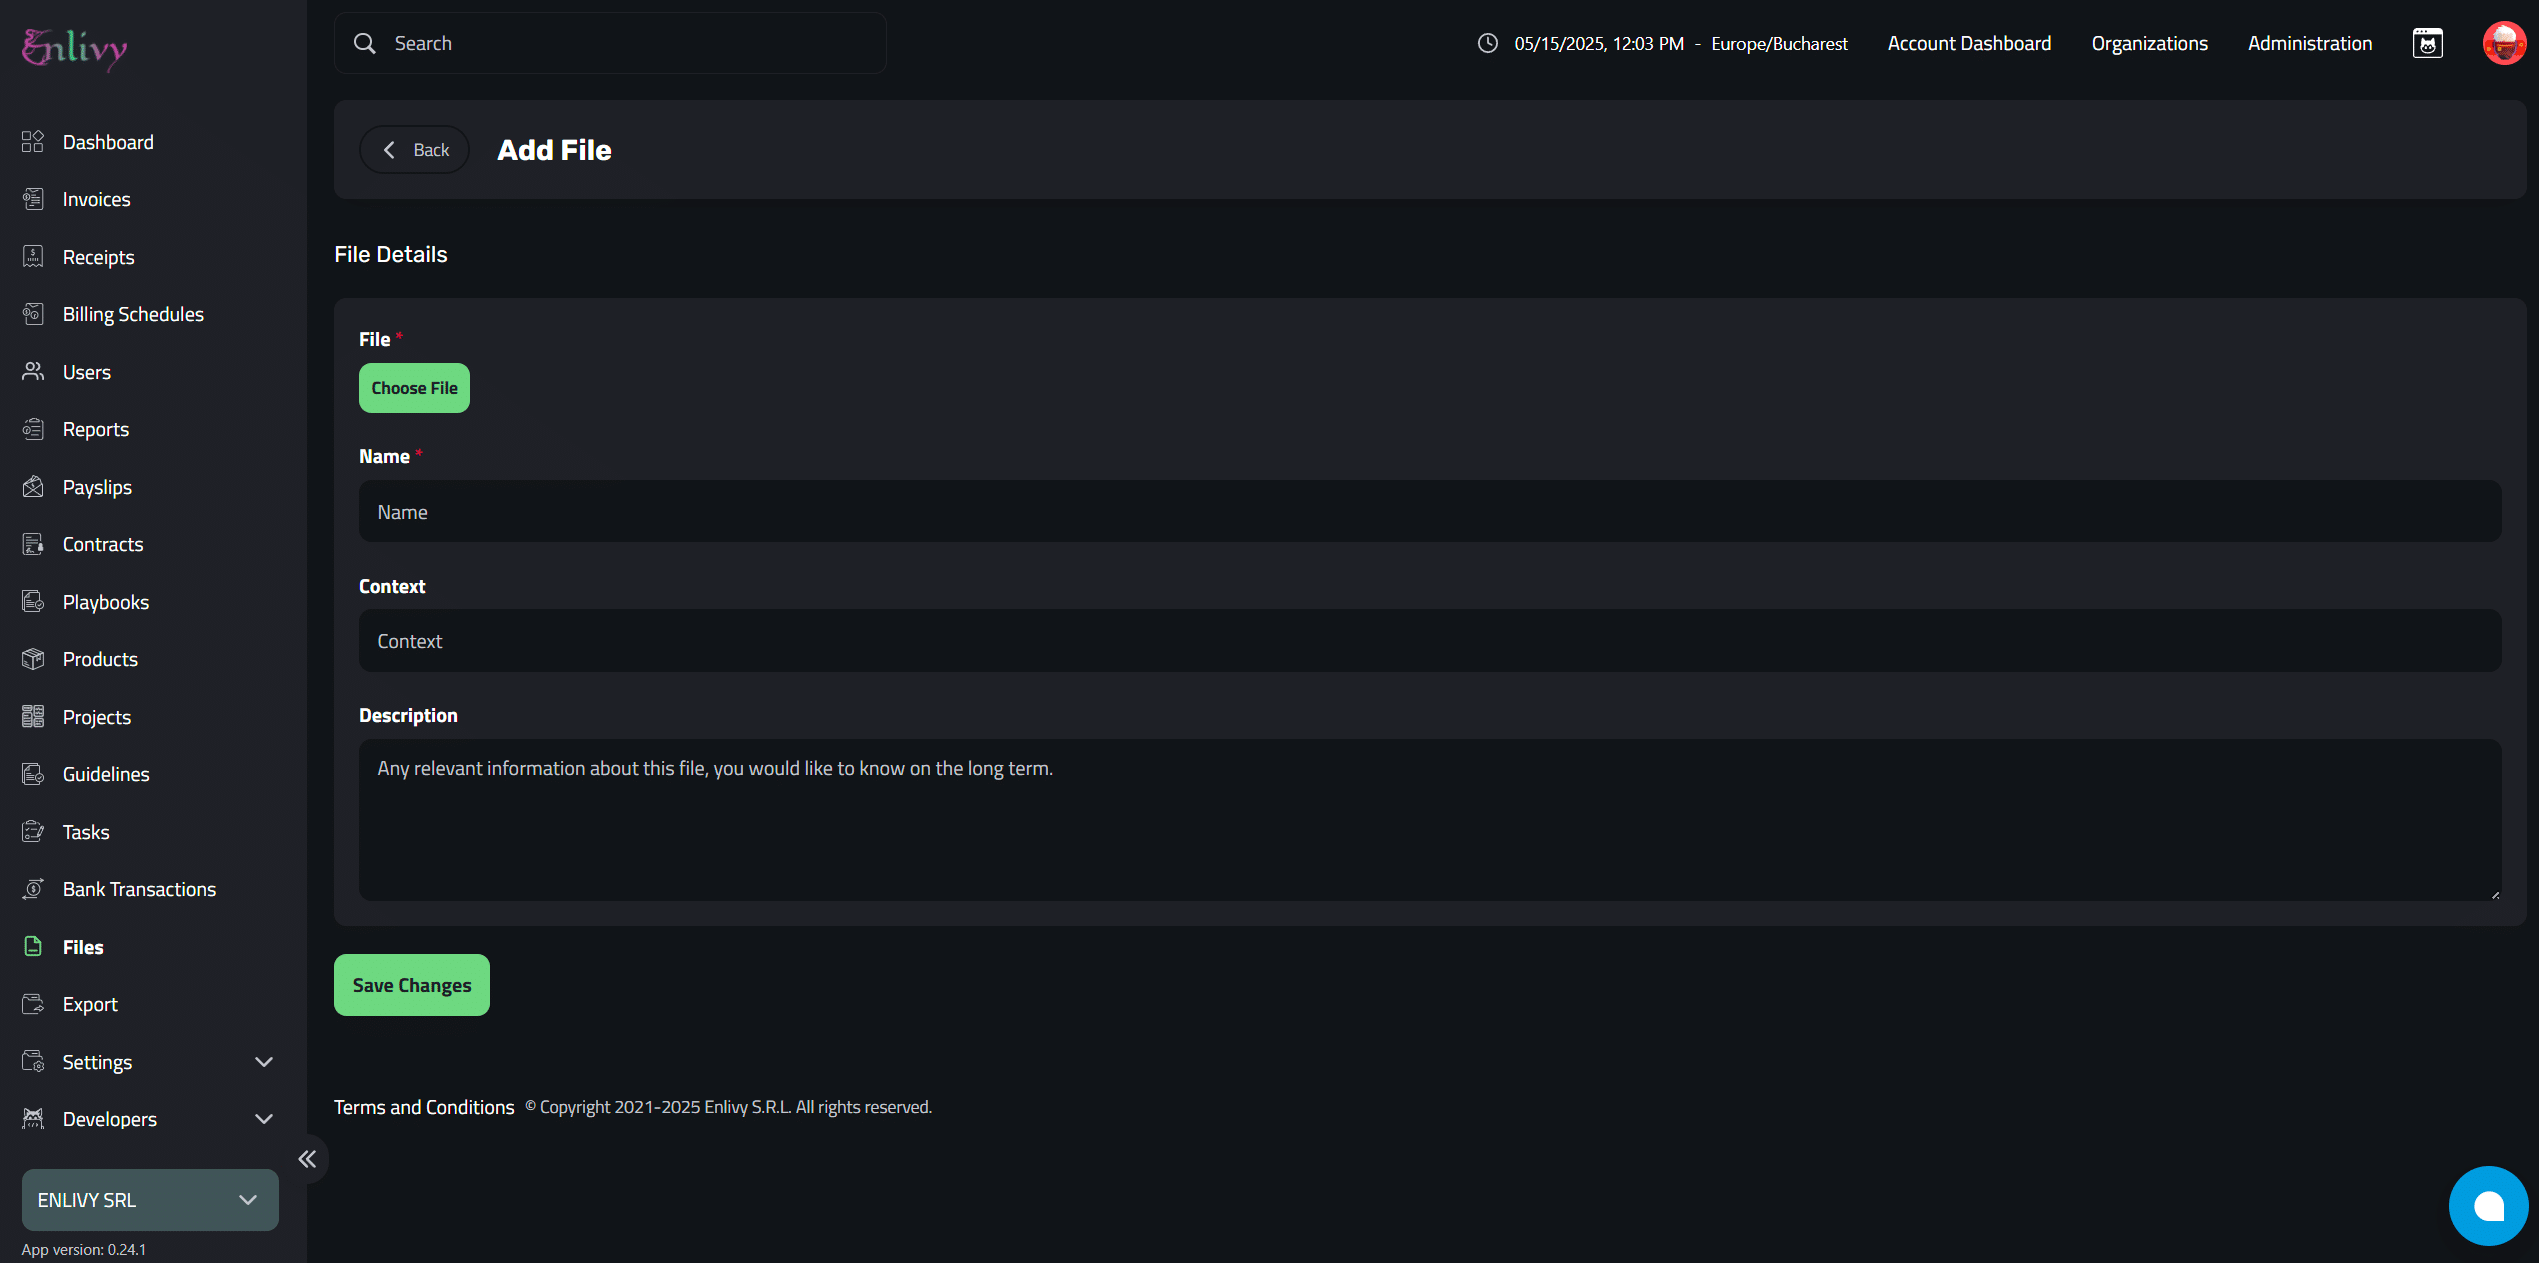
To add a single file, click Add File. A new screen will appear with the following fields:
- Choose File – Select the file from your device that you want to upload.
- Name – Assign a name to the file.
- Context – Provide a brief context or purpose for the file.
- Description – Add any relevant details or notes about the file.
Then click Save Changes.
Example of Adding a Single File
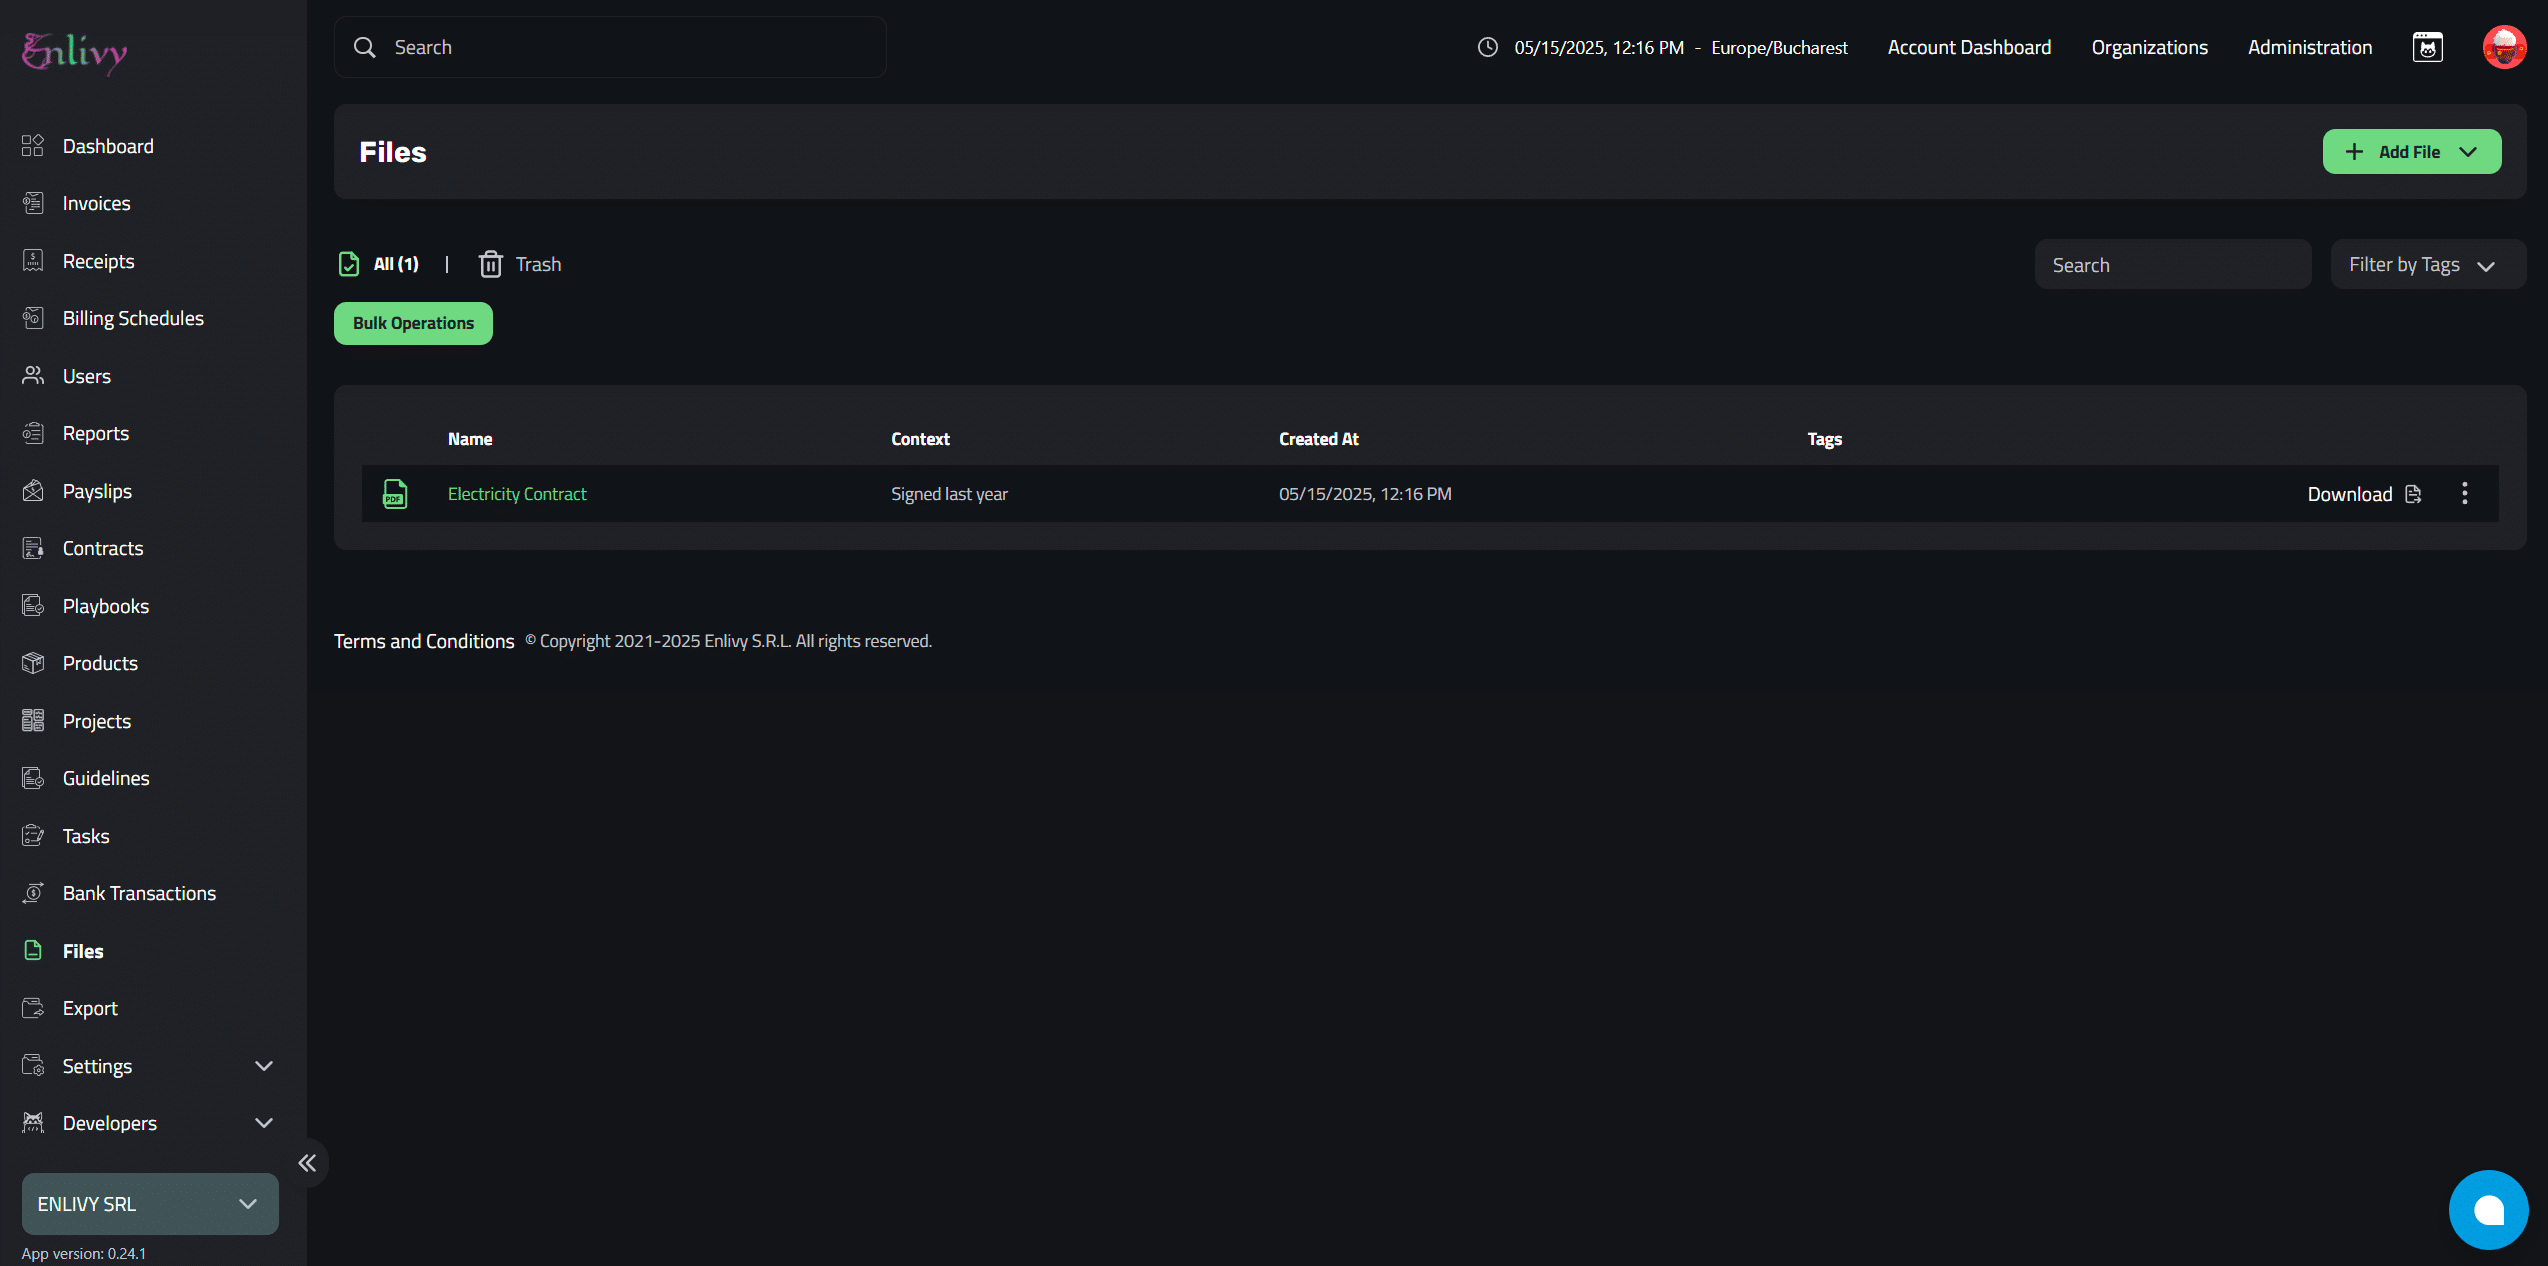
How the file looks in Enlivy
Check the screenshot below to see how the new added files looks in the Enlivy Files Dashboard.
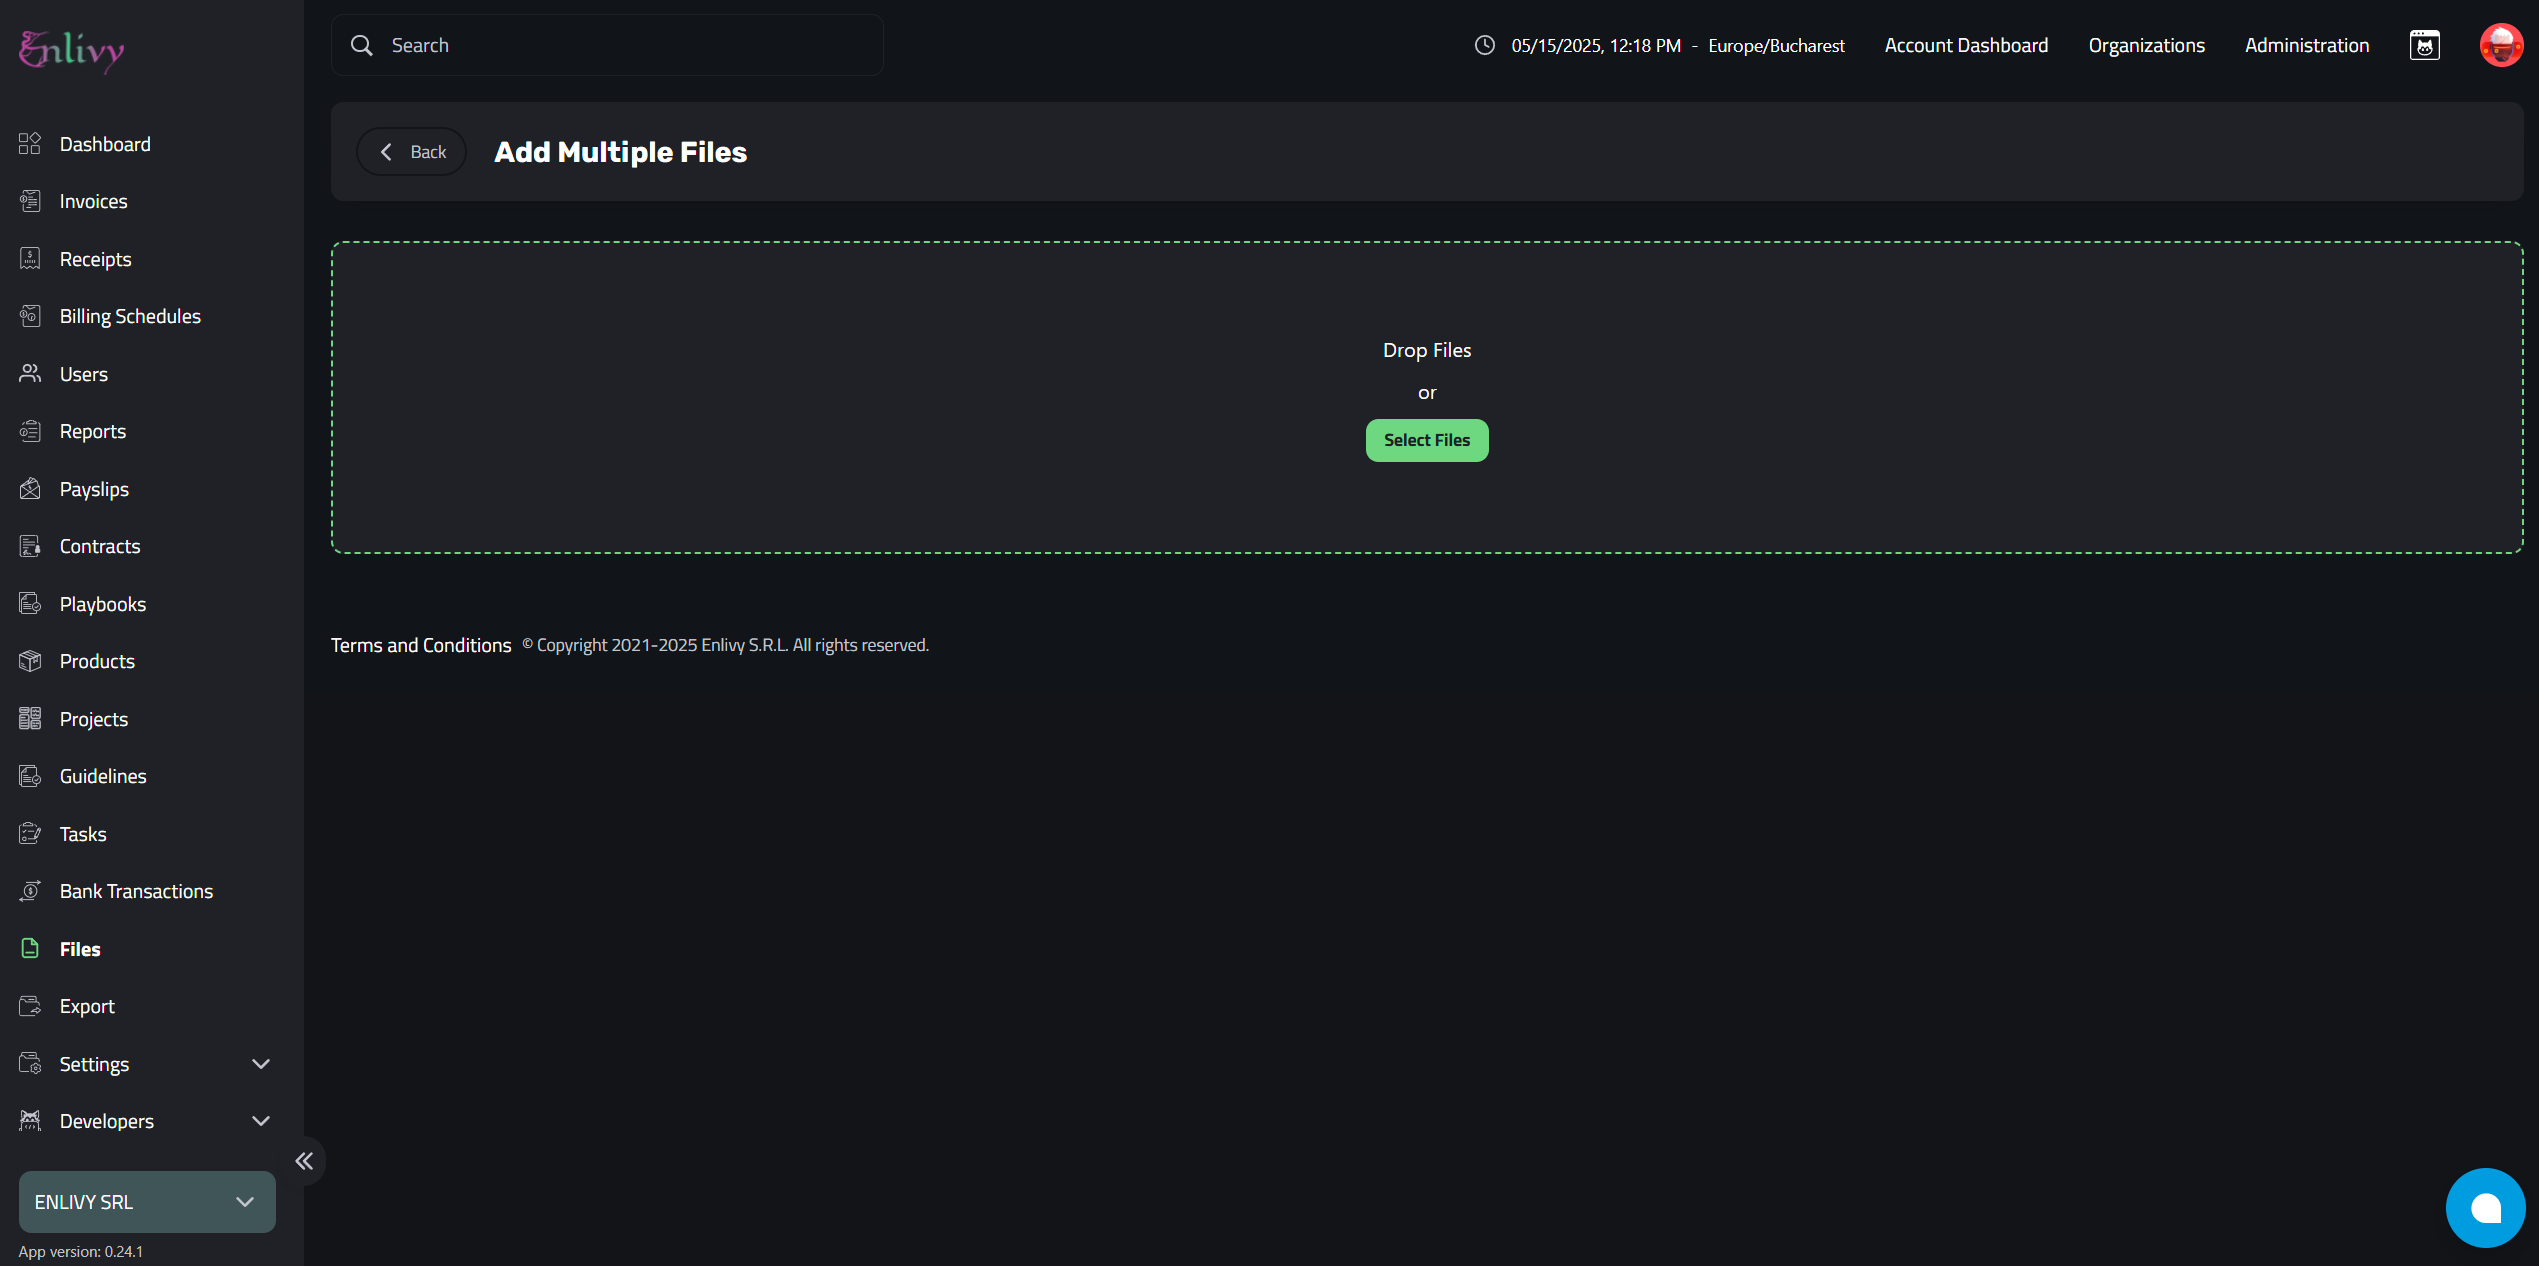
Adding a Multiple Files
To add a single file, click Add Multiple Files.
A new screen will where we can drag & drop the multiple files that we want to upload to Enlivy.
After selecting the files, the following fields will appear for each file:
- Name – Assign a name to the file.
- Context – Provide a brief context or purpose for the file.
- Description – Add any relevant details or notes about the file.
Don’t forget to click Add Files.

Example of Adding Multiple Files
In this example, we’ve added 3 files, and completed the fields for each of the files.

How the files looks in Enlivy