How Exports Work In Enlivy
In this guide, we’ll give you a quick overview of the Export feature in the Enlivy app, and show you how to export your monthly invoices and receipts, typically used when sending documents to your accountant for tax calculations or complying with other government regulations.
Export Feature Overview
The Export feature in Enlivy is designed to help you easily download important financial and business documents, such as invoices, receipts, contracts, payslips, and bank transactions – for monthly accounting, tax reporting, or archiving.
The Export feature especially useful when preparing reports for your accountant or complying with government regulations.
The process is simple and customizable, allowing you to export exactly what you need, in the format and structure that suits your organization.
Accessing the Export Feature
Log into your Enlivy account, then navigate to the Export section from the left-hand menu. Refer to the screenshot below to locate it easily.
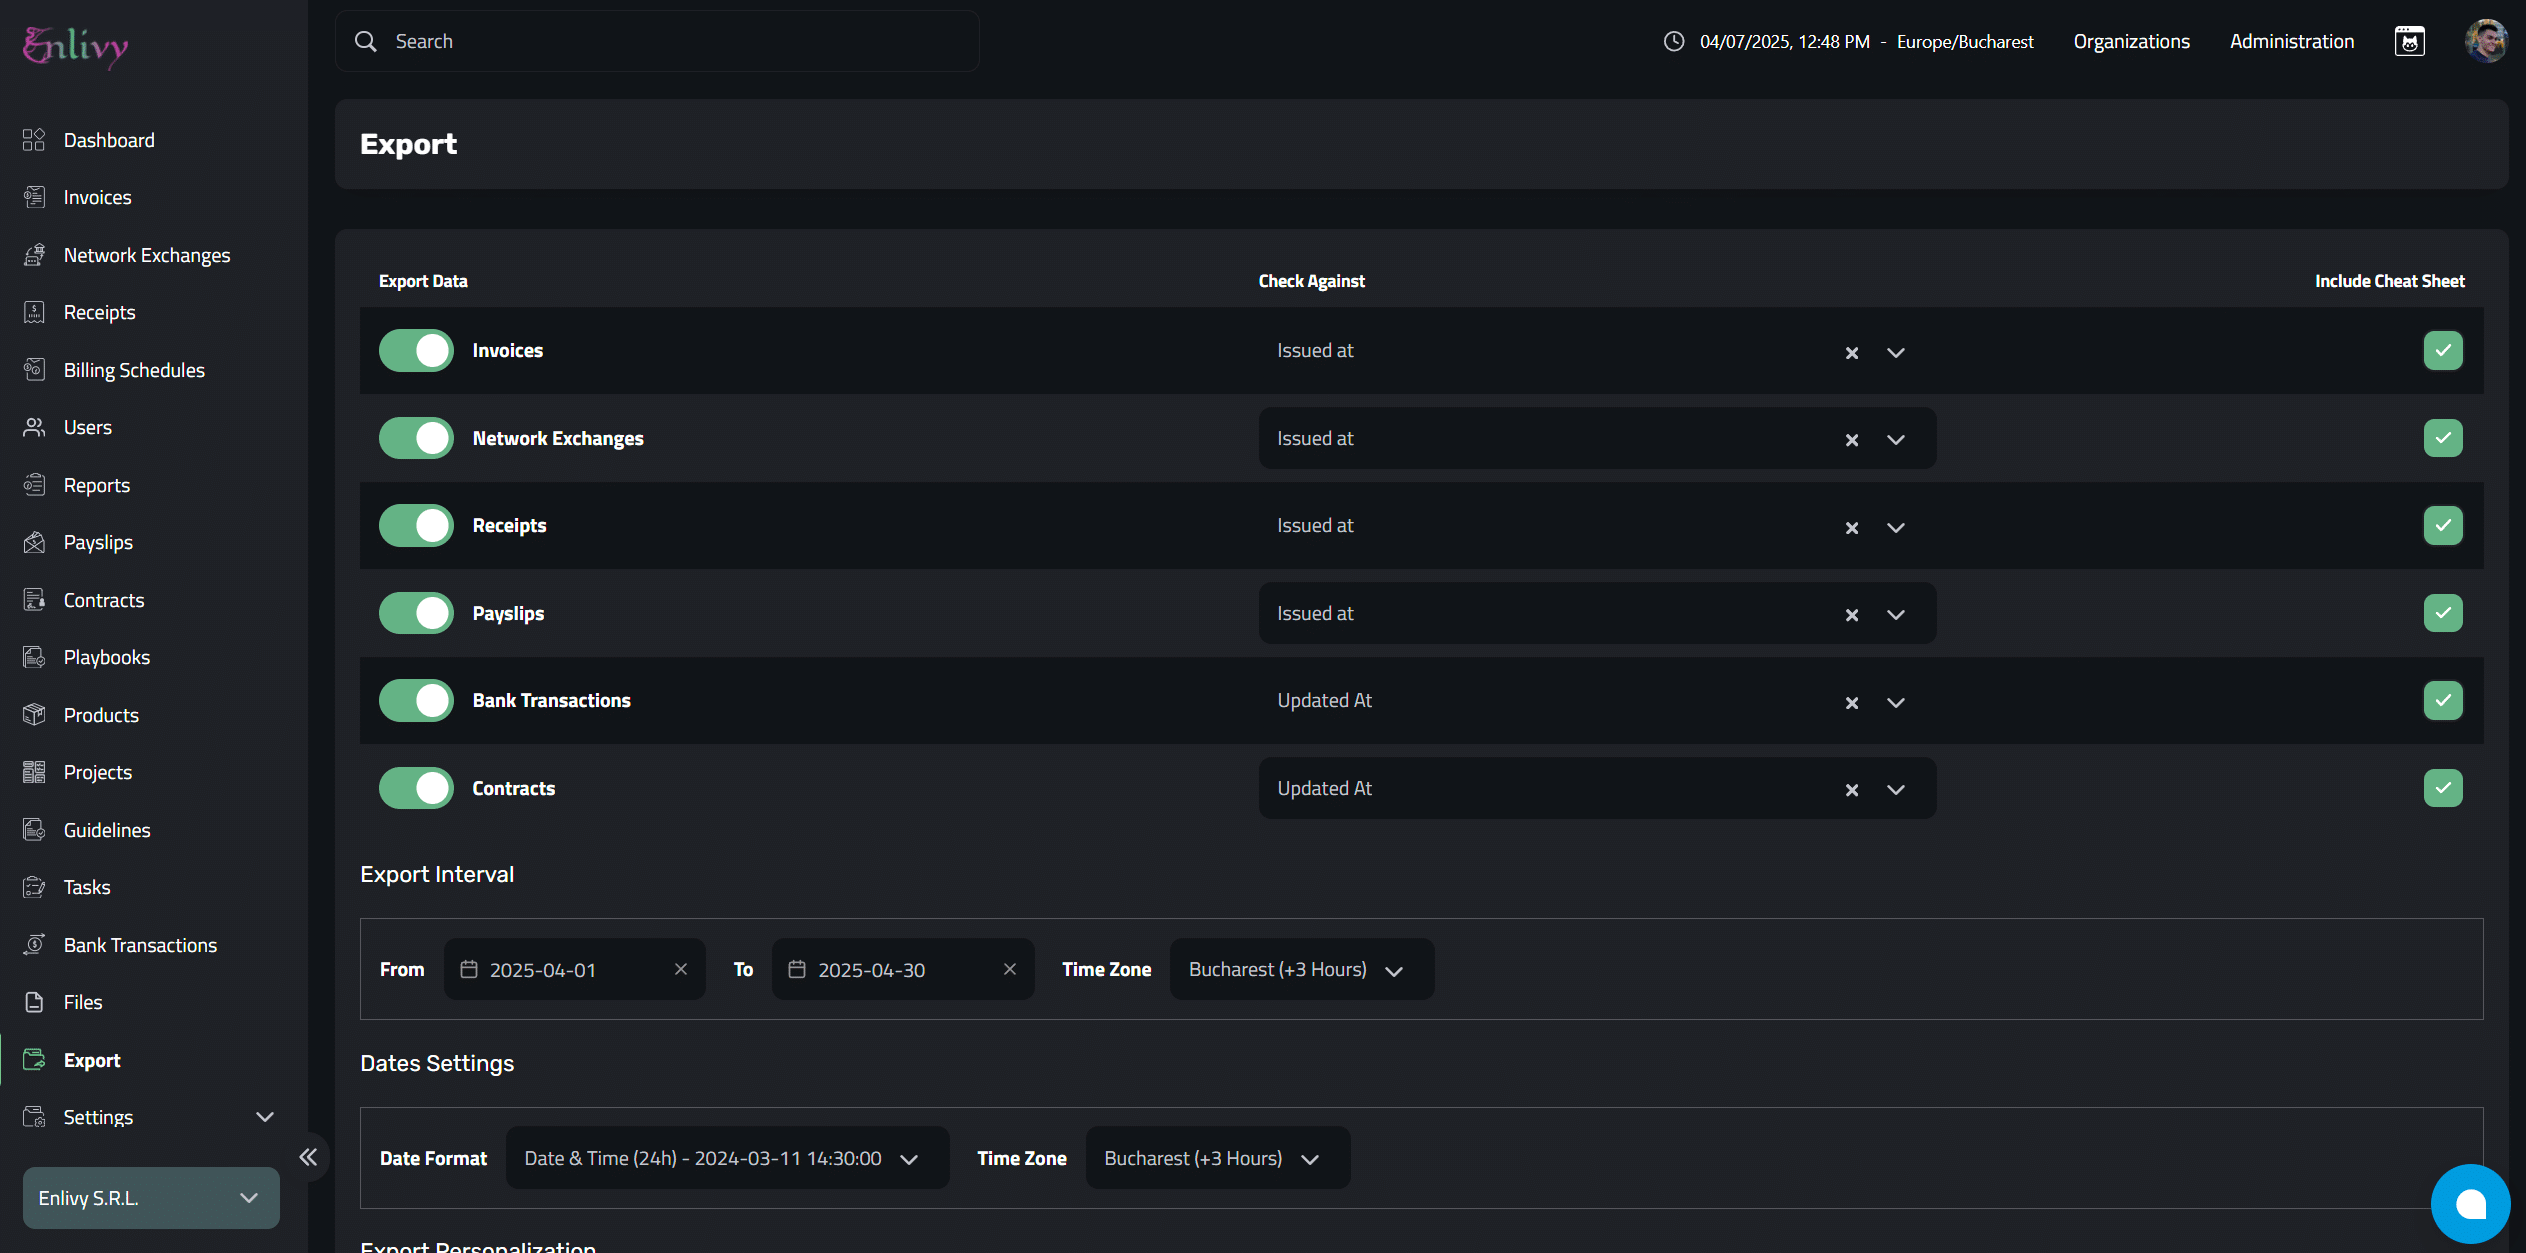
The Export Data Section
Let’s dive into the details of this page, starting with the Export Data section.
Here are the main export sources data for the export:
-
Invoices
Check this to export all invoices within your selected filters.
-
Network Exchanges
Enable if you want to include network exchanges to the export.
-
Receipts
Check this in order to export receipts.
-
Payslips
Check it if you want to include payslips in the export.
-
Bank Transactions
Check to export any bank transactions stored in Enlivy.
-
Contracts
Check this is you want to include any contracts that are stored in Enlivy in your export.
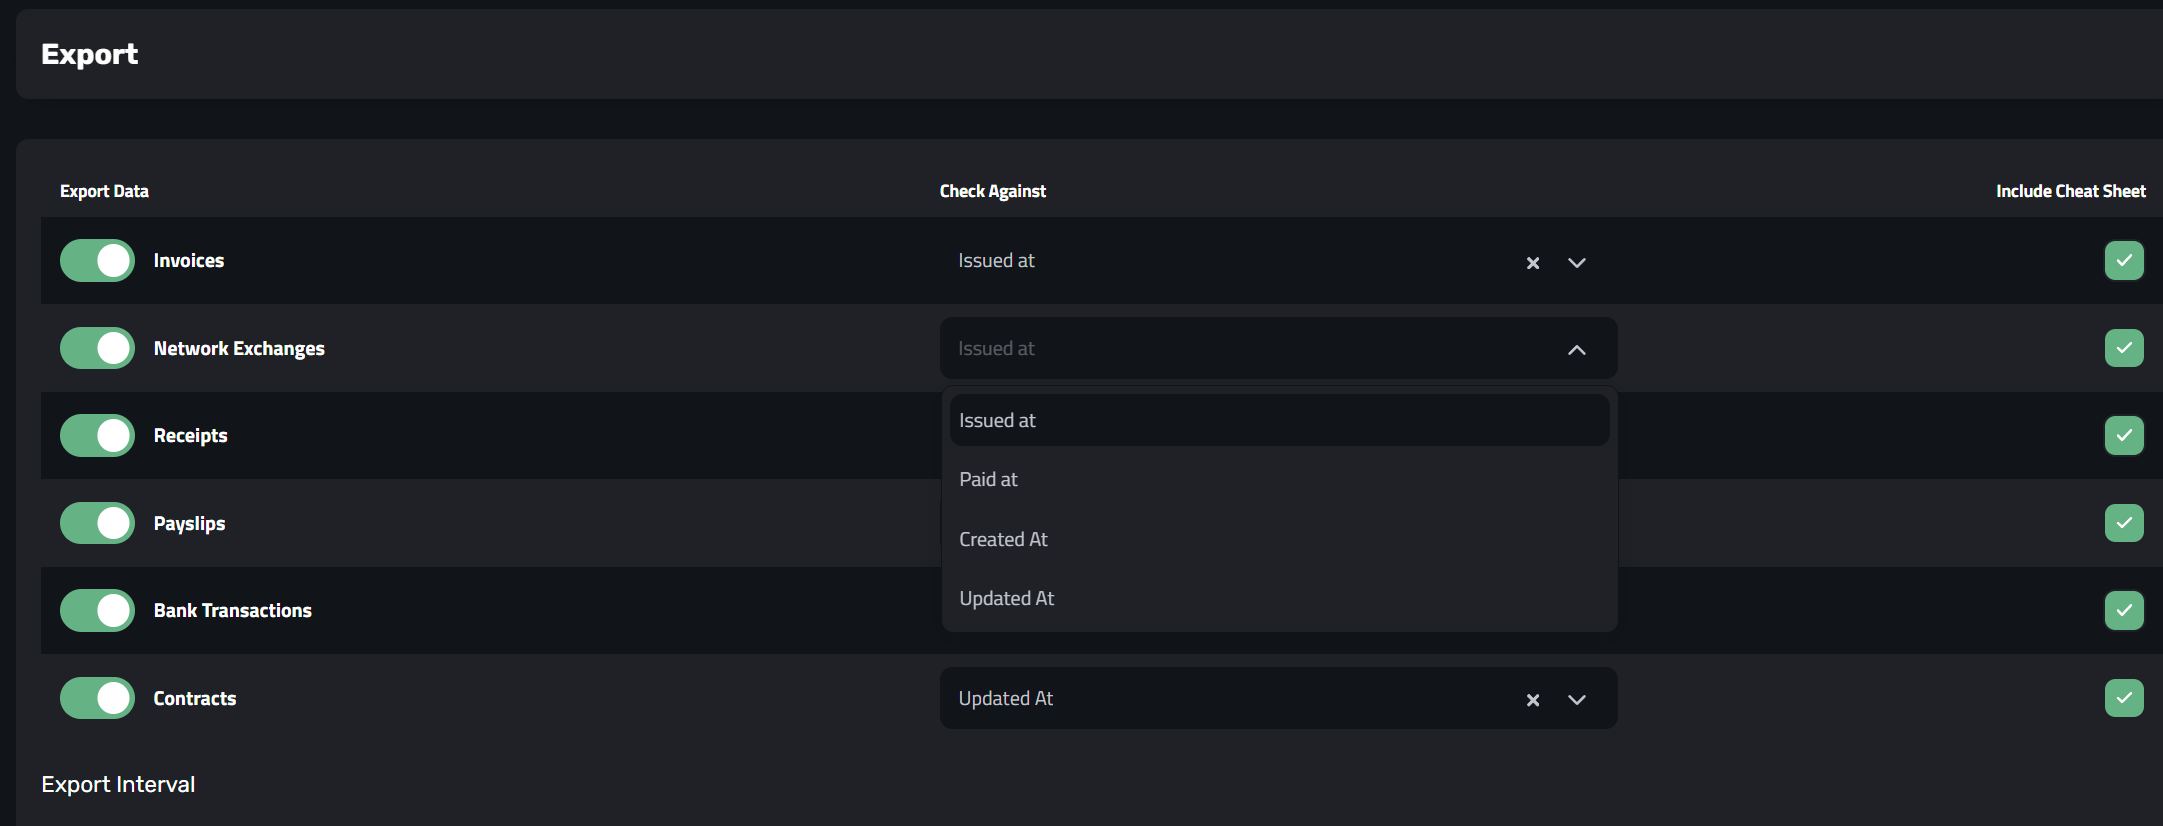
Choosing the Date Field for Filtering
Check Against
This dropdown lets you decide which date field to use when filtering documents:
- Issued At – The date the document was officially issued.
- Created At – The date the document was created in the system.
- Paid At – The date payment was recorded.
- Updated At – The last date the document was modified.
Including a Cheat Sheet
Choose the one that best fits your accounting or reporting needs.
Include Cheat Sheet
- Check this box if you want to generate and include a summary document (cheat sheet) that gives a quick overview of the exported data, useful for your accountant or record keeping.
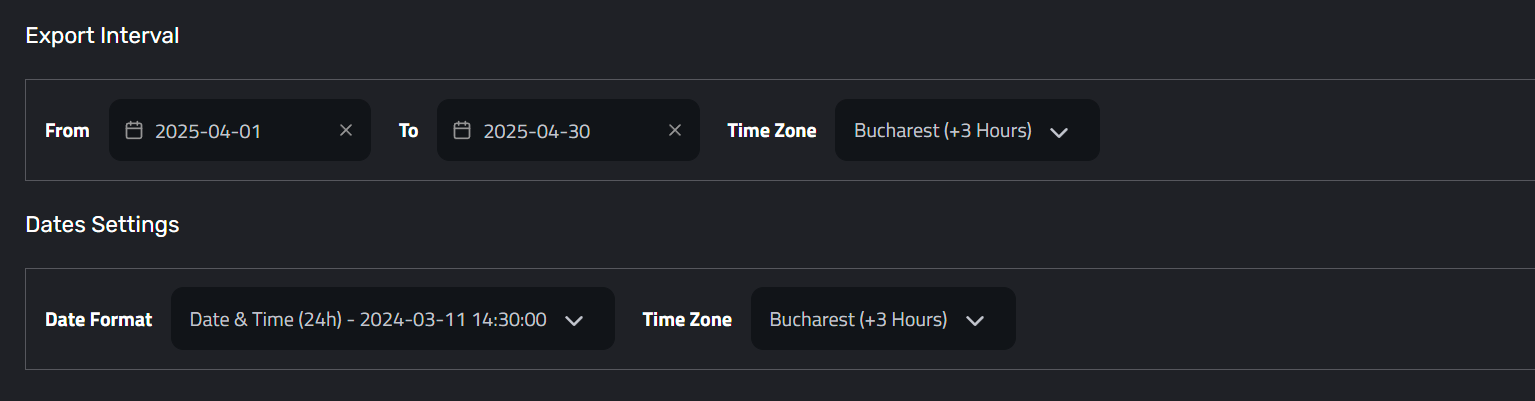
Setting the Export Interval & Dates
Export Interval
- From / To – Select the start and end dates for the export. Only documents within this range will be included.
- Timezone – Choose the timezone you want the export to follow. This ensures consistency in timestamps, especially if you’re operating in or with multiple time zones.
Date Settings
- Date Format – Select the format you want dates to appear in, depending on your local or accounting preferences.
- Time Zone – Reinforces the export’s timestamp settings. It can be matched with your organization’s timezone or set differently if needed for regional compliance.
Personalizing Your Export
This section allows you to customize how your exported files are organized.
- Folder Structure
- None – Files will not be automatically be sorted into two folders (inbound and outbound).
- Separate Inbound & Outbound – Files will be automatically sorted into two folders:
- Inbound – Documents received from other entities (e.g., received invoices).
- Outbound – Documents your organization issued (e.g., sent invoices, receipts).
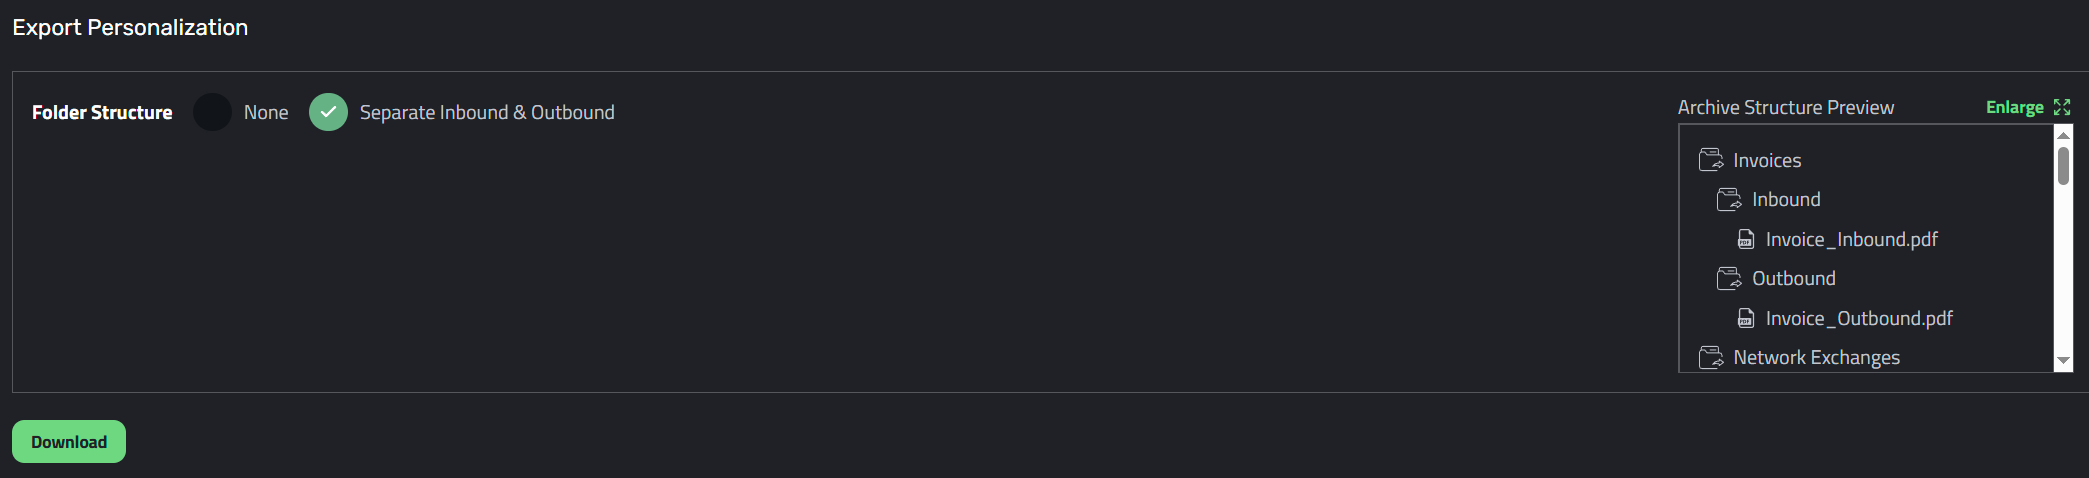
Finalizing the Export
After selecting the desired time period and the documents you want to download, simply click on Download. You will then be prompted to choose the file type (e.g., PDF) and the locale (language) you prefer for the documents.
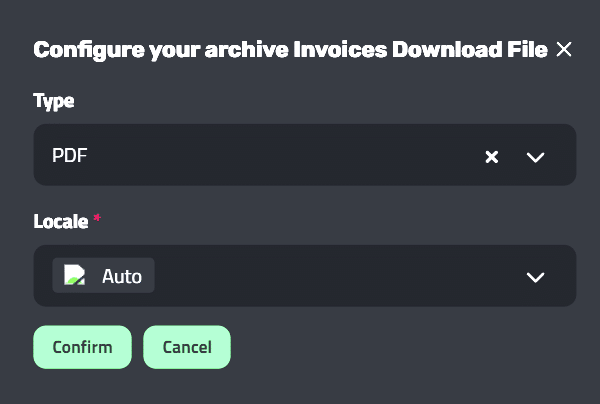
Completing the Export Process
Next, click on Confirm to process your request. The system will begin processing, and you’ll be redirected to a screen that looks like the one below.
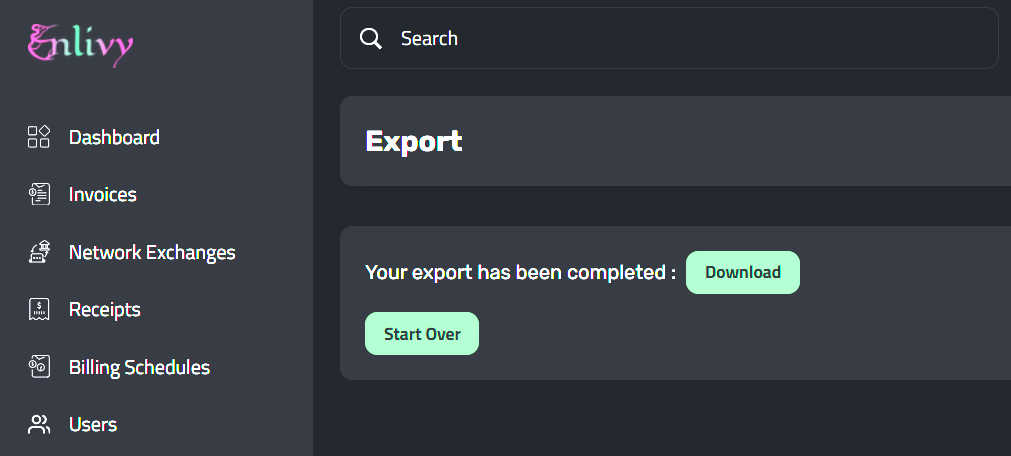
Downloading Your Exported Files
Now, simply click the Download button, and the files will be automatically downloaded through your browser.