Webhooks
Webhooks allow Enlivy to send real-time notifications to your application whenever certain events happen in your account.
Instead of polling our API, you can configure Enlivy to call your endpoint with an HTTP POST request that includes structured JSON describing the event (e.g., an invoice was created or updated).
This enables you to build custom integrations, automations, and notifications on top of Enlivy.
When to Use Webhooks
Use webhooks if you want your application to:
- React instantly to key events such as invoice, transaction, or user creation and updates — and many more.
- Keep external systems (ERP, CRM, accounting tools) in sync with Enlivy.
- Trigger automations (e.g., send an email when a new invoice is added).
- Collect logs or metrics about activity in Enlivy.
How Webhooks Work
- You register a Destination URL in Enlivy.
This is the endpoint in your system that will receive webhook notifications. Example:https://example.com/webhooks/enlivy - You choose Event Listeners.
These define which events will trigger a webhook (e.g.,invoice.created). - Enlivy sends POST requests with JSON payloads when those events happen.
- Your endpoint processes the request and returns an HTTP 2xx status to confirm delivery.
Setting Up a Webhook
Creating a webhook in Enlivy is straightforward. Webhooks are managed from the Developers → Webhooks section in the left-side menu.
Follow these steps to create a new webhook in Enlivy:
1. Open the Webhook Dashboard
- Navigate to Developers → Webhooks from the main menu.
- You’ll arrive at the Webhook Dashboard, where all your existing webhooks are listed.
- From here, you can view, edit, activate/deactivate, or remove webhooks.
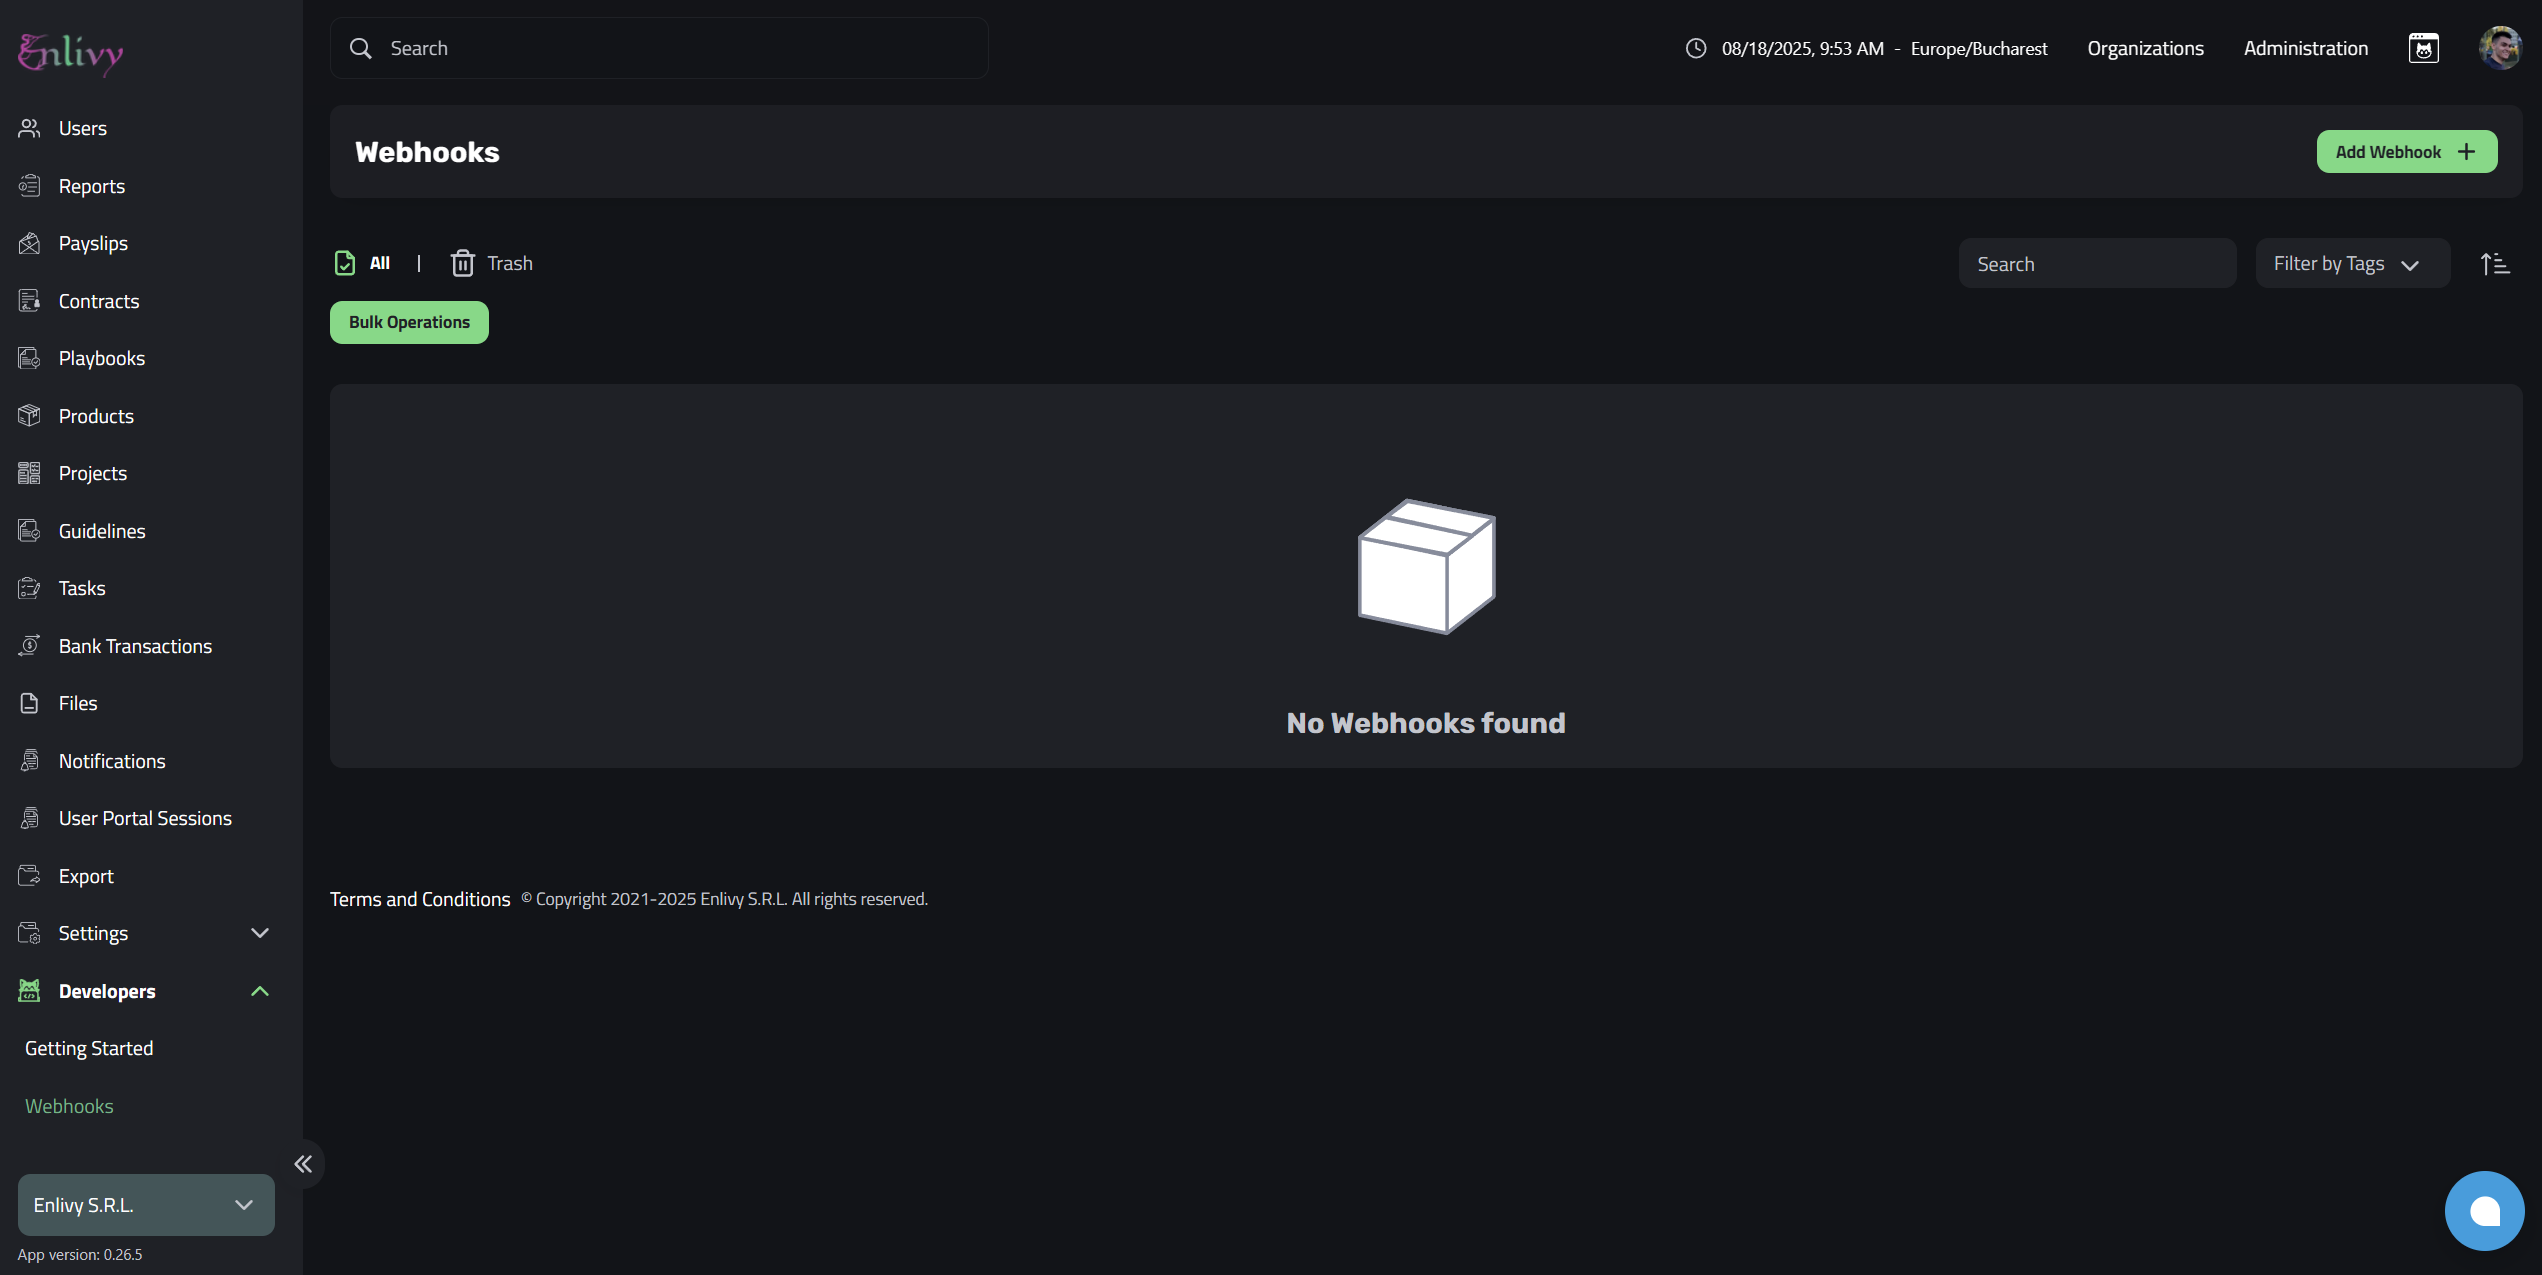
2. Add a New Webhook
- Click the “Add Webhook +” button in the top-right corner.
- A form will appear with fields to configure your webhook.
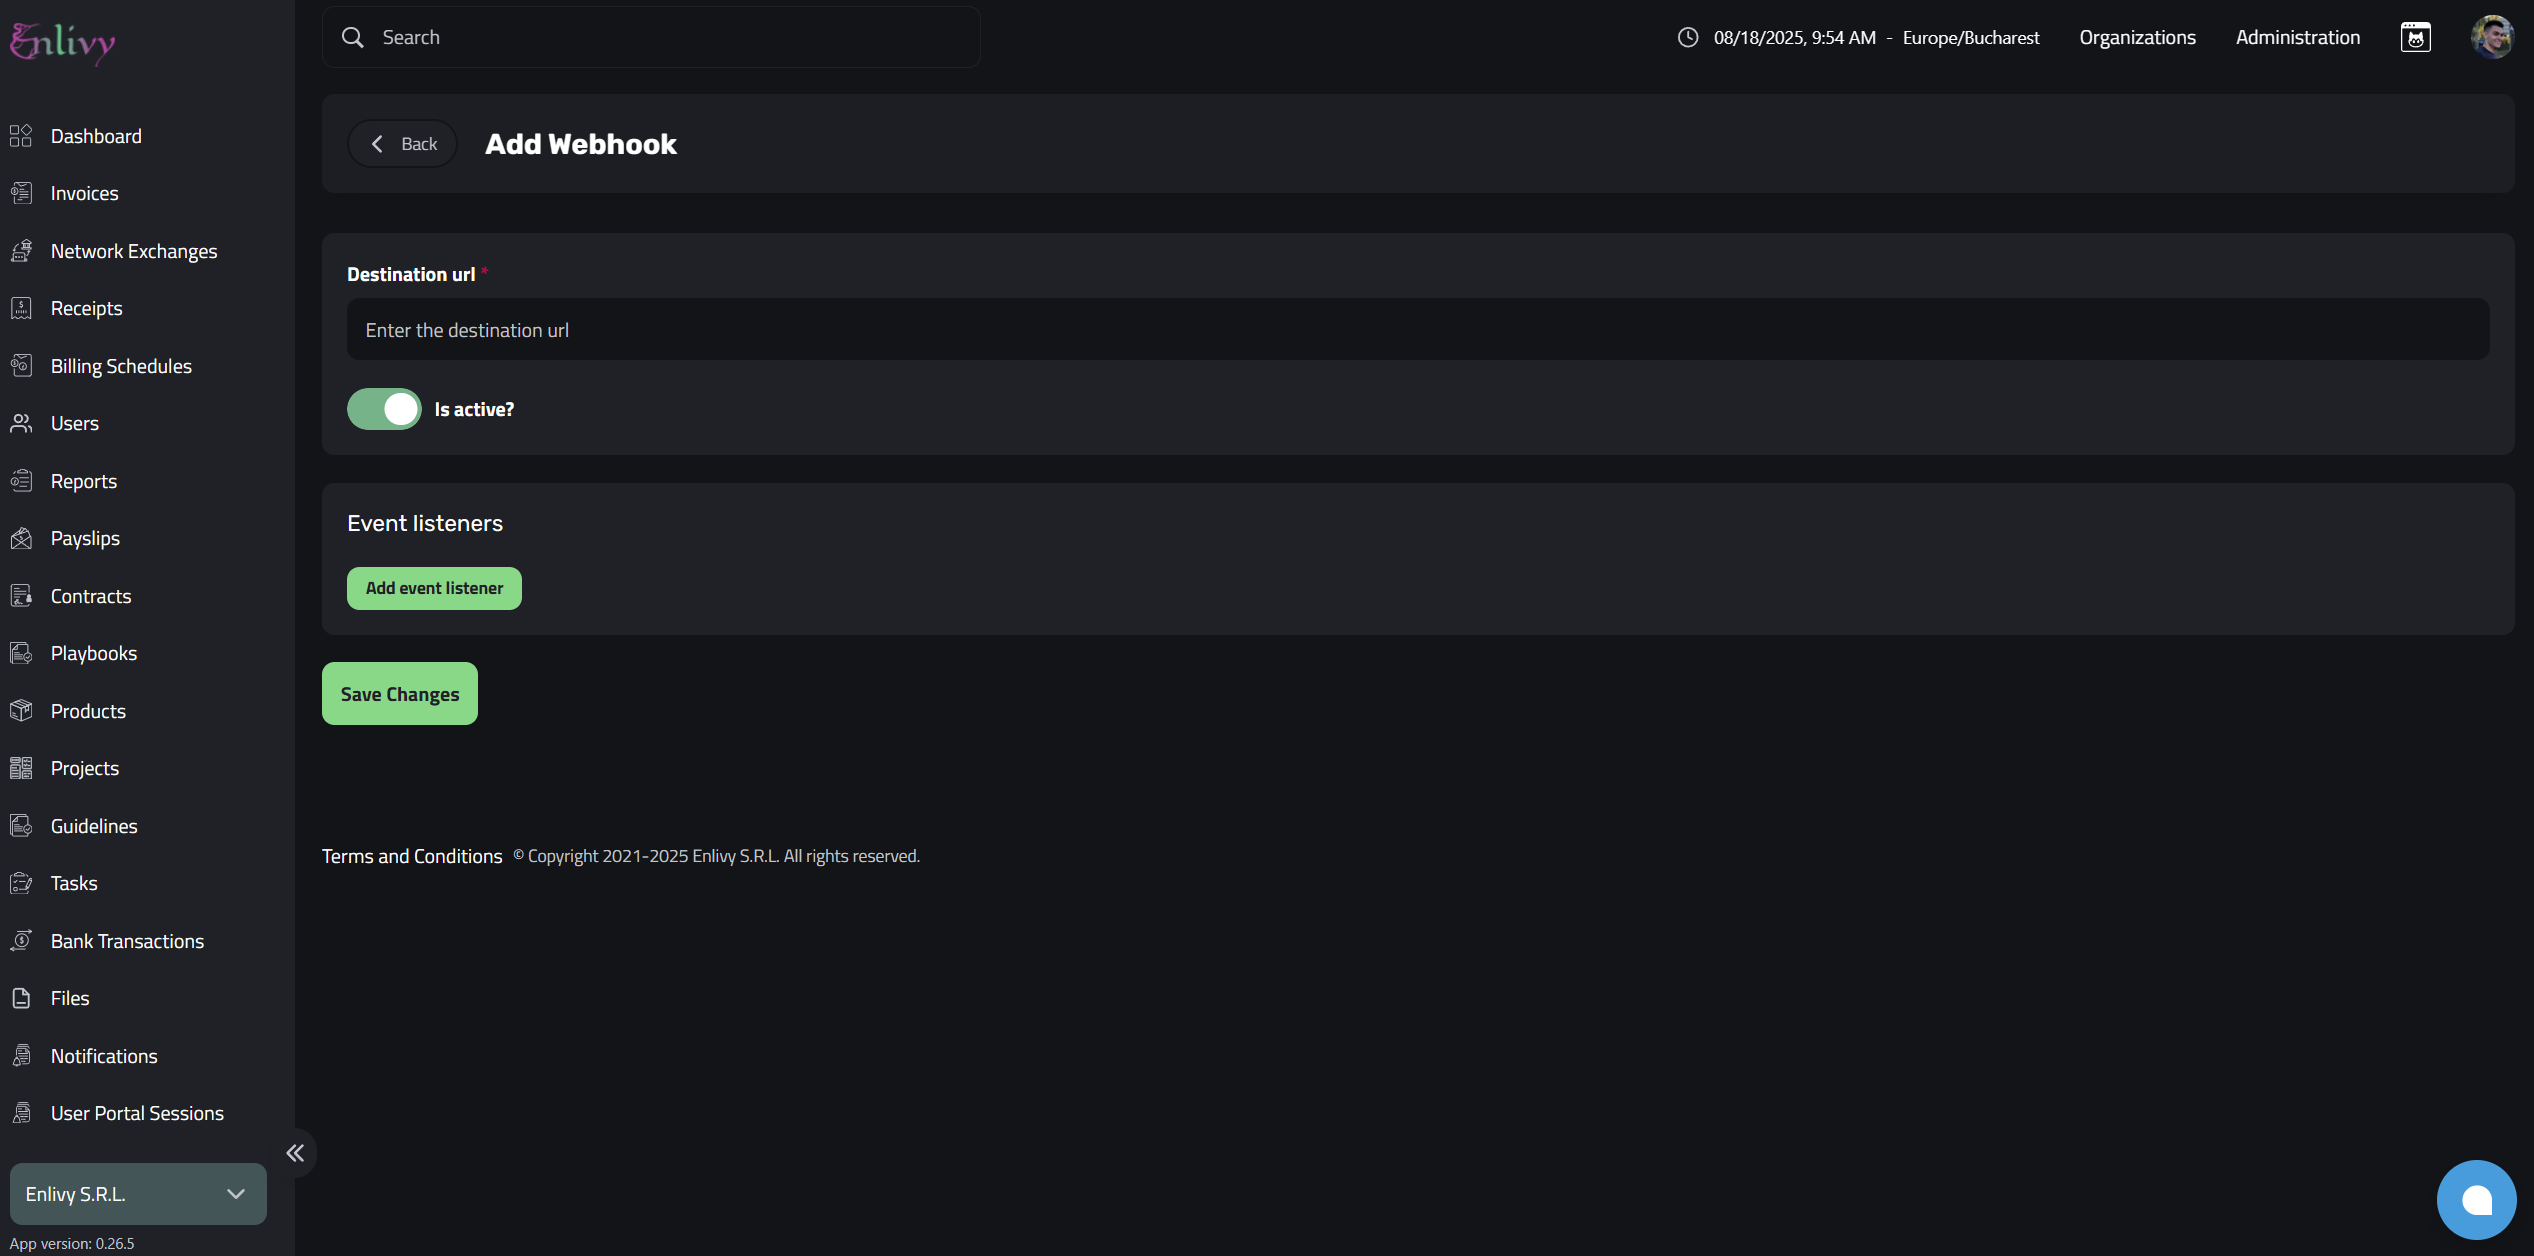
3. Configure Destination URL
- In the Destination URL field, enter the endpoint where Enlivy should send event data.
- This must be a valid HTTPS endpoint you control. Example:
https://example.com/webhooks/enlivy - Each time the chosen event triggers, Enlivy will make a
POSTrequest to this URL with JSON data.
4. Activate the Webhook
- Check the Is Active box.
- Only active webhooks will receive event notifications.
5. Add Event Listeners
Event listeners define which events will trigger this webhook. You can add one or multiple.
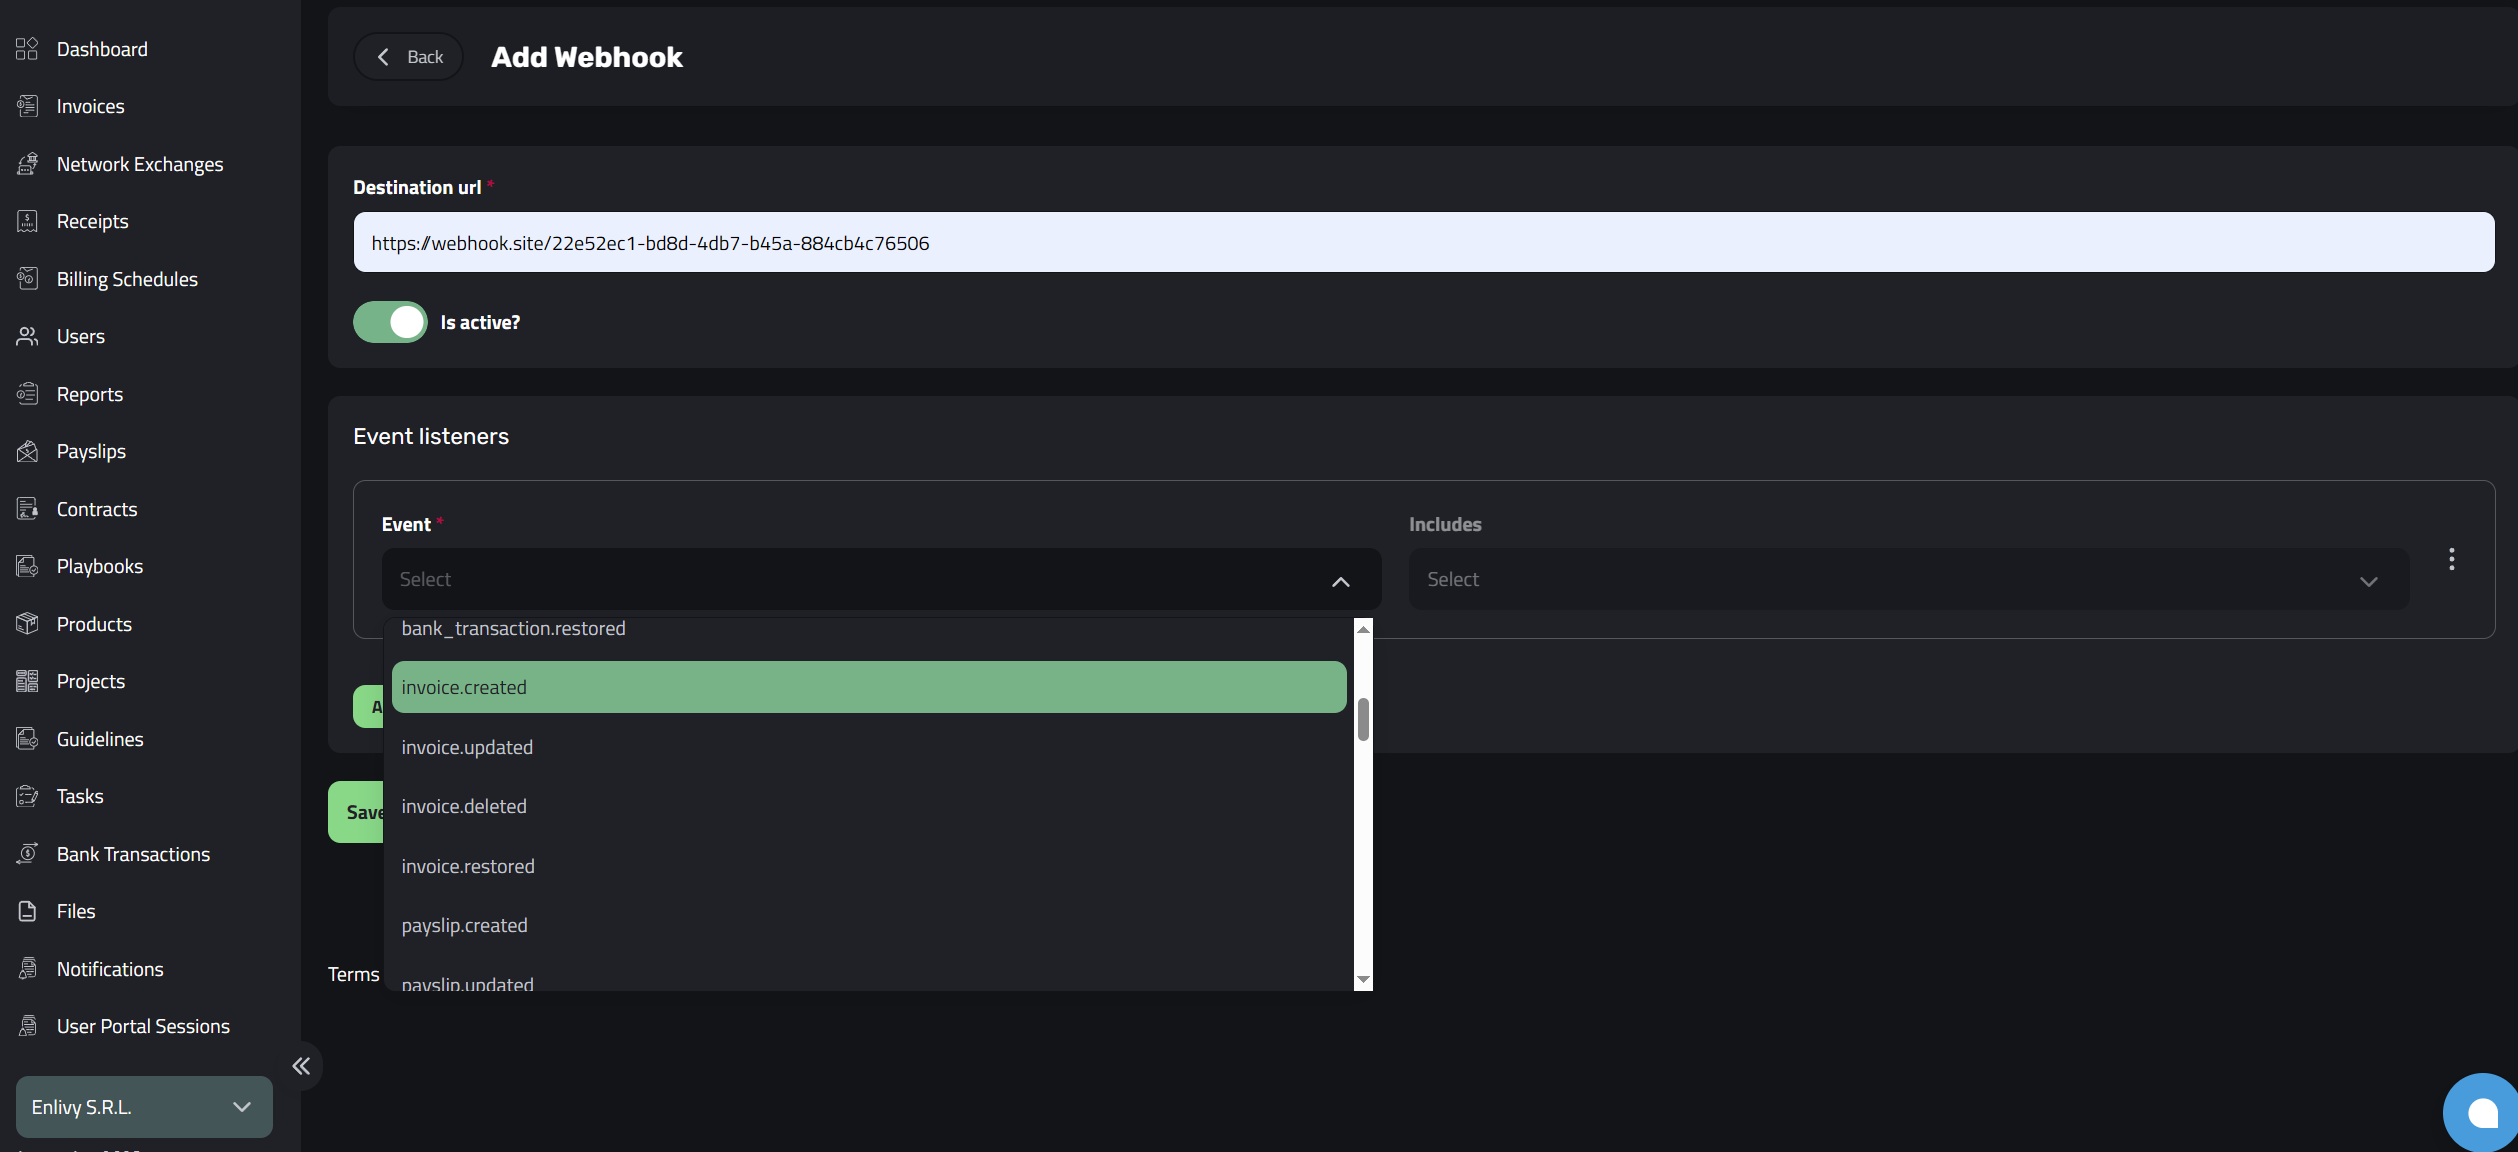
- Click Add Event Listener.
- Select an event from the Event dropdown. Examples include:
invoice.createdinvoice.updated
- You can repeat this step to subscribe to multiple events with the same webhook.
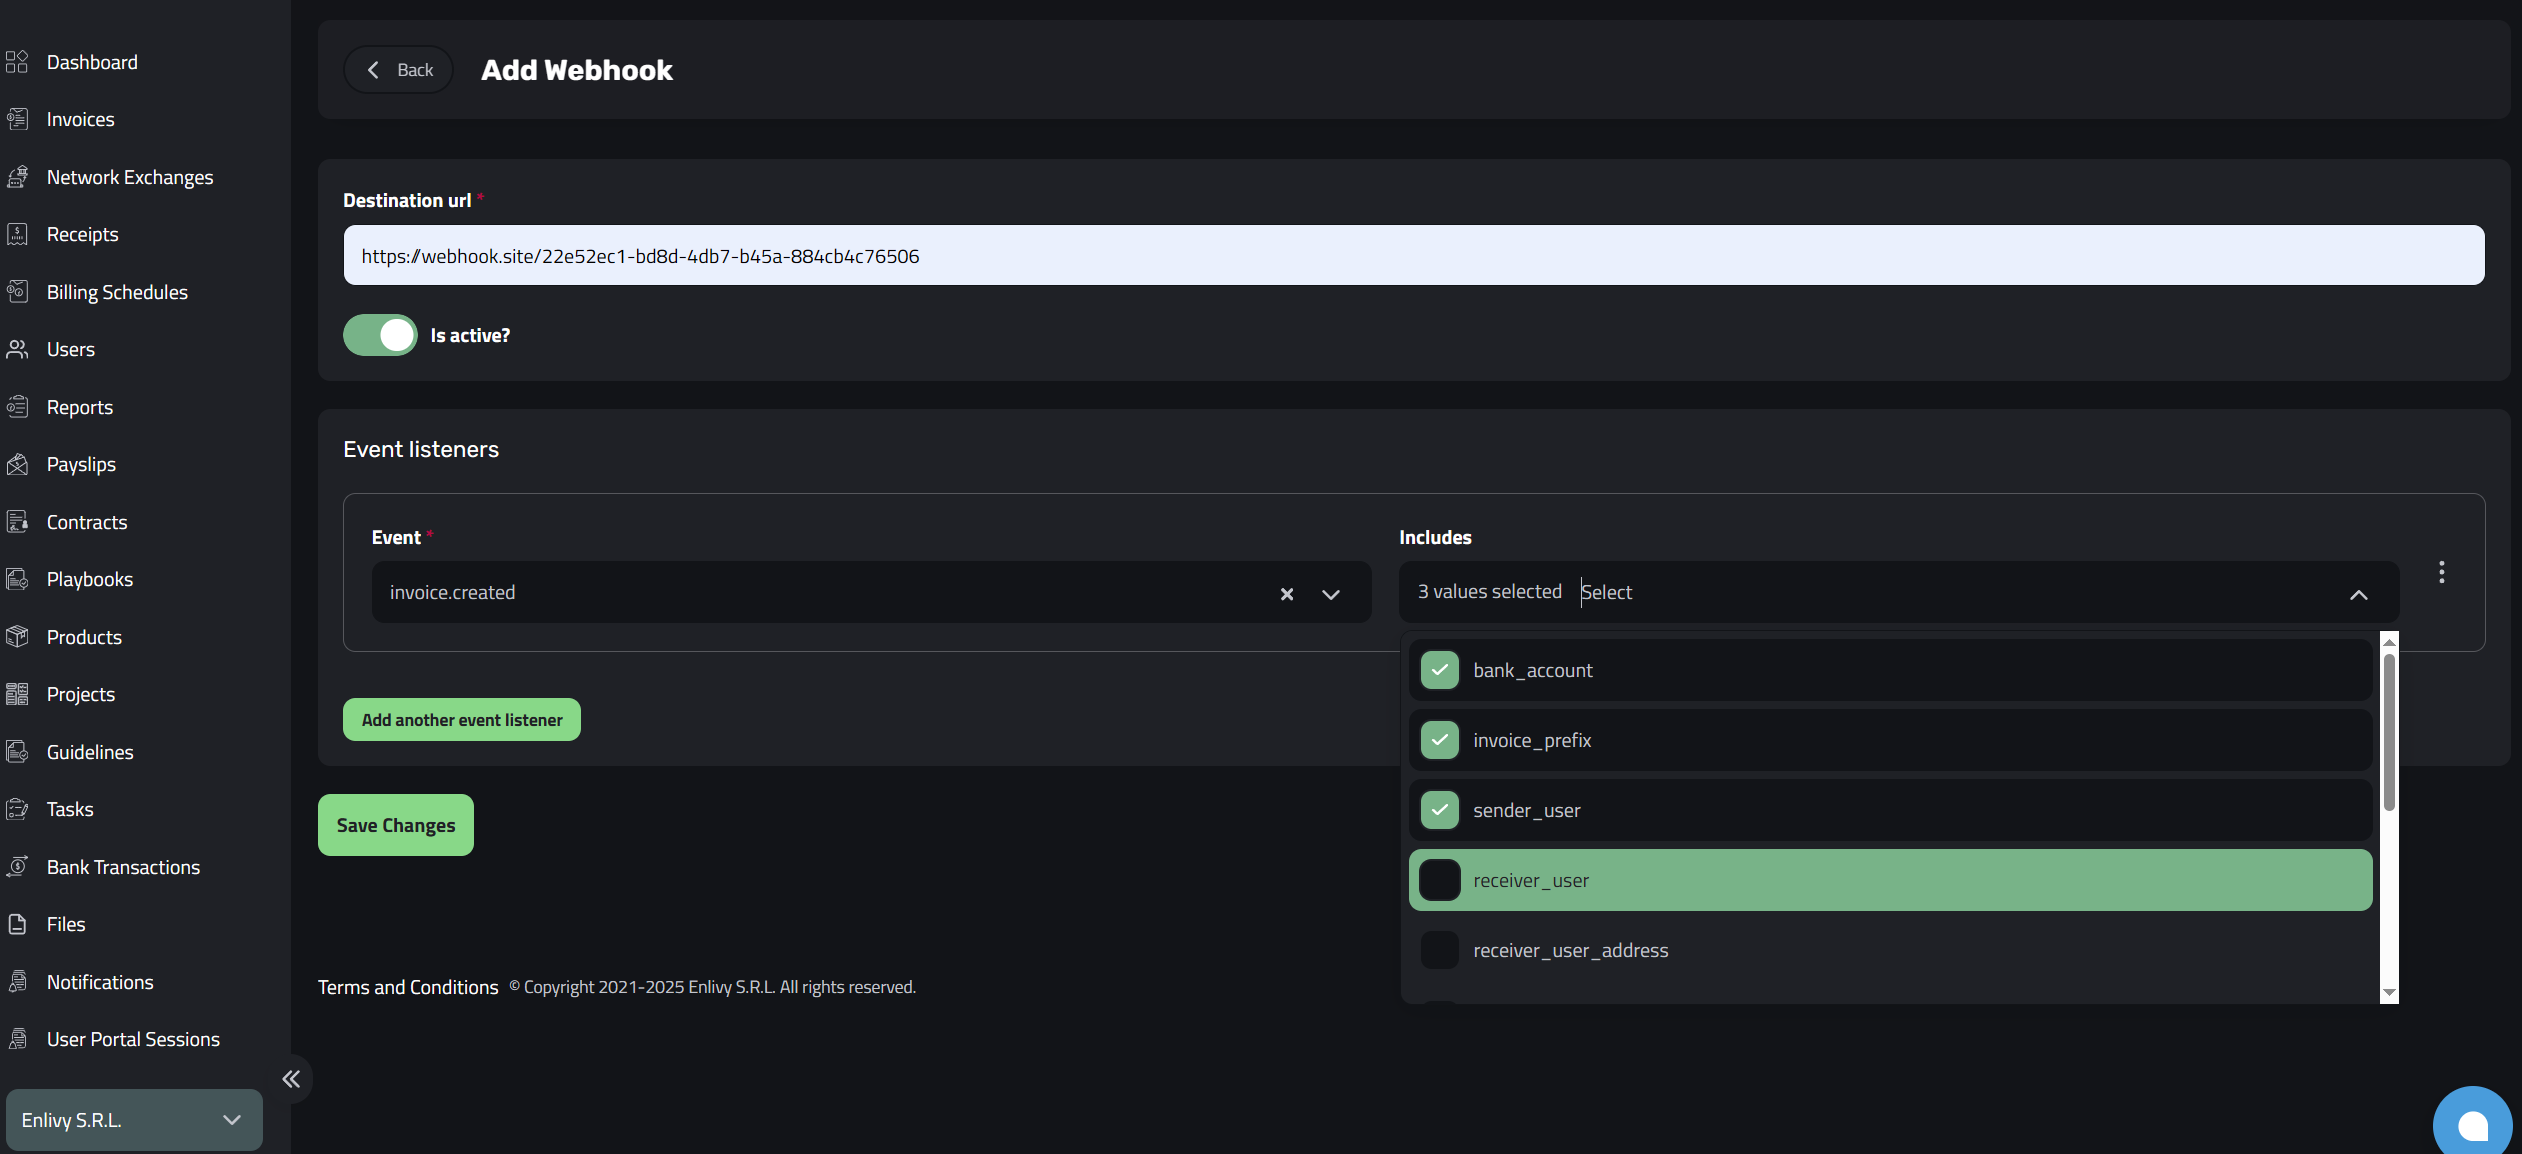
6. Configure “Includes”
For each event, you can choose Includes — extra related data that Enlivy will bundle into the webhook payload.
- Use the Includes dropdown (to the right of the Event).
- For example, when selecting
invoice.updated, you can include:bank_account– details about the linked bank account.invoice_user– the user who created or updated the invoice.invoice_prefix– the invoice numbering prefix.line_items– detailed list of items in the invoice.
Why use Includes?
By default, events only contain the main object (e.g., invoice). Adding Includes allows you to receive expanded context in a single webhook call, avoiding additional API requests.
7. Save Changes
- After configuring your events and includes, click Save Changes.
8. Test the Webhook
- To validate your setup, trigger the event you subscribed to.
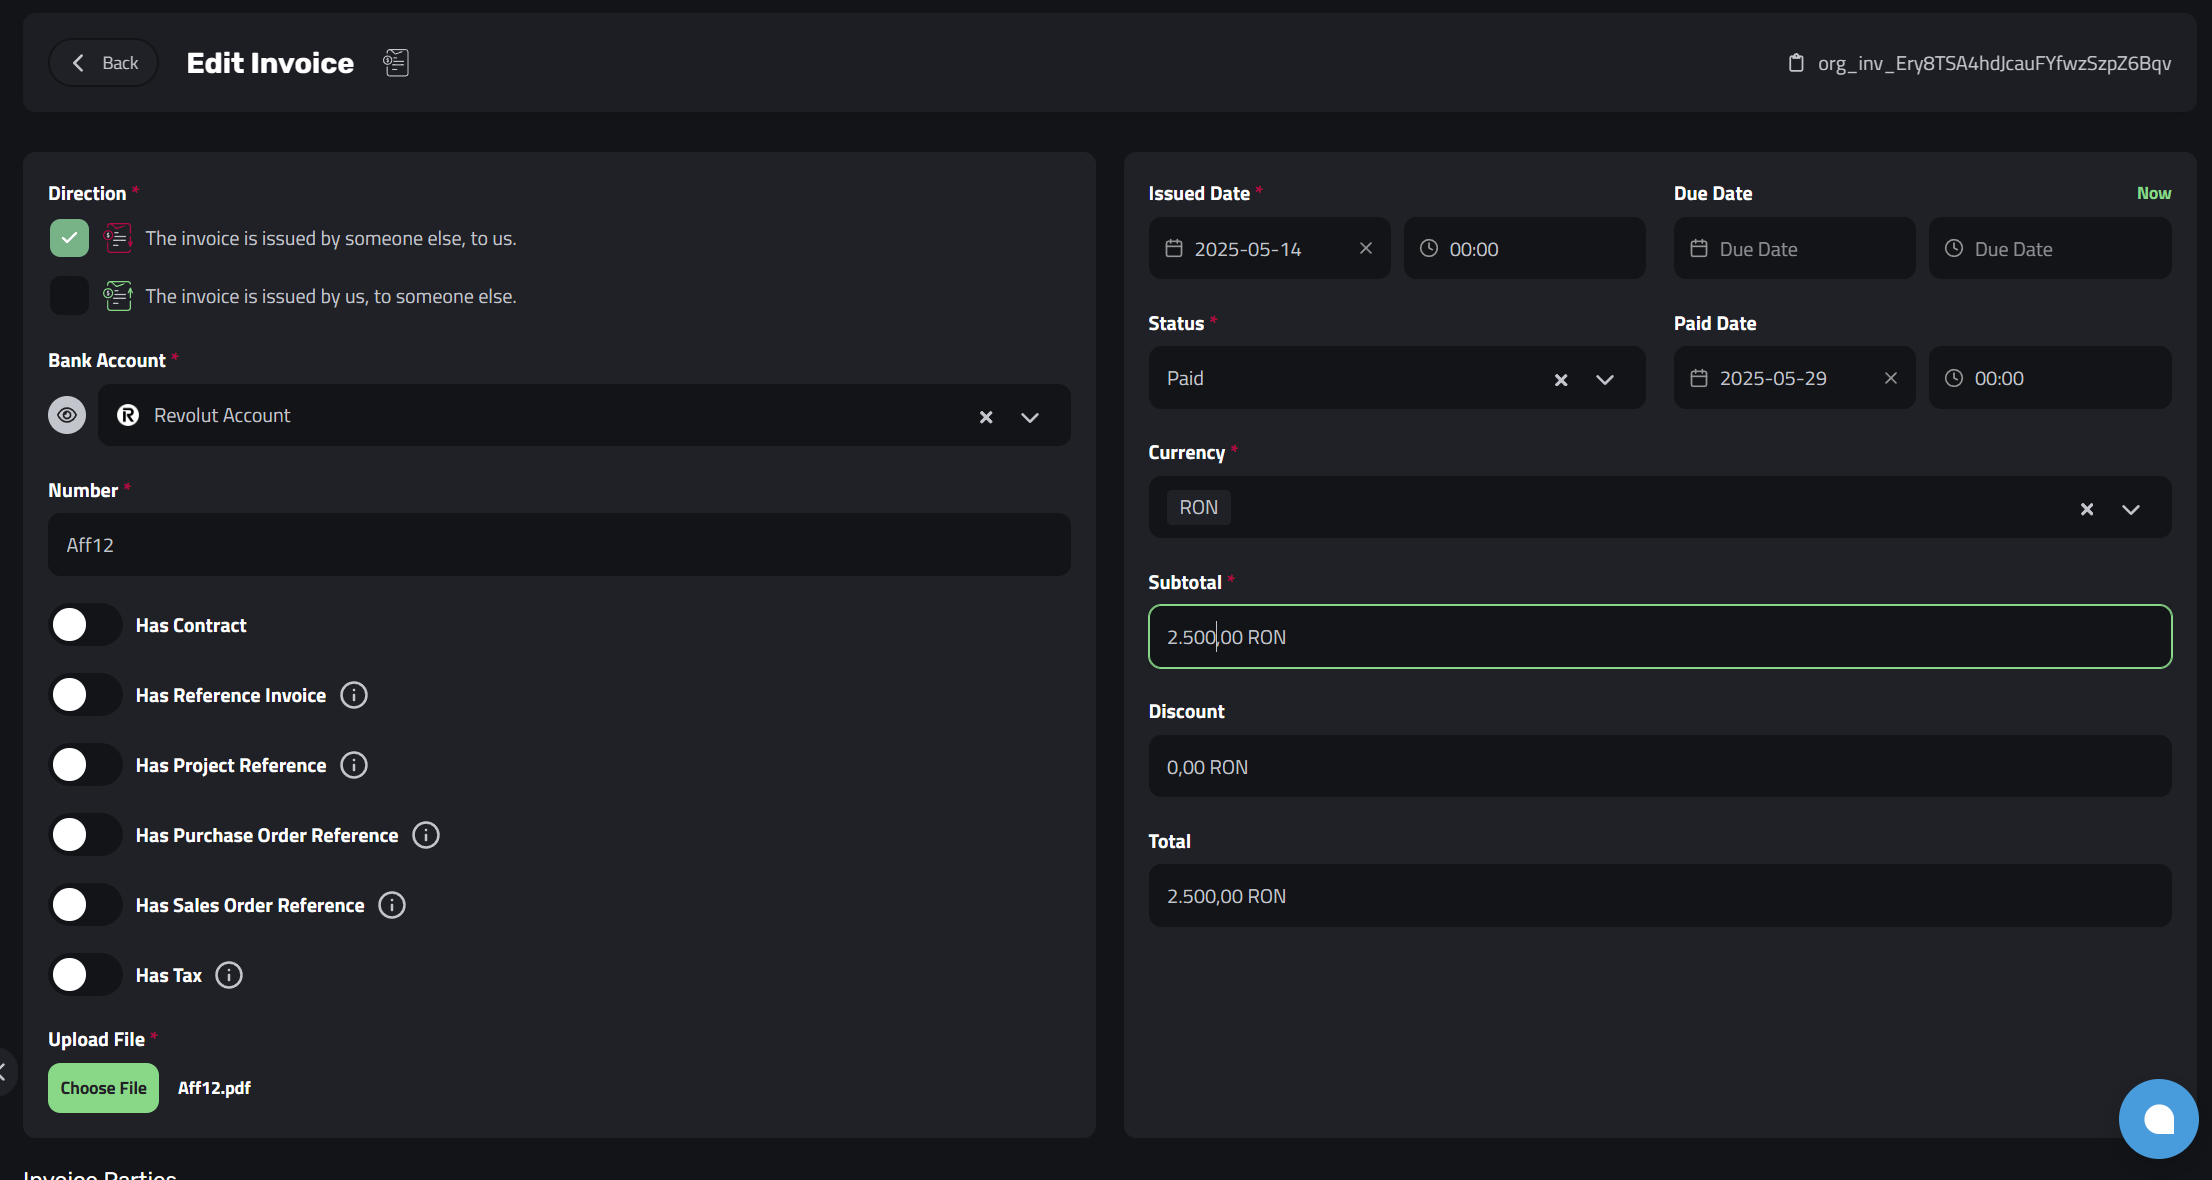
- For example, if you created a webhook for
invoice.updated:- Go to your invoices in Enlivy.
- Update an existing invoice (e.g., change the status or line items).
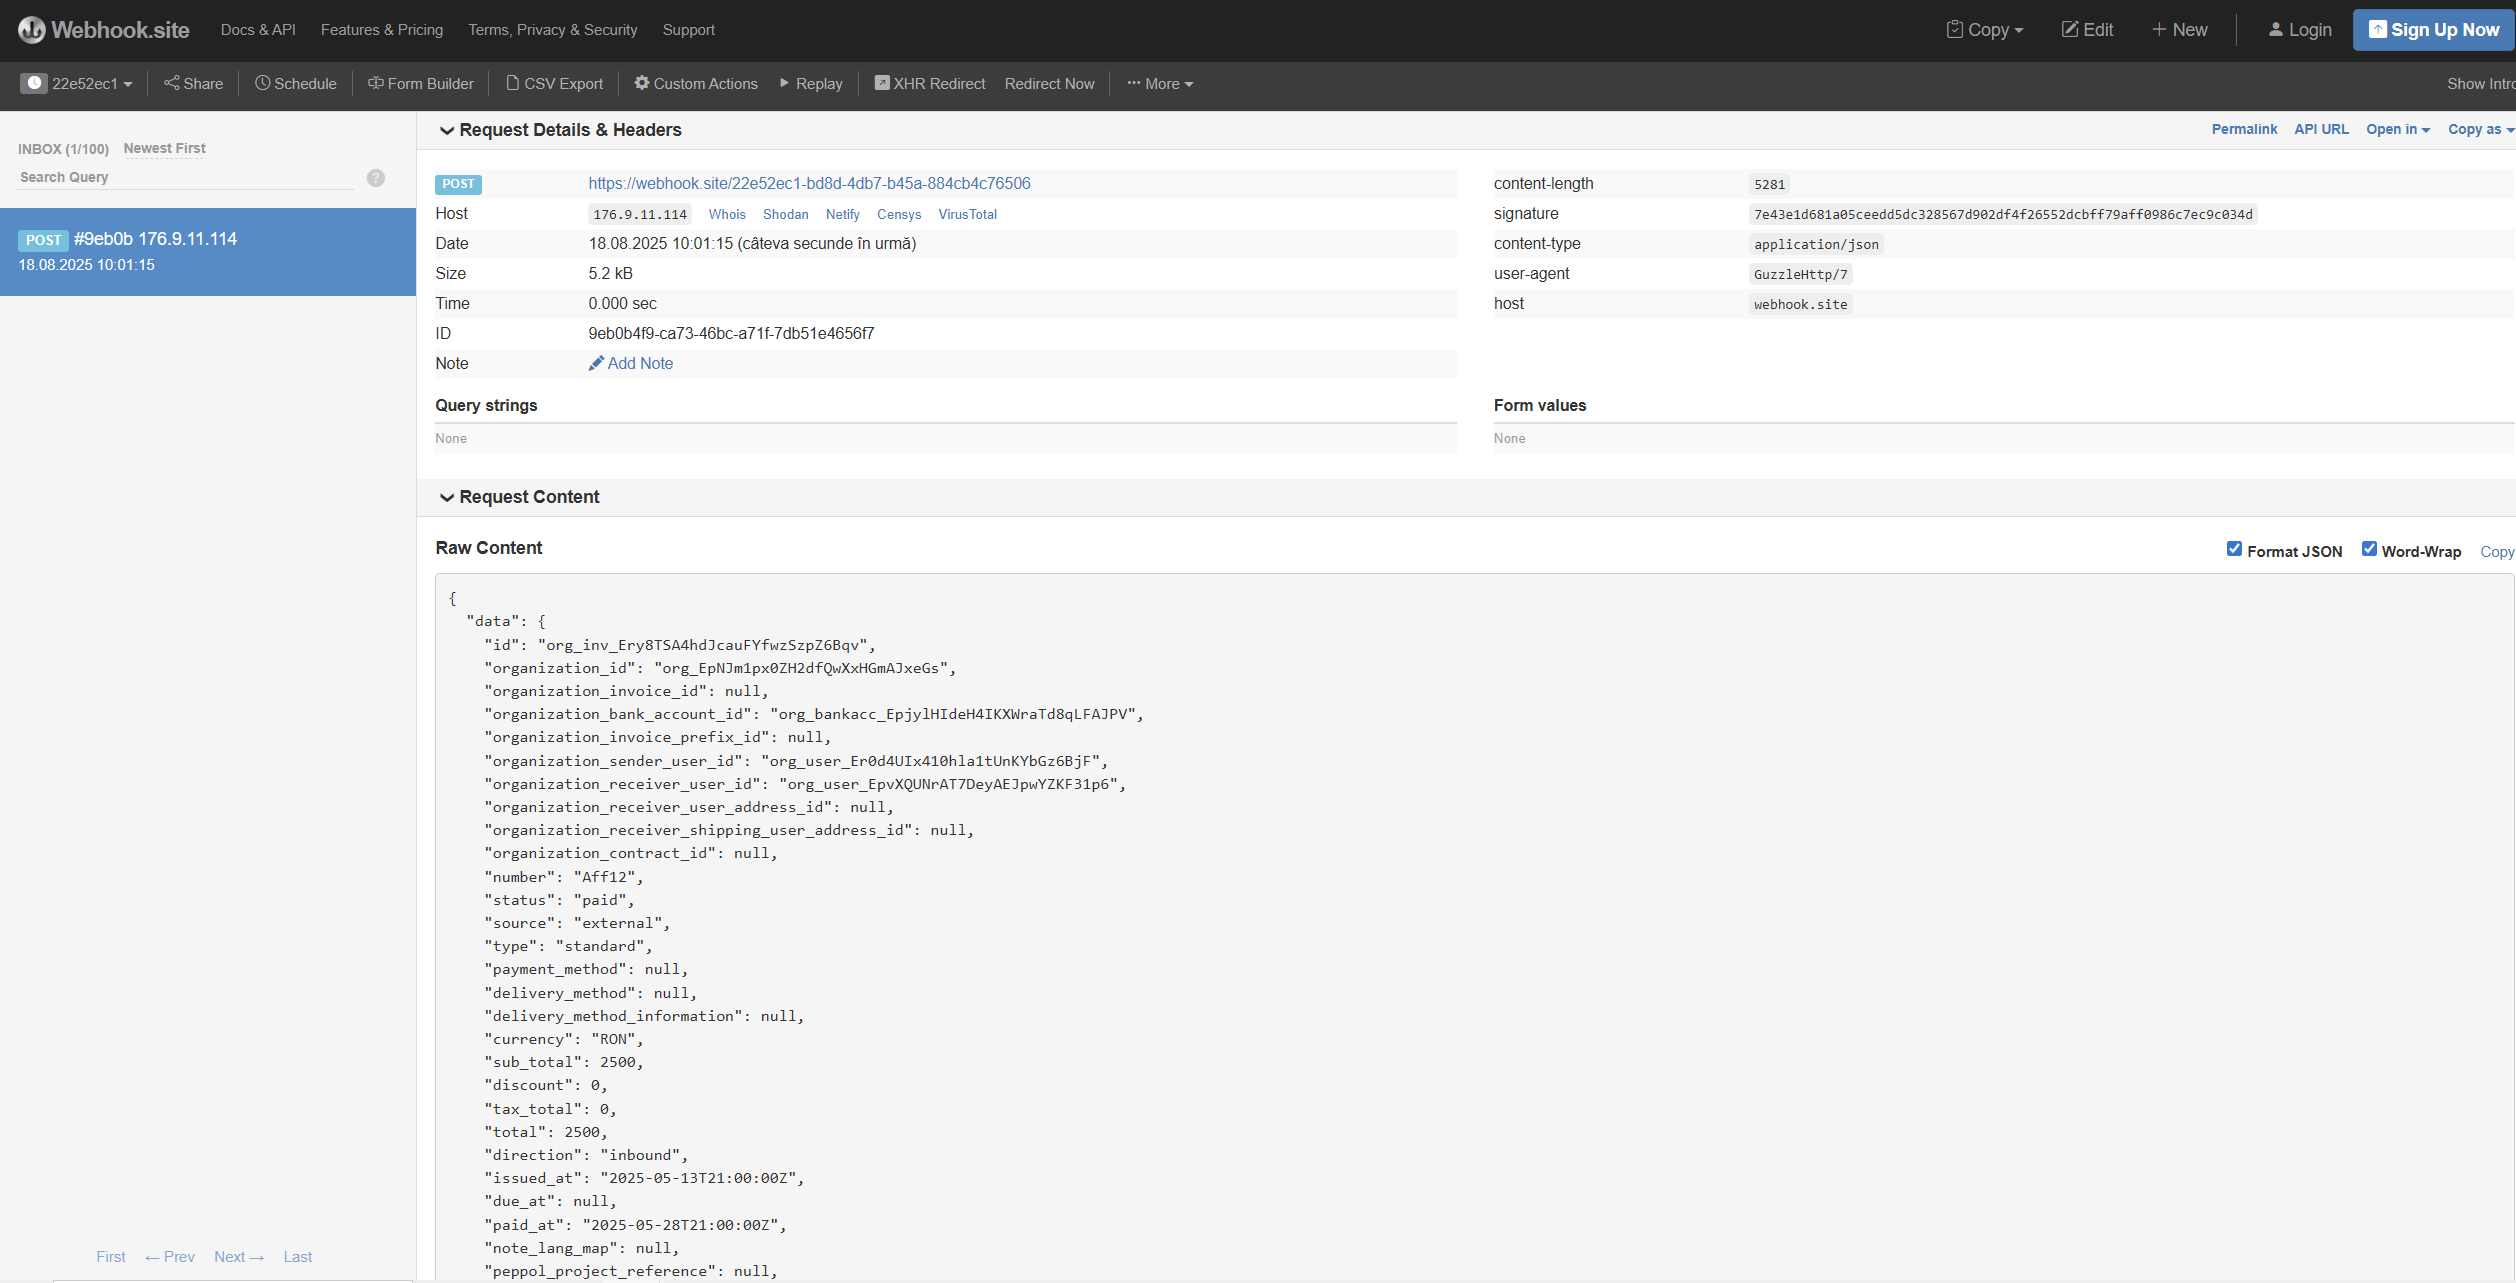
- Check the logs of your Destination URL server.
- You should receive a webhook notification with the updated invoice payload.
If you don’t see the request, verify:
- The webhook is active.
- Your server is publicly reachable and accepts HTTPS.
- The event listener and includes were configured correctly.