Adding Tags
Tag Overview
In Enlivy, tags are a powerful organizational tool that helps you better sort, filter, and categorize various entities within the app, such as invoices, receipts, users, products, projects, bank transactions, and files.
By using tags, you can easily identify and group related items, making your workflow more efficient and organized.
For example, you can use tags to differentiate between sales from different locations, departments, or employees. If you have multiple shops, you can tag invoices with the shop name (e.g., “Shop A” or “Shop B”) to know where the sale took place.
Similarly, if you have employees working in different locations, tagging users with their shop assignment will help you track their activities more clearly.
Tags can be applied across various sections of Enlivy, enabling a consistent and flexible system for organizing data.
Whether you’re managing financial transactions, employee roles, or inventory, using tags allows you to quickly find and filter related records based on your specific needs.
In this guide, we’ll walk you through how to add and manage tags in Enlivy to improve your organization and streamline your business operations.
Navigating to the Tags Section
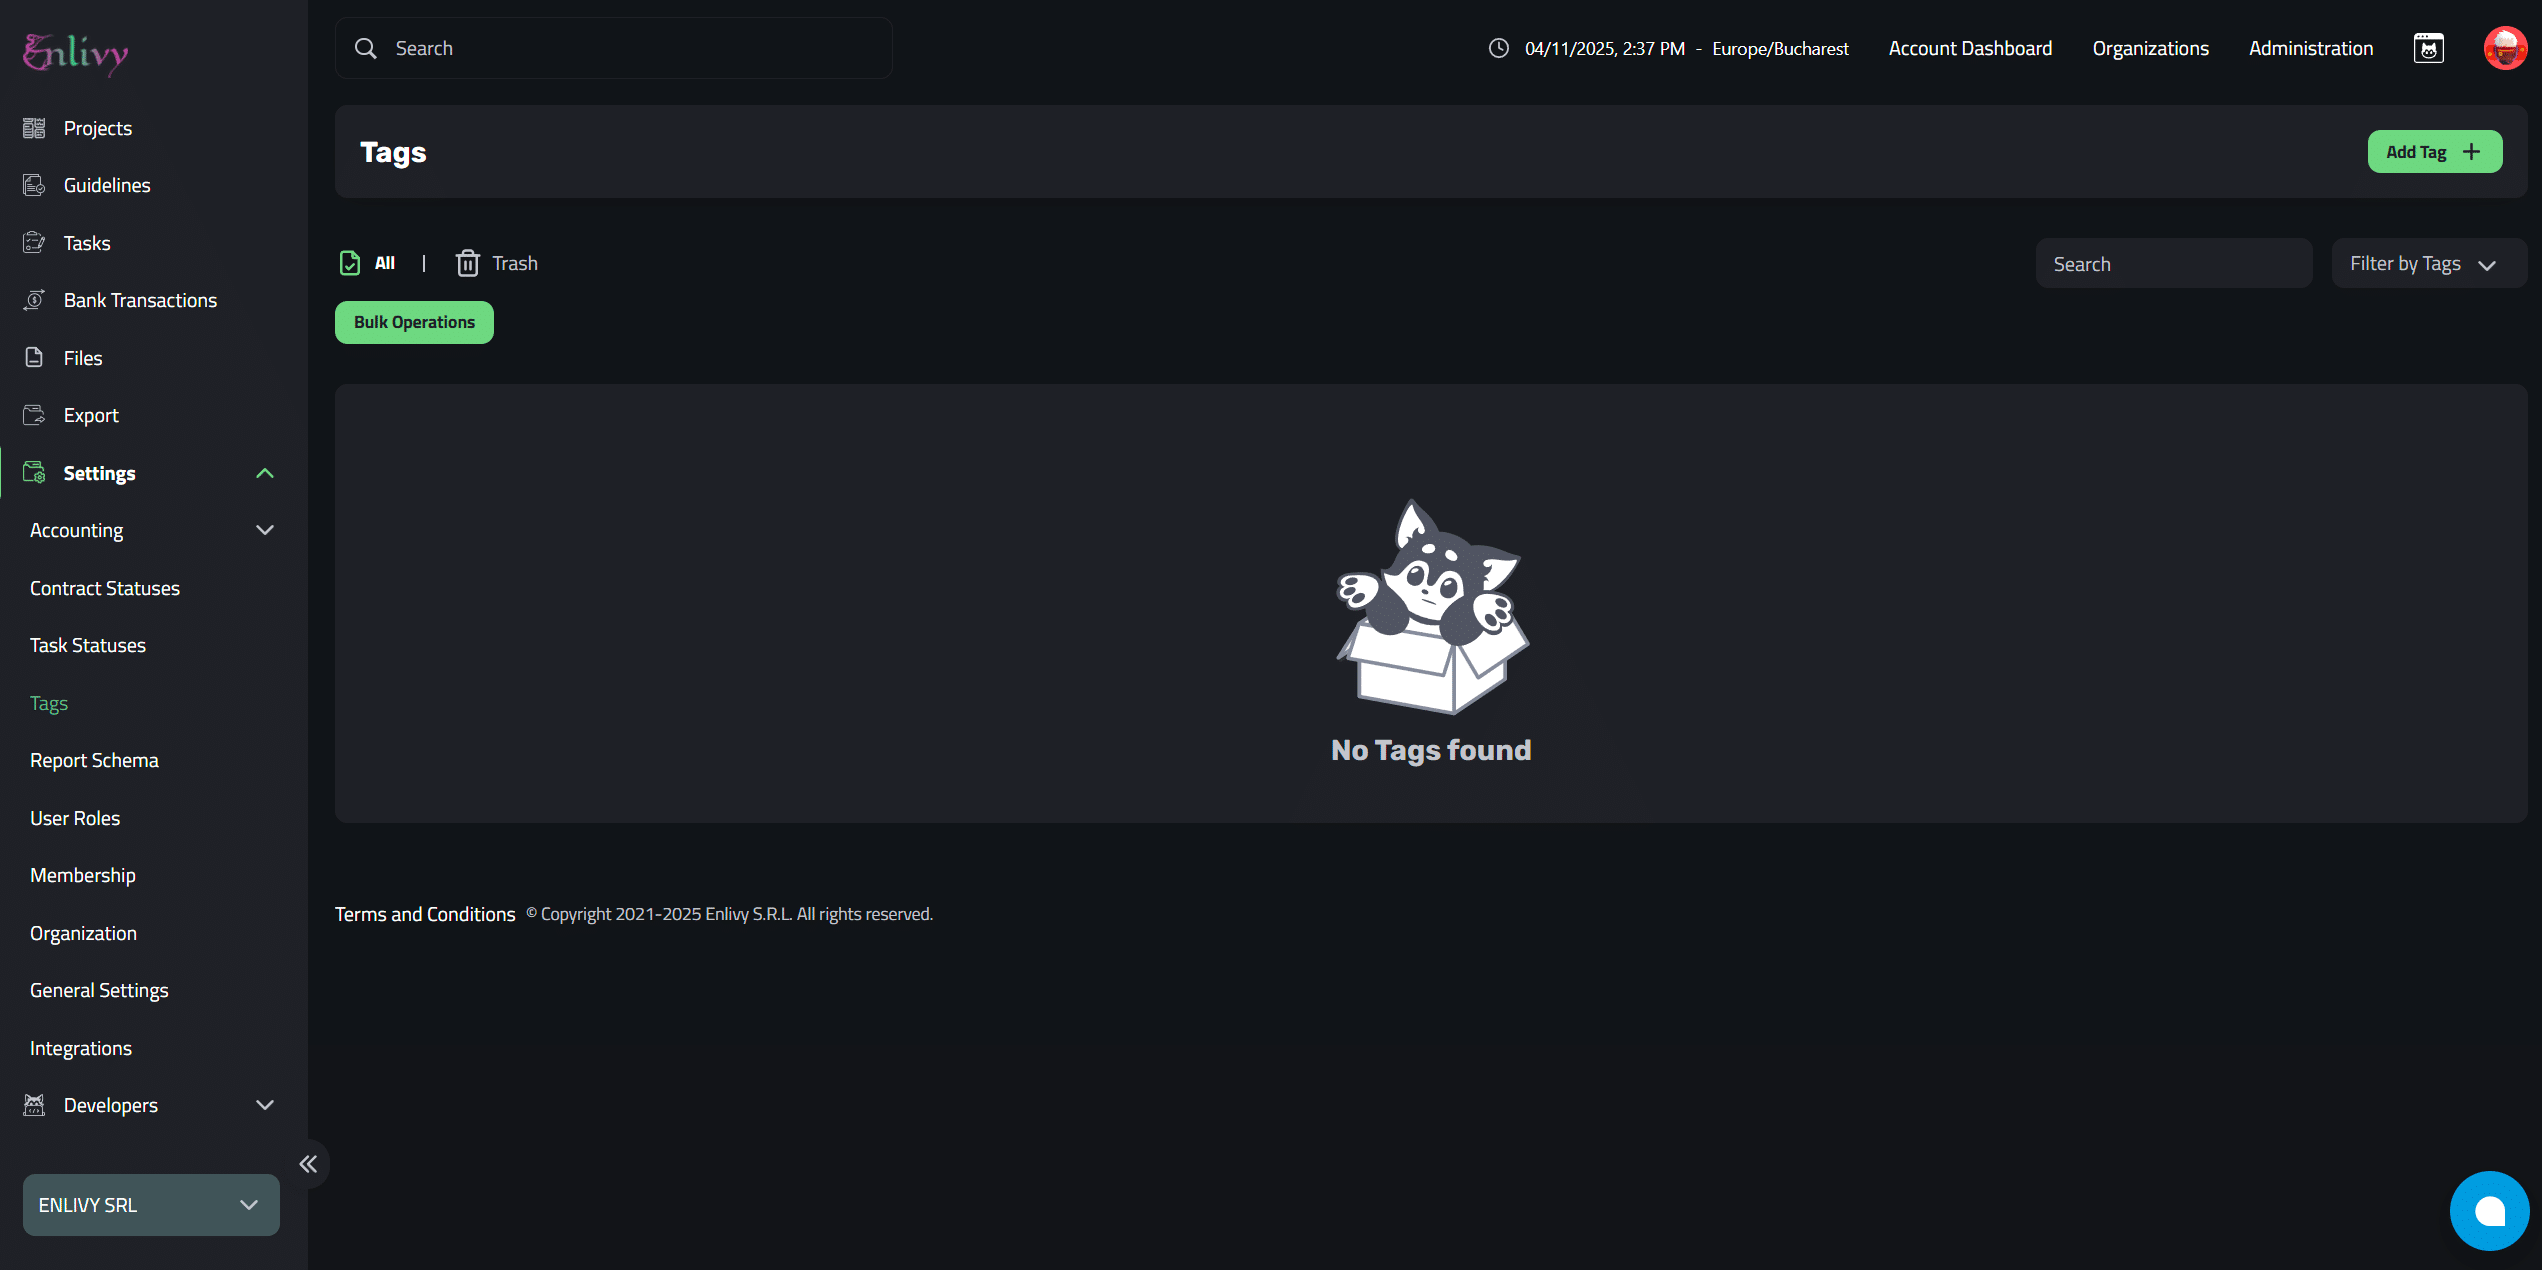
Navigate to the left menu, click on Settings, and then select Tags to access the main Tags dashboard.
Adding a Tag
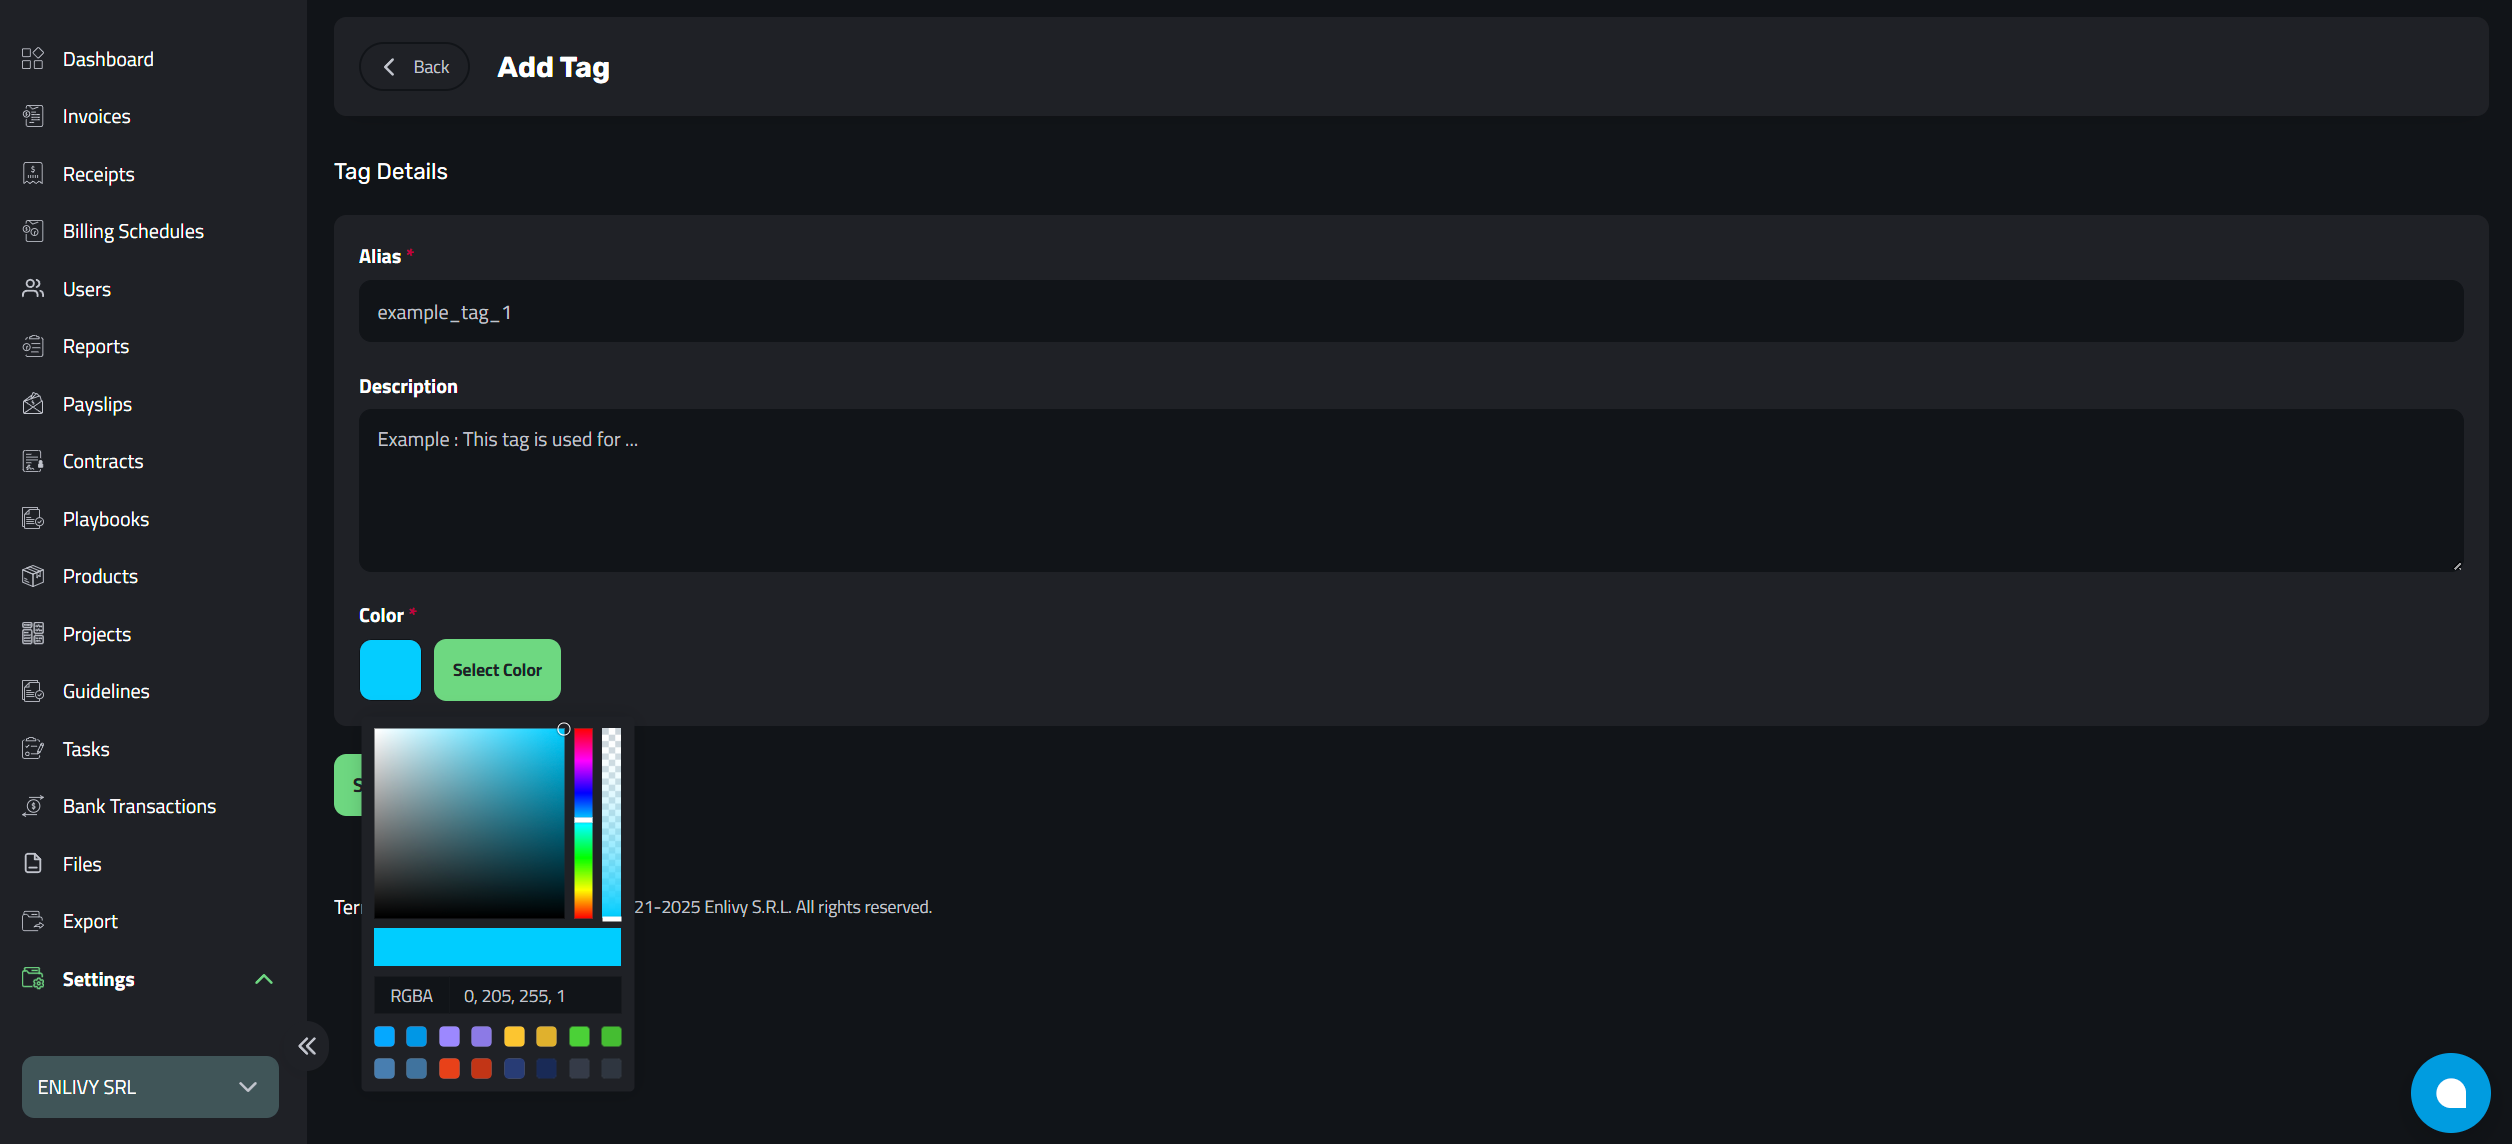
To add a new tag, click on the Add Tag + button in the upper-right corner.
The process of adding a tag is simple and straightforward. First, fill in the required fields:
Alias: The name for your tag, such astag_1,shop_a, etc.Description: A brief explanation of what the tag is used for.Color: Select a color for the tag using the RGB color selector.
Once you’ve filled in the fields, click Save Changes to add the tag.
Once you’ve filled in the necessary fields for your tag, such as the Alias (tag name), Description (to specify what the tag is used for), and Selected a Color using the RGB selector, you’re ready to save your new tag.
To do so, simply click the Save Changes button. This will add the tag to your tags list, and it will now be available for use across the relevant sections of the Enlivy app, such as invoices, receipts, users, products, and more.
After saving, you’ll be redirected back to the Tags dashboard where your new tag will be visible.
It can now be applied to the various entities across your account to help you organize, filter, and manage your data more efficiently.
Example of Adding a Tag
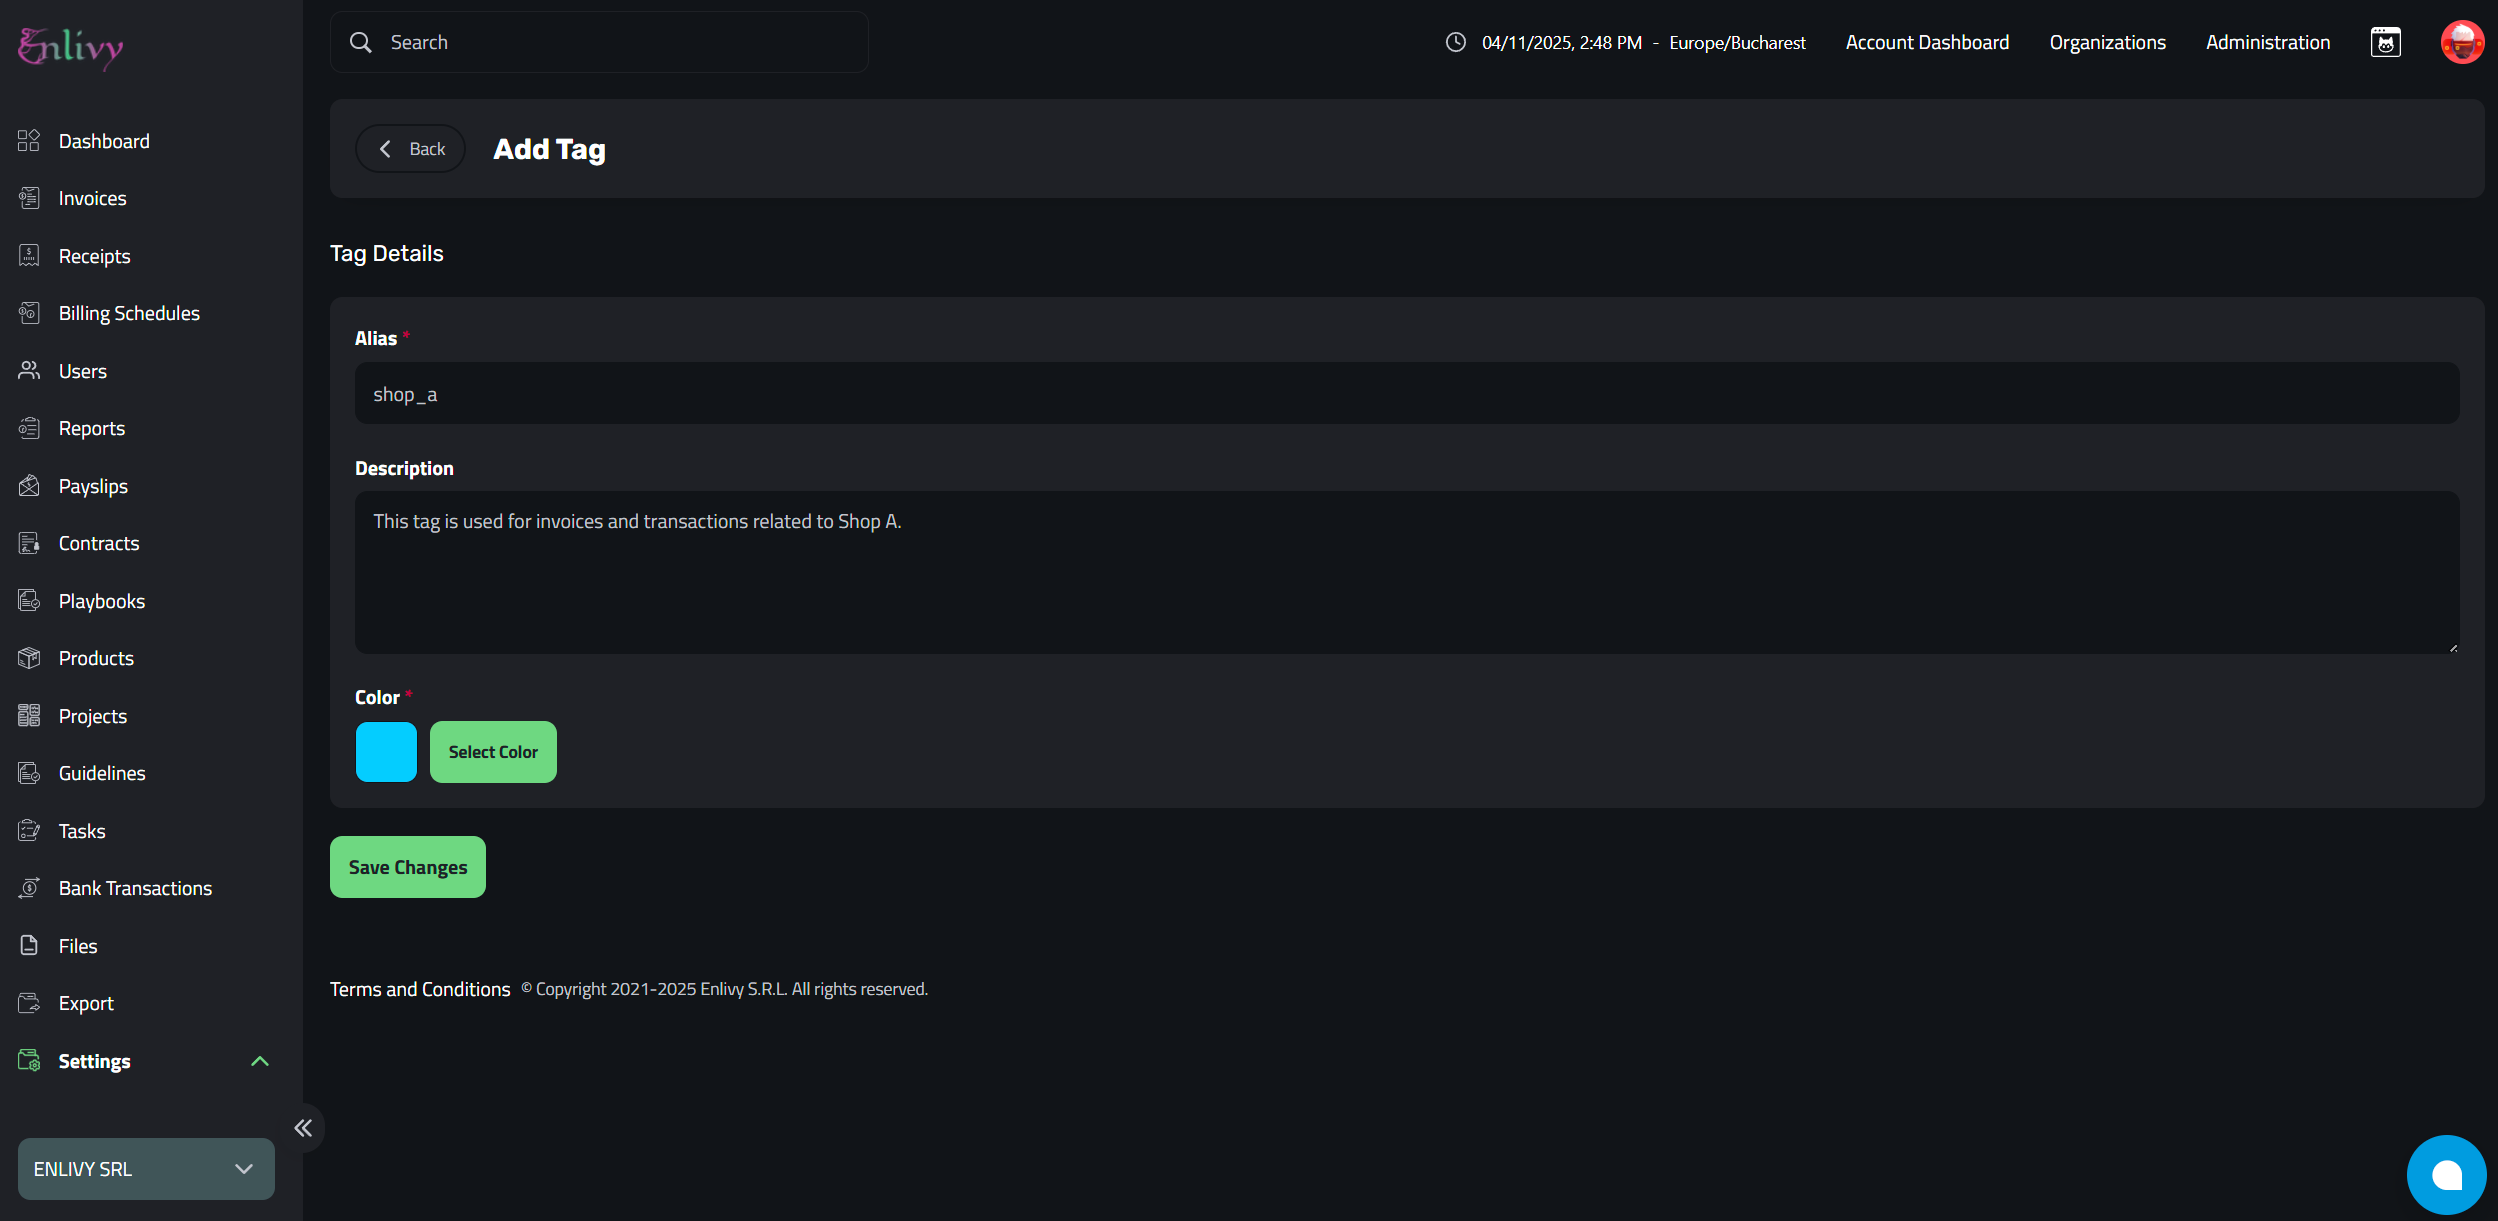
Let’s go through an example of adding a tag for Shop A.
- Alias: Enter “shop_a” as the alias for the tag. This will be the internal name used to identify the tag, helping you distinguish it from other tags.
- Description: Write “This tag is used for invoices and transactions related to Shop A.” This helps clarify the purpose of the tag.
- Select a color: Choose blue as the color from the RGB selector to visually distinguish this tag in the system.
- Save: Once you’ve entered the alias, description, and color, click Save to add this tag to your system.
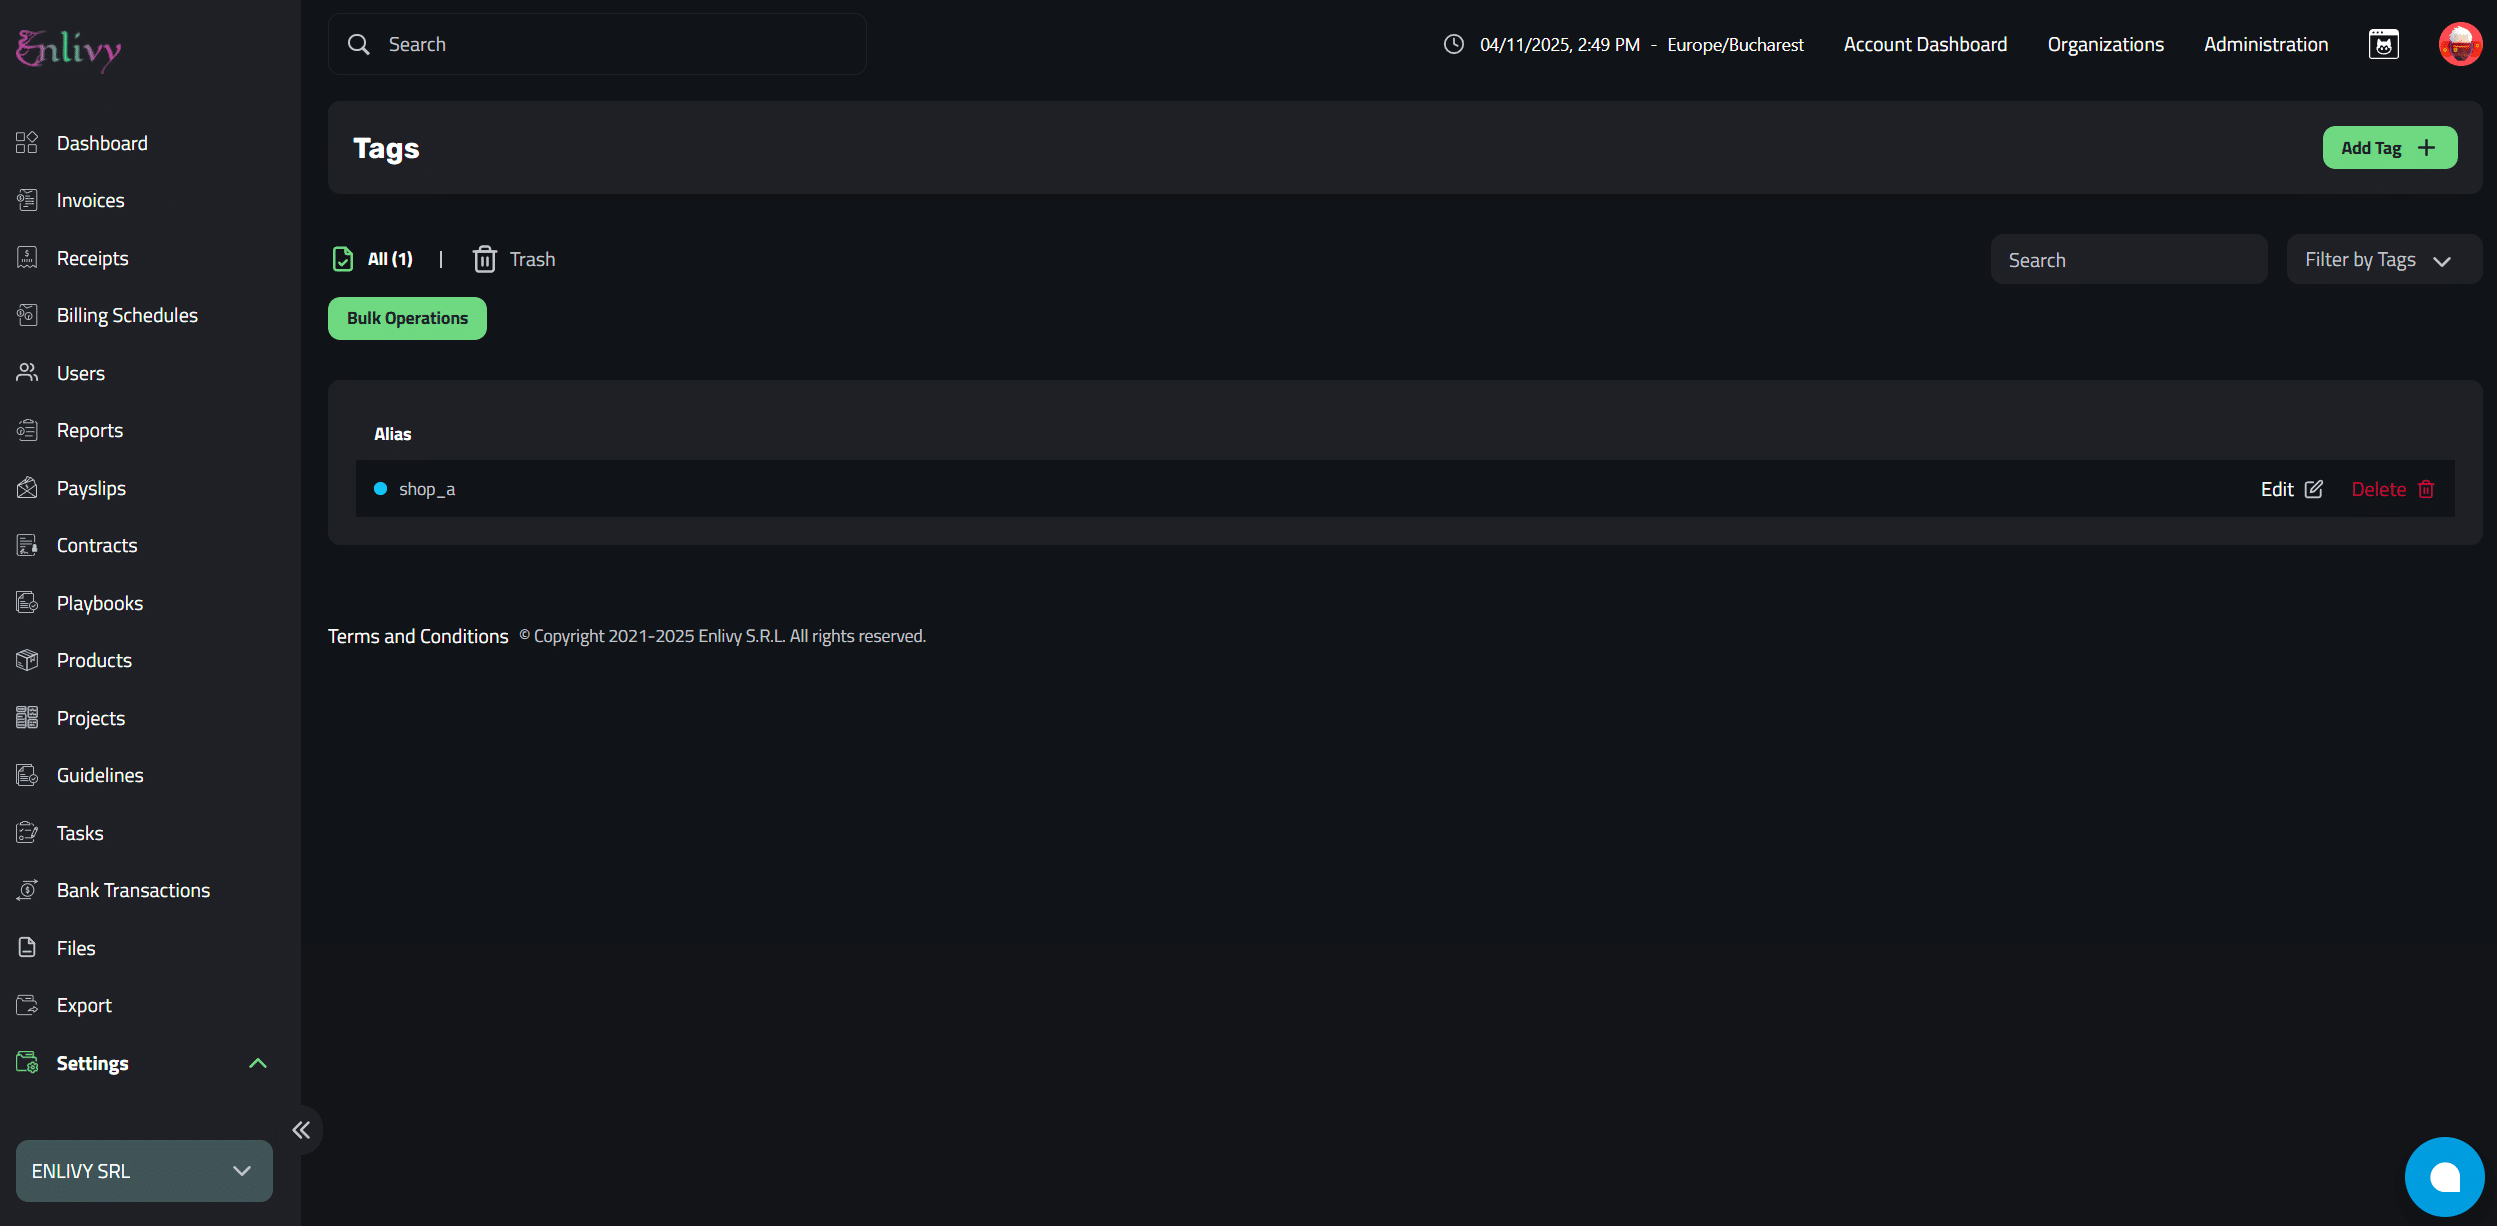
After Saving, your Shop A tag will be added to the Tags dashboard, and it will now be available to use when sorting or filtering invoices, receipts, or other items related to Shop A.
This will allow you to quickly identify which invoices or transactions belong to Shop A and ensure better organization of your data.
Once you have successfully added the new tag, it will appear in your Tags Dashboard. Here you can view all your created tags.