Adding Products to Enlivy
In this guide, we’ll show you how to use the Products feature in the Enlivy app and walk you through adding your first product.
Products can be physical items or services that your company offers, which can later be invoiced to other organizations.
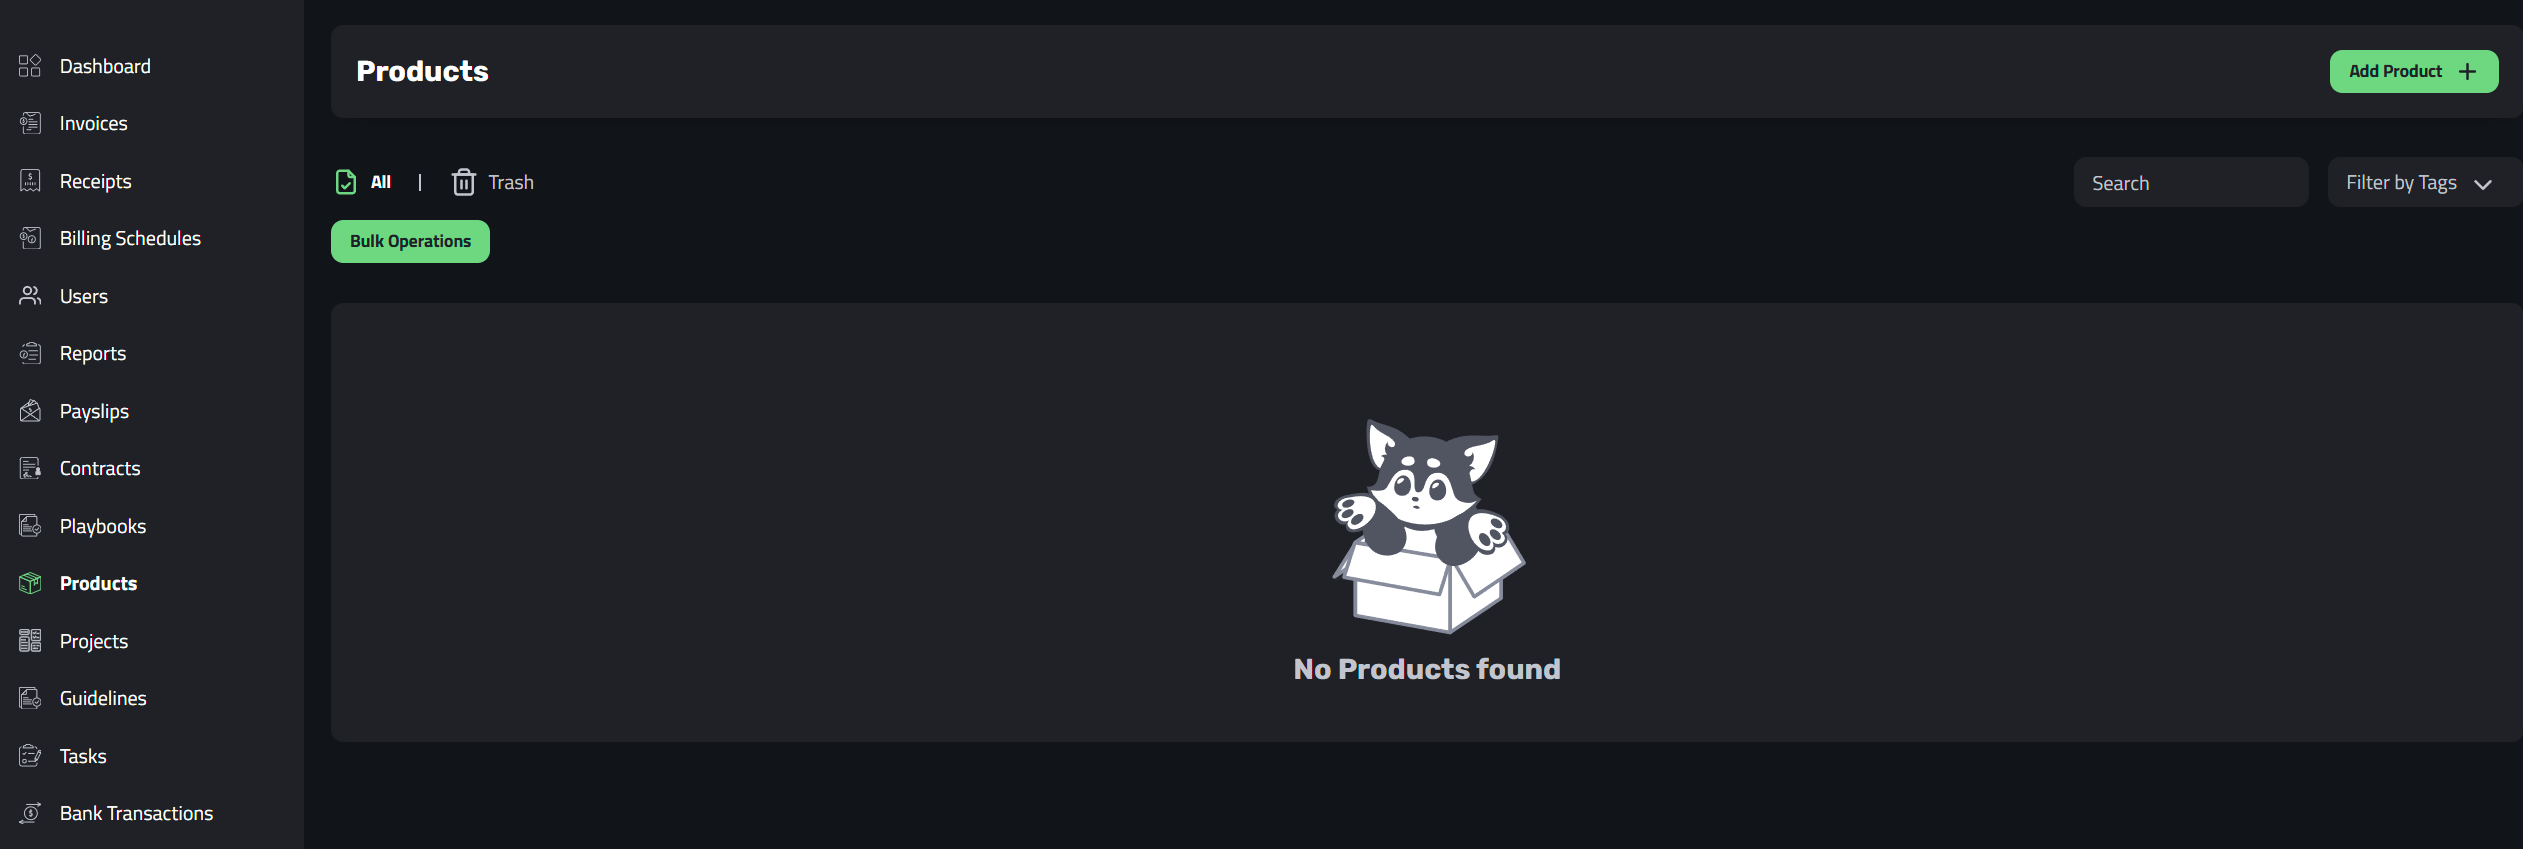
Access the Products Menu
To add your first product, open the Enlivy app and navigate to the Products menu on the left side of the screen.
Then, click the Add Product + button on the right. Refer to the screenshot below for guidance.
New Product Overview
After clicking the Add Product button, you’ll be taken to a new page where you can enter all the necessary details about your product before adding it.
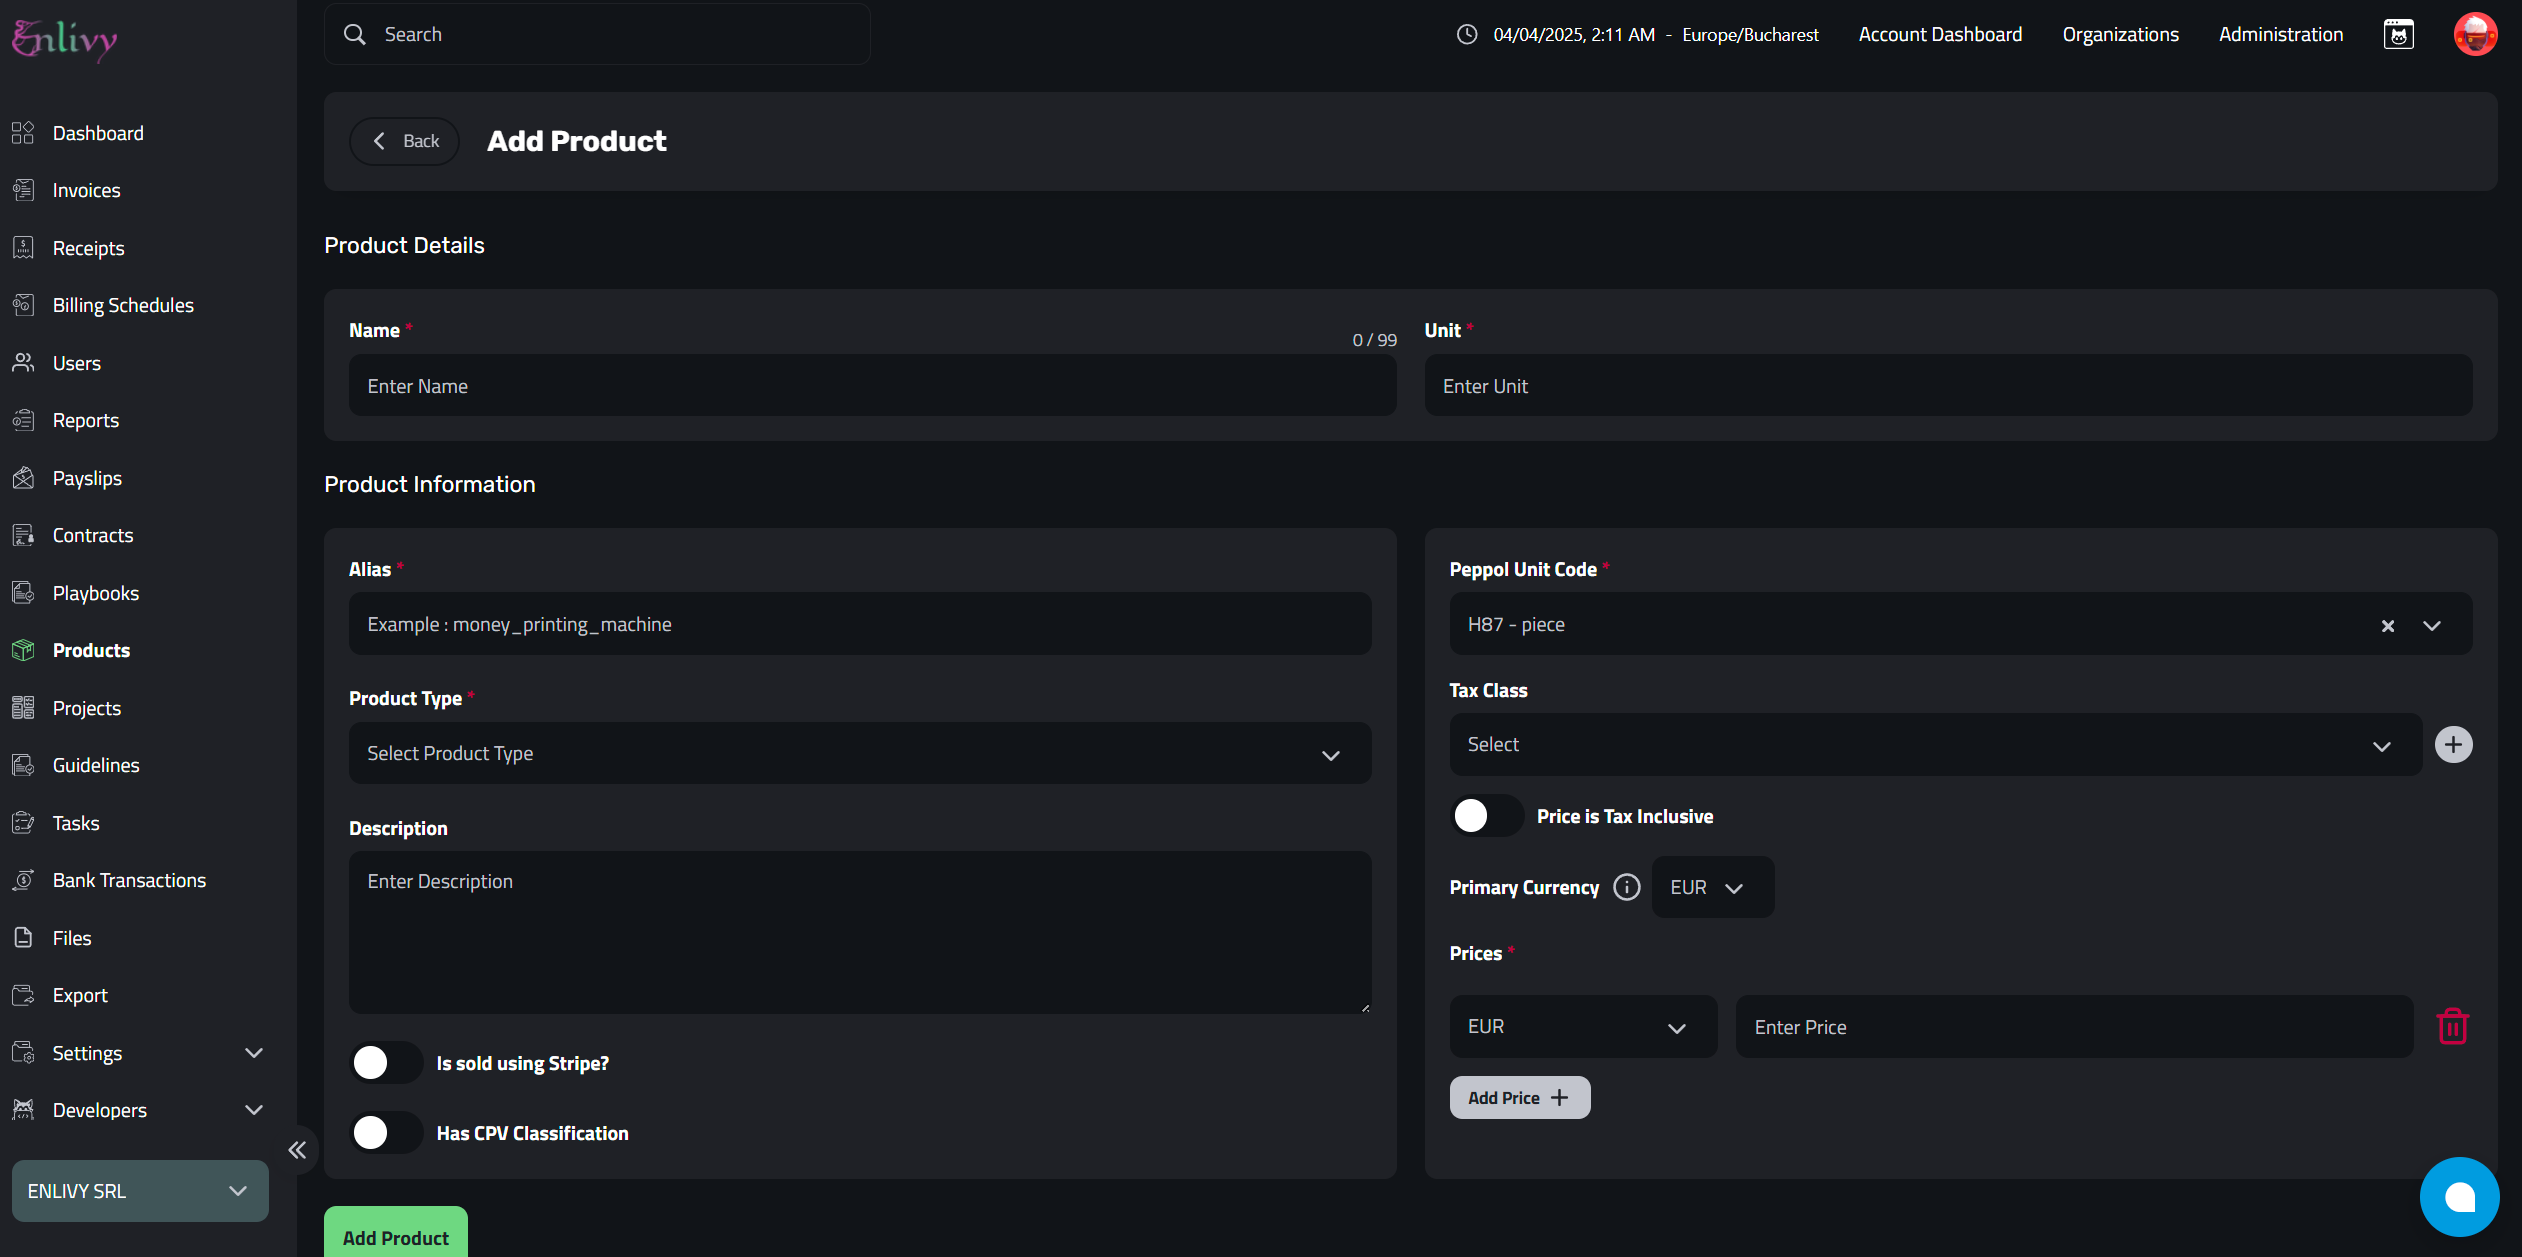
Getting Familiar with the Product Fields
When adding a product in the Enlivy app, you’ll need to complete the following fields:
-
Product Name
The name of your product or service.
-
Unit
The unit of measurement for the product (e.g., piece, kg, hour).
-
Alias
An alternative name or internal reference for the product.
-
Product Type
Select whether the product is a digital product, service, or physical item. If we select Physical Product, then we can further add a EAN number or UPC number for identification.
-
Description
A short description of the product.
-
Is sold using Stripe?
If enabled, you can add Stripe product IDs for online payments.
-
Has CPV Classification?
If enabled, you can enter the CPV (Common Procurement Vocabulary) classification for the product.
-
Peppol Unit Code
A standardized unit code used in e-invoicing.
-
Tax Class
The applicable tax category for the product. (This should be added separately from the Accounting – Taxes Tab)
-
Price is tax inclusive
Check this if the price includes tax; uncheck if tax should be added separately.
-
Primary Currency
The main currency in which the product is priced.
-
Price
The cost of the product in the selected currency.
Add Your Product
Now that you’re familiar with each field, it’s time to add your first product!
Follow the screenshot below as we add our Teddy Bear Toy product.
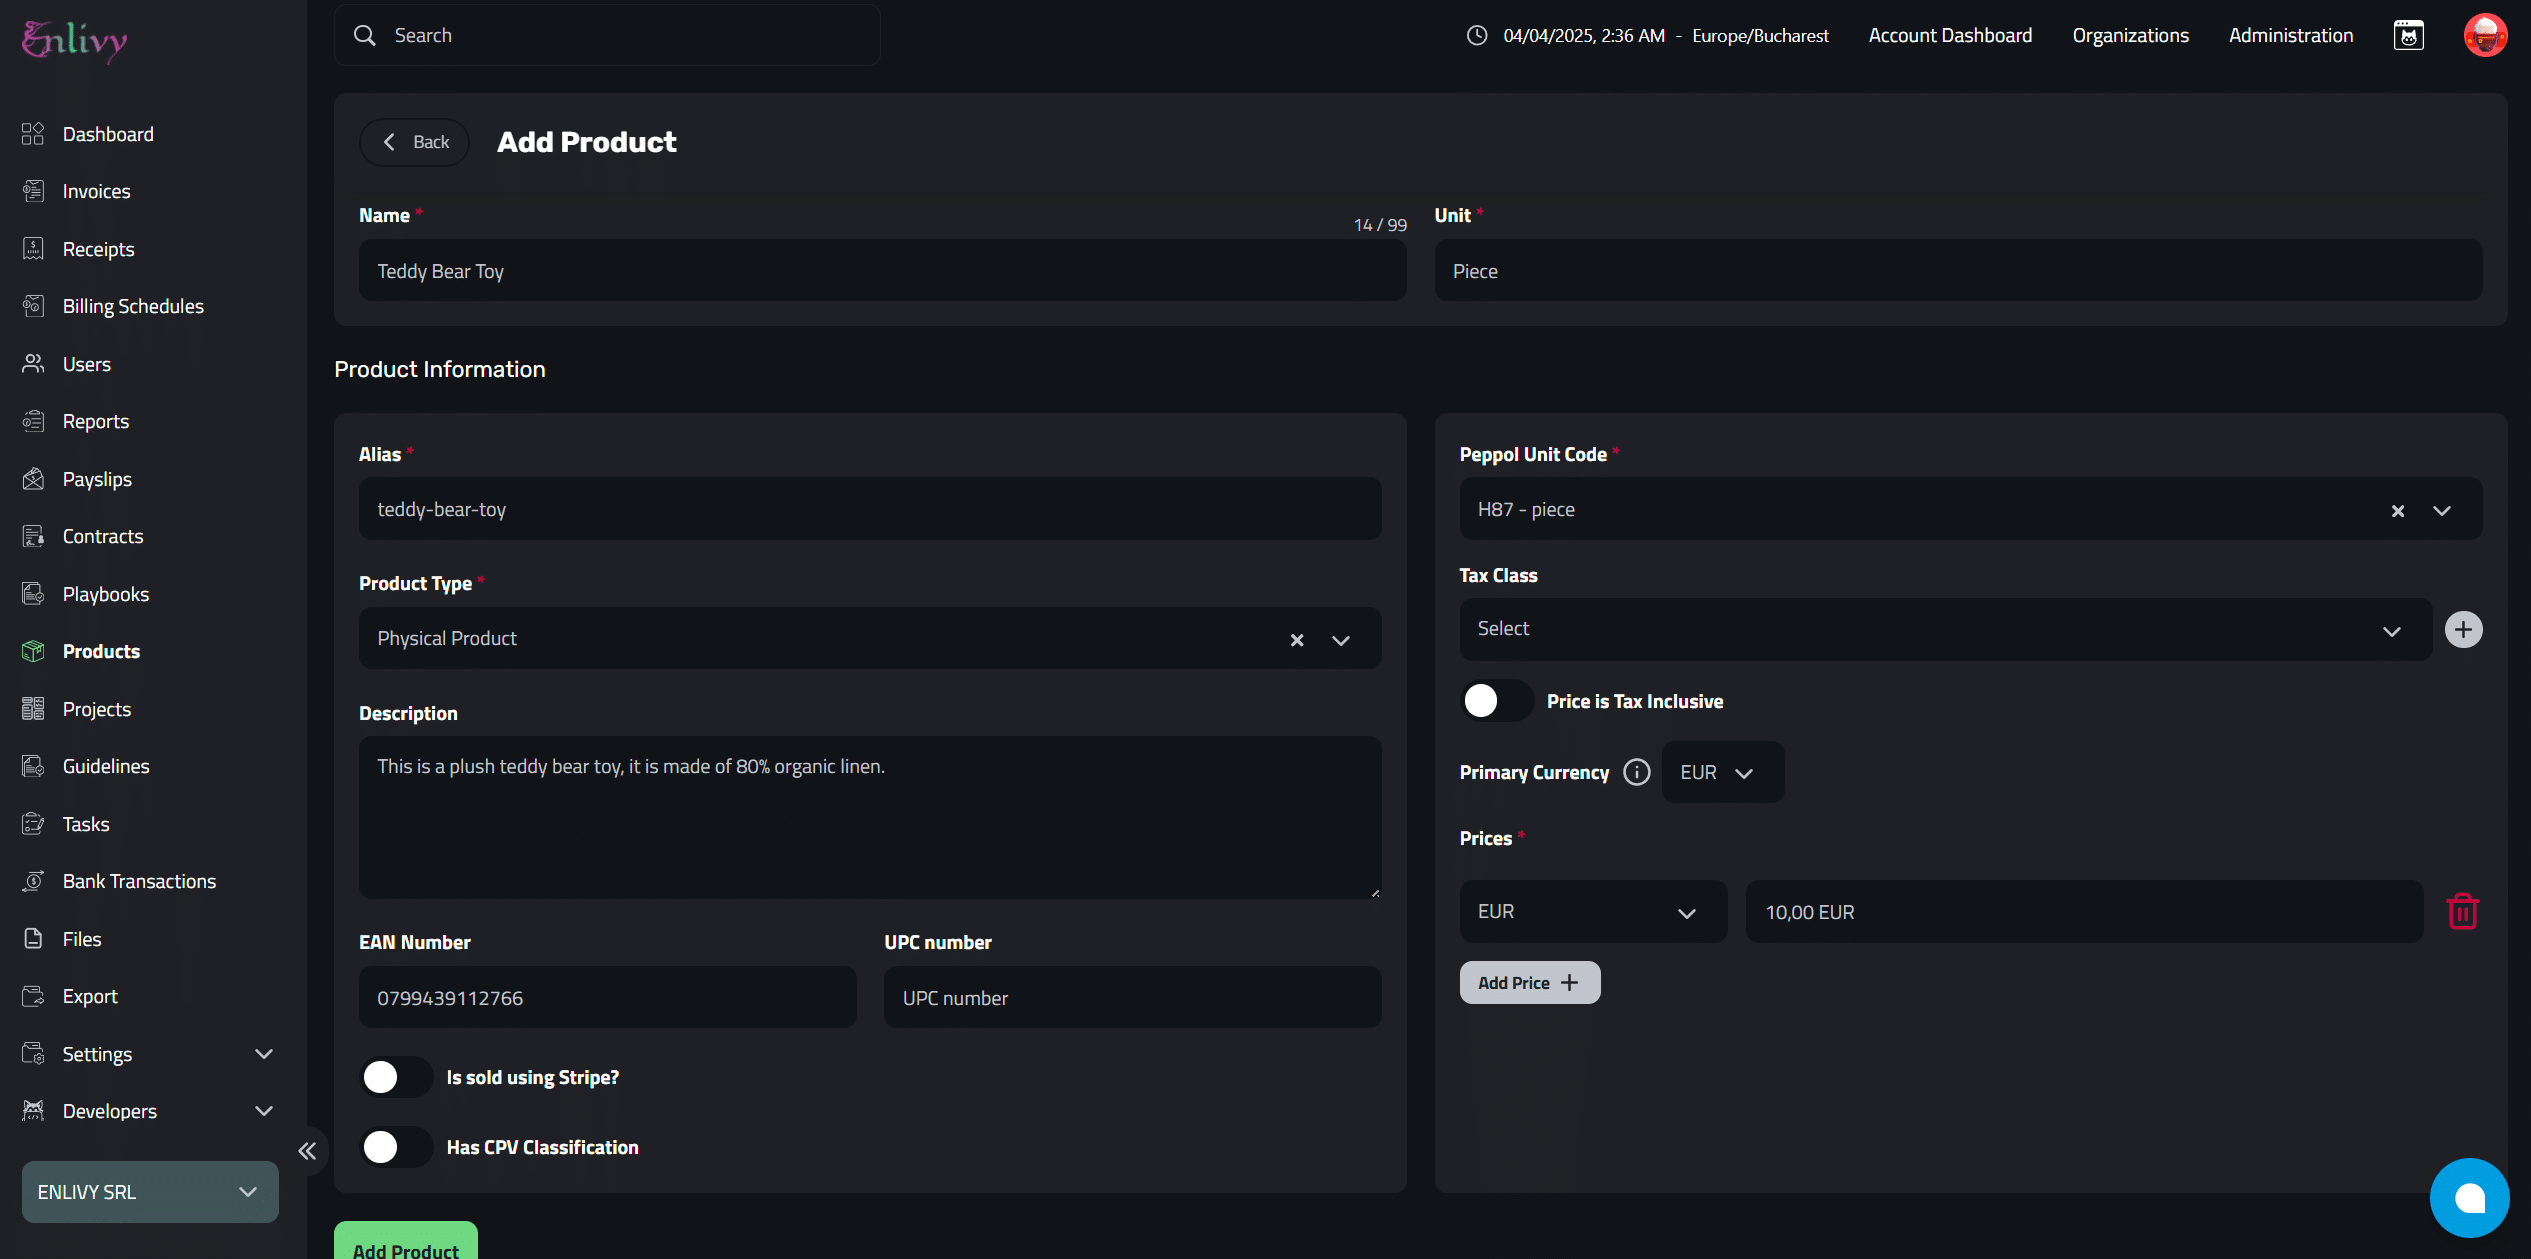
Review Product Details
After entering all the product details, take a moment to review everything and ensure the information is accurate.
Once you’re ready, click the Add Product button to save your product.
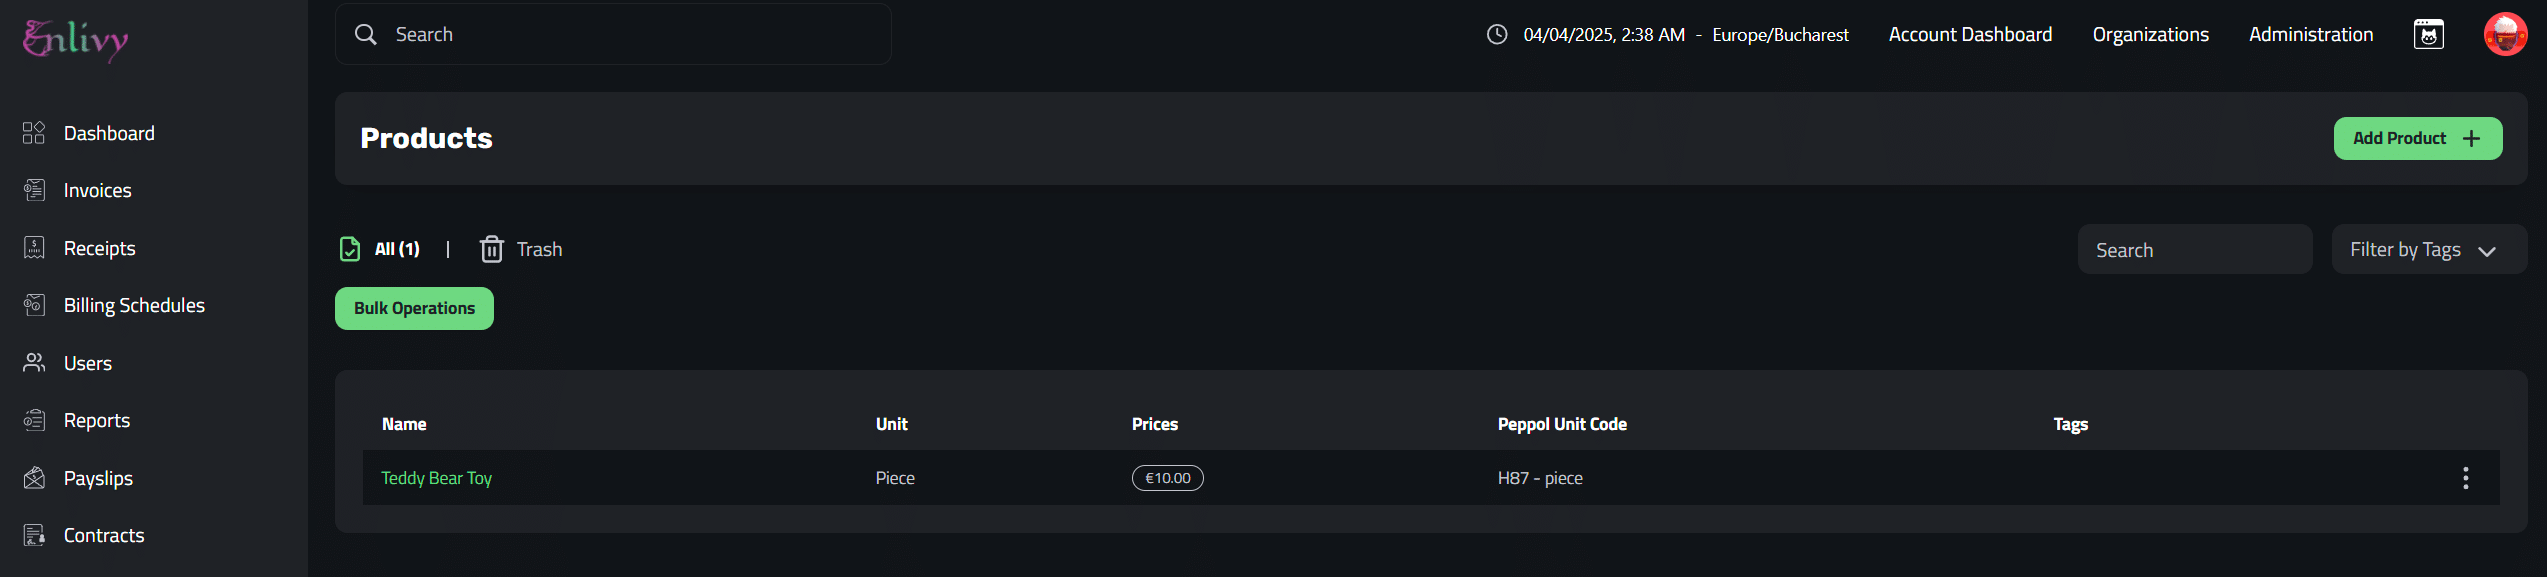
View Product in Your Catalog
Your product will now appear under the Products tab in Enlivy, listed within your organization’s catalog.
Example: Product Dashboard After Adding a Product